
C 3500 Truck 2WD V8-6.6L DSL Turbo VIN 1 (2002)
Brake Rotor/Disc: Service and Repair
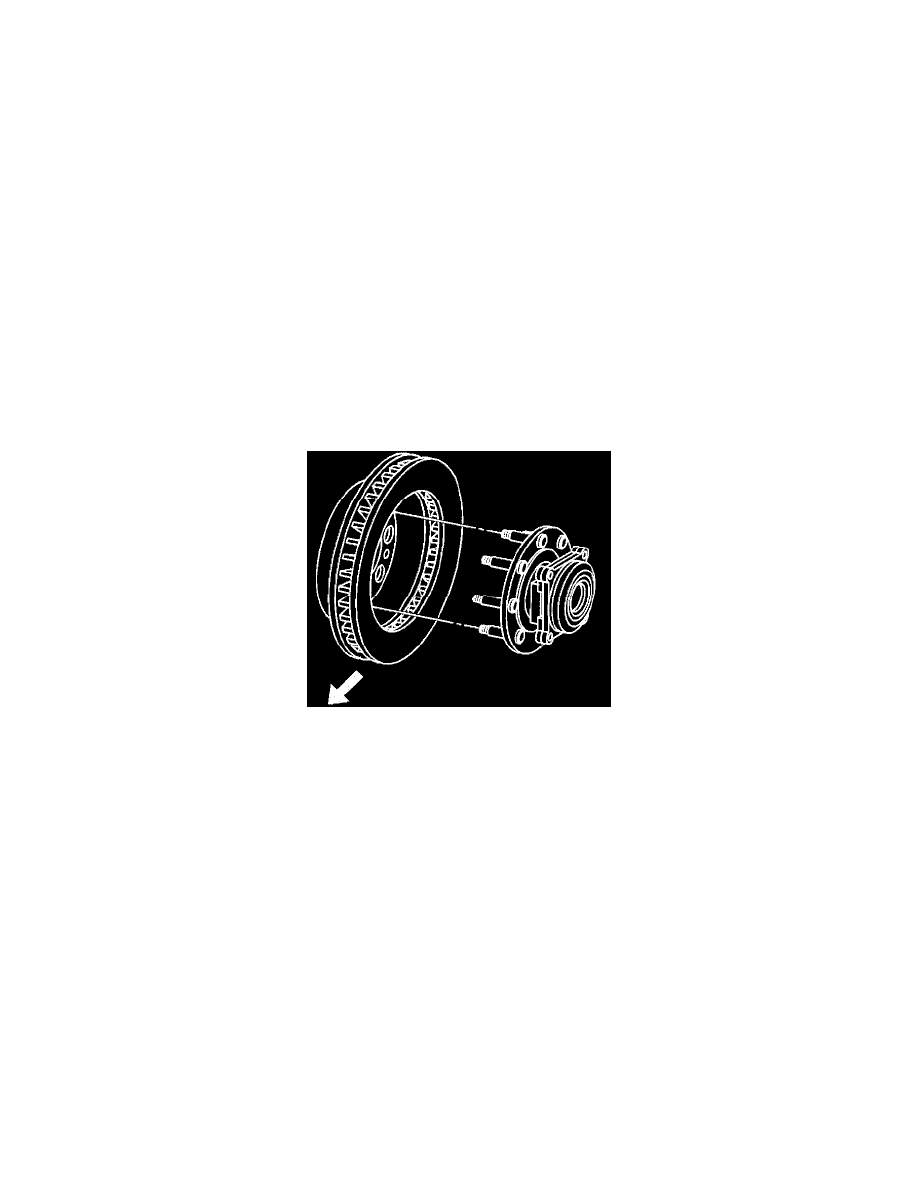
Brake Rotor Replacement
Front
Brake Rotor Replacement - Front
Caution: Refer to Brake Dust Caution in Service Precautions.
Removal Procedure
Tools Required
^
J41013 Rotor Resurfacing Kit
^
J42450-A Wheel Hub Resurfacing Kit
Caution: Refer to Brake Dust Caution in Service Precautions.
Notice: Any new rotor must have the protective coating removed from the friction surfaces before being placed in service. Use Goodwrench Brake
parts Cleaner, GM P/N 123777981 (Canadian P/N 10953463), or the equivalent, and wipe the surface clean with clean cloths. Do not use gasoline,
kerosene, or other oil base solvents which may leave an oily residue. This residue is damaging to the brake lining and is flammable.
1. Raise and suitably support the vehicle. Refer to Vehicle Lifting.
2. Remove the tire and wheel assembly.
3. Remove the front wheel hub extension, dual wheel vehicles only.
^
Insert a drift or large screwdriver through the brake caliper into one of the brake rotor vanes in order to prevent the rotor from turning.
^
Mark the relationship of the front wheel hub extension to the hub.
^
Remove the front wheel hub extension bolts.
^
Remove the front wheel hub extension from the vehicle. It may be necessary to tap around the perimeter of the hub extension with a rubber
mallet to loosen it from the hub.
4. Mark the relationship of the rotor to the hub.
5. Remove the brake caliper bracket mounting bolts.
Notice: Refer to Support the Brake Caliper While flex Hose is Connected Notice in Service Precautions.
6. Remove the brake caliper and brake caliper bracket as an assembly and support with heavy mechanic's wire or equivalent. DO NOT disconnect the
hydraulic brake flexible hose from the caliper.
7. Remove the rotor retaining push nuts from the wheel studs, if applicable.
8. It may be necessary to strike the end of the hub or the rotor with a deadblow hammer to separate the rotor from the hub.
9. Remove the rotor.
10. If the rotor is difficult to remove due to corrosion in the hub area use the following procedure to remove the rotor, 25 and 35 series only.
^
Clean all the surface areas and the threaded holes of contamination.
^
Generously apply penetrating oil or the equivalent to the hub/rotor area.
^
Insert two M10 x 1.5 bolts, jack screws, into the threaded holes of the rotor.
^
Tighten both bolts evenly to force the rotor from the hub.
Installation Procedure