C Tahoe 2WD V8-5.3L VIN T (2001)

Installation Procedure
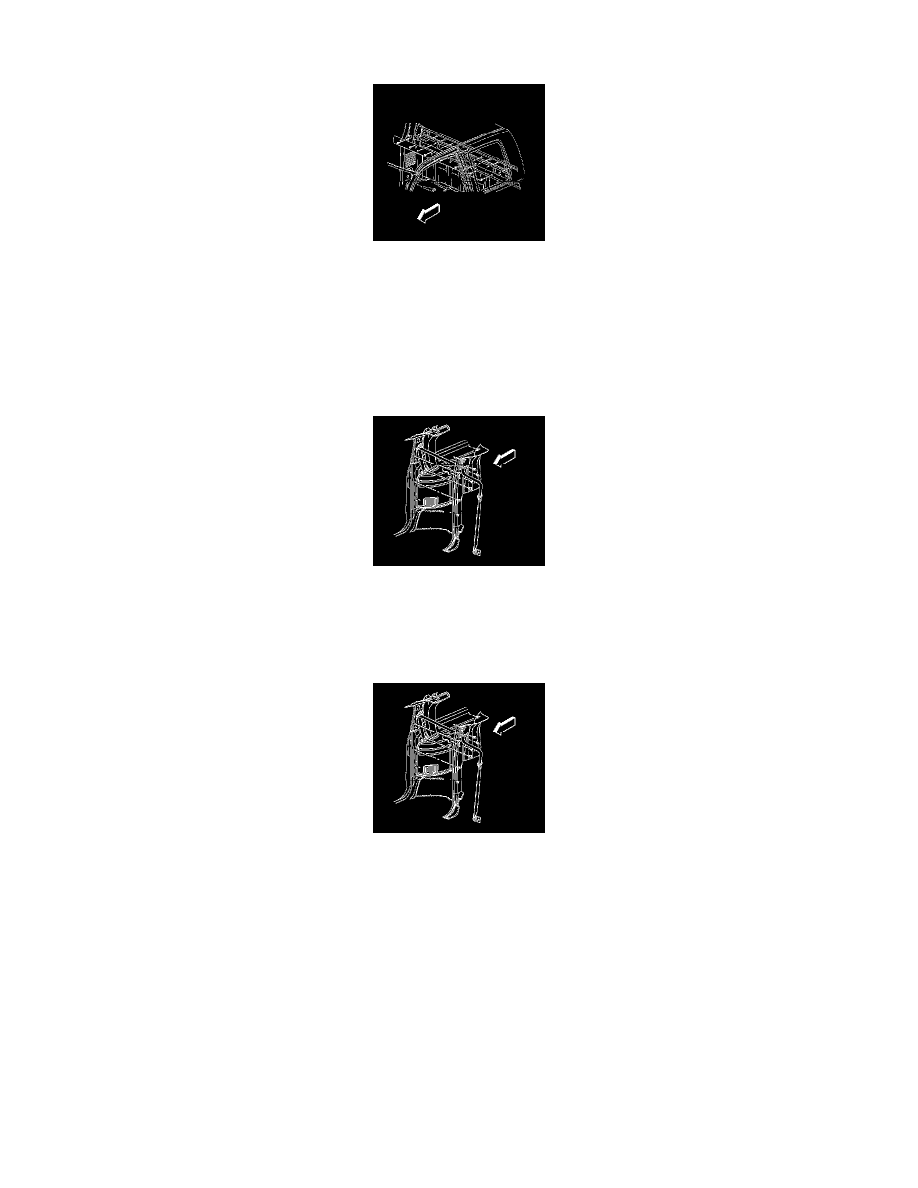
1. Align the molding clips with the holes in the body panel along the back glass.
2. Snap the molding into place.
Third Pillar Trim Replacement (Tahoe/Yukon/Escalade/Suburban)
Third Pillar Trim Replacement (Tahoe/Yukon/Escalade/Suburban)
Removal Procedure
1. Remove the rear door sill trim plate.
2. Remove the lower rear seat belt cover and bolt.
3. Remove the trim panel from the vehicle.
Installation Procedure
1. Install the body side lower trim panel to the vehicle.
Notice: Refer to Fastener Notice in Service Precautions.
2. Install the lower seat belt bolt.
Tighten the bolt to 70 N.m (52 lb ft).
3. Install the seat belt cover.
4. Install the rear door sill trim plate.
Trim Panel Replacement - Upper Extension
REMOVAL PROCEDURE
