Camaro V6-3.8L VIN K (1995)

^
Unsnap bezel (203) from trim assembly.
^
Disconnect electrical connectors, if equipped.
^
Squeeze metal clips on panel assembly or cover assembly to release from bezel (203), if replacing bezel (203).
5. Inspect Clips for proper position.
6. Switch illumination lamp socket by turning socket and removing from bezel (203).
INSTALL OR CONNECT
1. Switch illumination lamp socket.
2. Bezel (203).
^
Route inside handle assembly (35) and locking rod through appropriate openings in bezel (203).
^
Connect electrical connectors, if equipped.
^
Position panel assembly or cover assembly to bezel (203) and press to secure clips, if removed.
^
Snap bezel (203) into trim assembly.
3. Tighten bolt/screw (97) to 1.4 Nm (12 lb. in.).
4. Front side door locking rod knob.
5. Accessory switch panel assembly or accessory switch opening cover assembly.
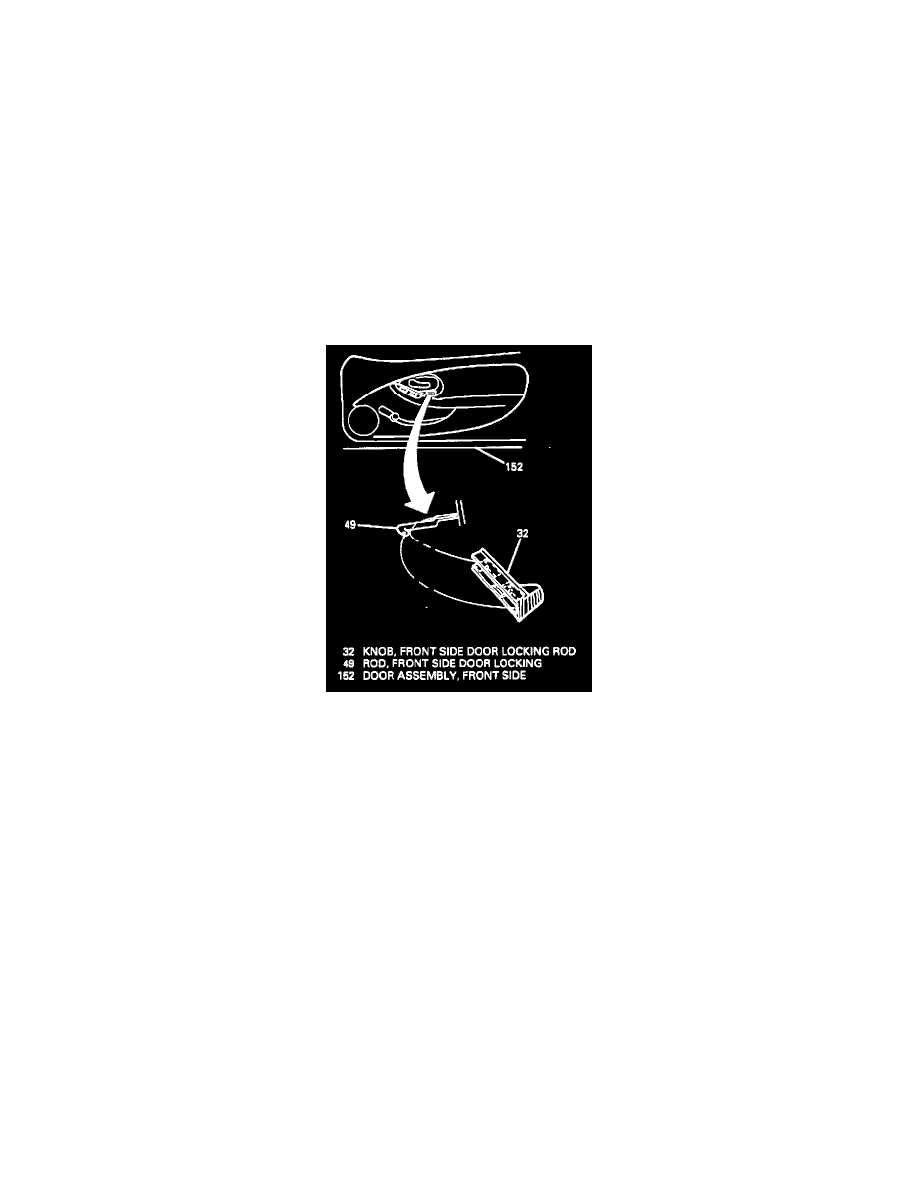
Front Side Door Locking Rod Knob
Installing Front Side Door Locking Rod Knob (Typical)
REMOVE OR DISCONNECT
1. Knob (32).
^
Slide knob (32) forward.
^
Insert a small flat-bladed tool behind end of knob (32) and pry it away from locking rod (49).
INSTALL OR CONNECT
1. Knob (32).
^
Position knob (32) over locking rod (49) and insert end of knob (32) through hole in handle bezel.
^
Slide knob (32) rearward over locking rod (49) until end of locking rod (49) fits into depression in lock knob (32).
^
Snap knob (32) over locking rod (49).
Front Side Door Interior Trim
