
Camaro V6-3.8L VIN K (1995)
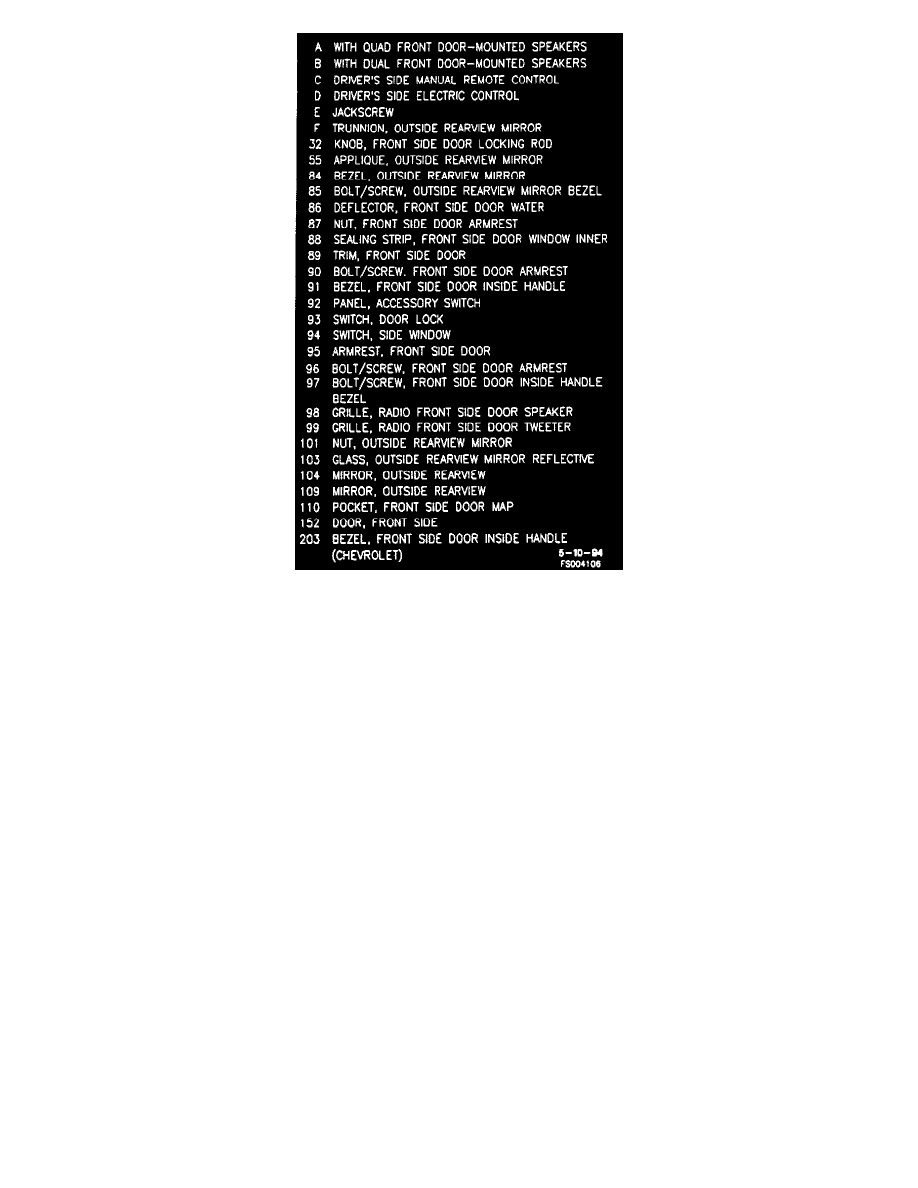
Front Side Door Assembly -Legend
FRONT SIDE DOOR RIGHT AND LEFT TRIM
REMOVE OR DISCONNECT
1. Accessory switch panel assembly or accessory switch opening cover assembly, as equipped.
2. Front side door inside handle bezel.
3. Front side door window regulator handle assembly and front side door window regulator handle spacer.
4. Outside rearview mirror bezel assembly.
5. Bolts/screws (90).
NOTICE: Do not try to pull trim assembly straight off door assembly, or hooks in trim assembly will break. To disengage hooks, trim assembly must
be lifted up and then pulled away from door assembly.
6. Trim assembly (89).
^
Pull slightly on rear of trim assembly (89) to release tab.
^
Lift up on trim assembly (89).
^
Pull trim assembly (89) away from door assembly(152), making sure that hooks release from holes in door inner panel.
^
Remove courtesy lamp socket assembly from trim assembly (89).
INSTALL OR CONNECT
1. Trim assembly (89) to door inner panel.
^
Insert hooks along bottom of trim assembly (89) part way into holes in door inner panel.
^
Route electrical connectors through opening in trim assembly (89), if equipped.
^
Install courtesy lamp socket assembly to trim assembly (89).
^
Align upper edge of trim assembly (89) over door inner panel flange and insert remaining hooks into holes.
^
Push downward to engage hooks.
^
Push rear of trim assembly (89) into door assembly (152) to engage tab.
2. Tighten bolts/screws (90) to 4.5 Nm (40 lb. in.).
3. Outside rearview mirror bezel assembly.
4. Front side door window regulator handle assembly and front side door window regulator handle spacer.
5. Front side door inside handle bezel.
6. Accessory switch panel assembly or accessory switch opening cover assembly, as equipped.