
Camaro V8-305 5.0L VIN E TBI (1989)
Window Regulator
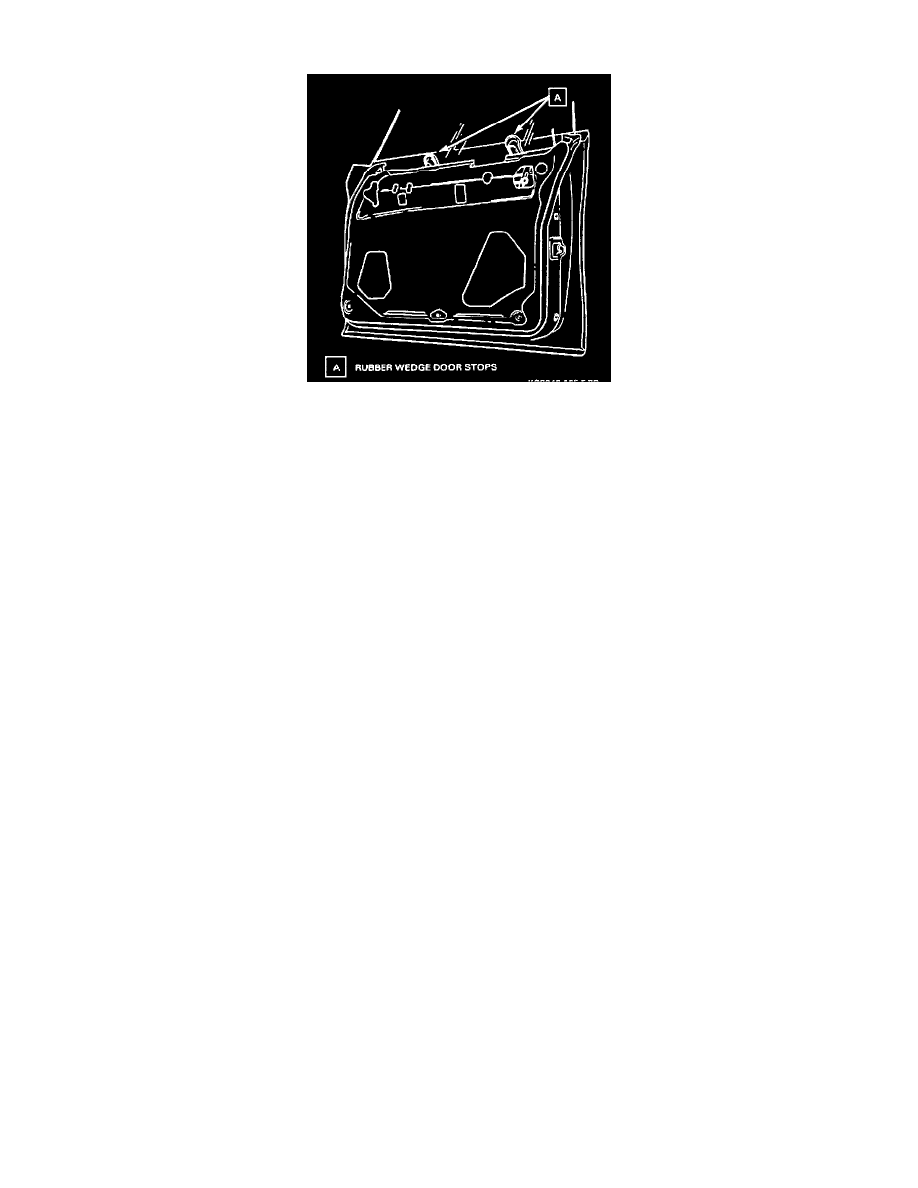
Propping Door Glass
REMOVE OR DISCONNECT
1. Water deflector.
2. Raise the window halfway up.
^
Hold the window in place by inserting rubber wedge door stops at the front and the rear of the window between the window and the door inner
panel.
2. Window guide cam.
3. Inner panel cam.
4. Center pins of the regulator rivets by punching out.
5. Rivets, using a 1/4-inch drill bit and drill.
^
Move window regulator and window regulator motor rearward.
6. Wire connector from window regulator motor.
7. Roller on the regulator lift arm from the regulator cam.
8. Window regulator and motor through rear access hole.
INSTALL OR CONNECT
Tool Required:
J-34940 Heavy Duty Rivet Gun
1. Window regulator and window regulator motor through rear access hole.
2. Lift arm roller into the regulator cam.
3. Wire connector to window regulator motor.
4. Regulator to inner panel using J-34940 and 1/4- inch peel-type rivet.
^
If J-34940 is not available, use the following nut and bolt method.
^
Install U-clips on the window regulator at attaching locations. Be sure to install the clips with clinch nuts on the outboard side of the window
regulator.
^
Fit the lift arm roller into the regulator cam.
^
Align the window regulator with the clinch nuts to the holes in the inner door panel.
^
Attach the window regulator to the door inner panel using M6.0 x 1 x 13 (1/4-20 x 1/2-inch) bolts into 6 mm (1/4-inch) nuts with integral
washers. Tighten bolts to 12 Nm (106 lb. in.).
5. Inner panel cam.
6. Window guide cam.
INSPECT
^
Window regulator operation.
^
Window glass adjustments and make adjustments as needed.
7. Water deflector.
Window Regulator Motor