
Camaro V8-350 5.7L (1989)
Brake Pad: Service and Repair
Delco-Moraine Single Piston W/Dual Mounting Bolts (Front)
Brake Shoe & Lining Removal
1.
Remove caliper assembly as outlined above.
2.
Remove inboard shoe. Dislodge outboard shoe and position caliper on the front suspension so the brake hose will not support the weight of the
caliper.
3.
Remove shoe support spring from piston.
4.
Remove two sleeves from inboard ears of the caliper.
5.
Remove four rubber bushings from the grooves in each of the caliper ears.
Brake Shoe & Lining Installation
1.
Lubricate new sleeves, rubber bushings, bushing grooves and mounting bolt ends with Delco Silicone Lube or its equivalent.
2.
Install new bushings and sleeves in caliper ears. Position the sleeve so that the end toward the shoe is flush with the machined surface of the
ear.
3.
Install shoe support spring by positioning single tang end of spring into notch cut at top of inboard shoe. Press remaining end of spring over
bottom edge of shoe until shoe is engaged securely.
4.
Position inboard shoe with spring attached into caliper with ear end facing downward and bottom end facing upward with spring resting on inside
diameter of piston. Press downward on both ends of shoe until shoe contacts piston and support spring contacts piston inside diameter. Some
inboard replacement brake pads incorporate wear sensors and have a specific left and righthand assembly. Properly installed, the wear
sensor will face toward the rear of caliper.
5.
Position outboard shoe in caliper with shoe ears over caliper ears and tab at bottom of shoe engaged in caliper cutout.
6.
With shoes installed, lift caliper and rest bottom edge of outboard lining on outer edge of brake disc to be sure there is no clearance between
outboard shoe tab and caliper abutment.
7.
Install caliper and tighten mounting bolts to specifications.
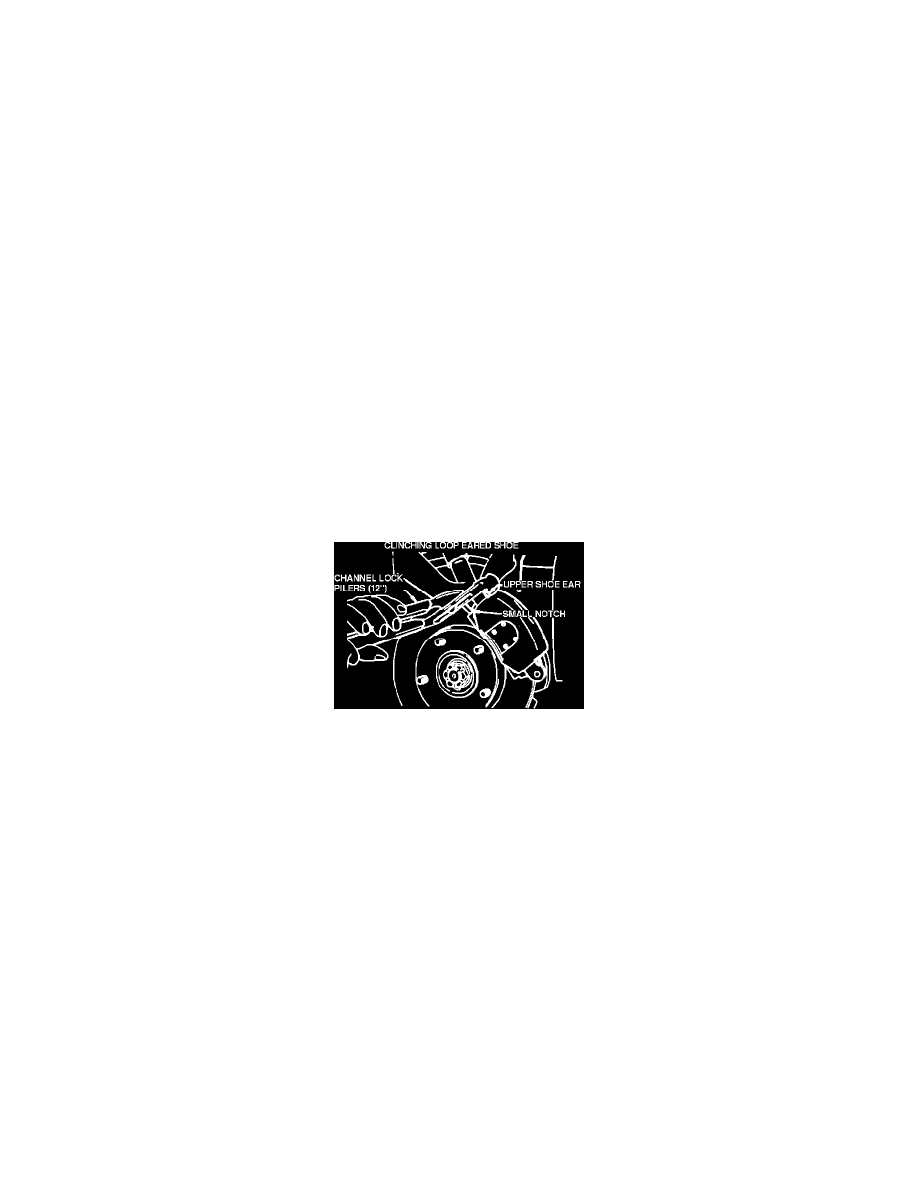
Fig. 7 Clinching Loop Eared Brake Shoe
8.
Clinch upper ears of outboard shoe by positioning pliers with one jaw on top of upper ear and one jaw in notch on bottom shoe opposite ear, Fig.
7. Ears are to be flat against caliper housing with no radial clearance. If clearance exists, repeat clinching procedure. Before moving vehicle,
pump brake pedal several times to be sure it is firm. Do not move vehicle until a firm pedal is obtained. On some models with low drag
calipers, apply approximately 175 pounds of pressure to the brake pedal three times to properly seat the caliper and related components.