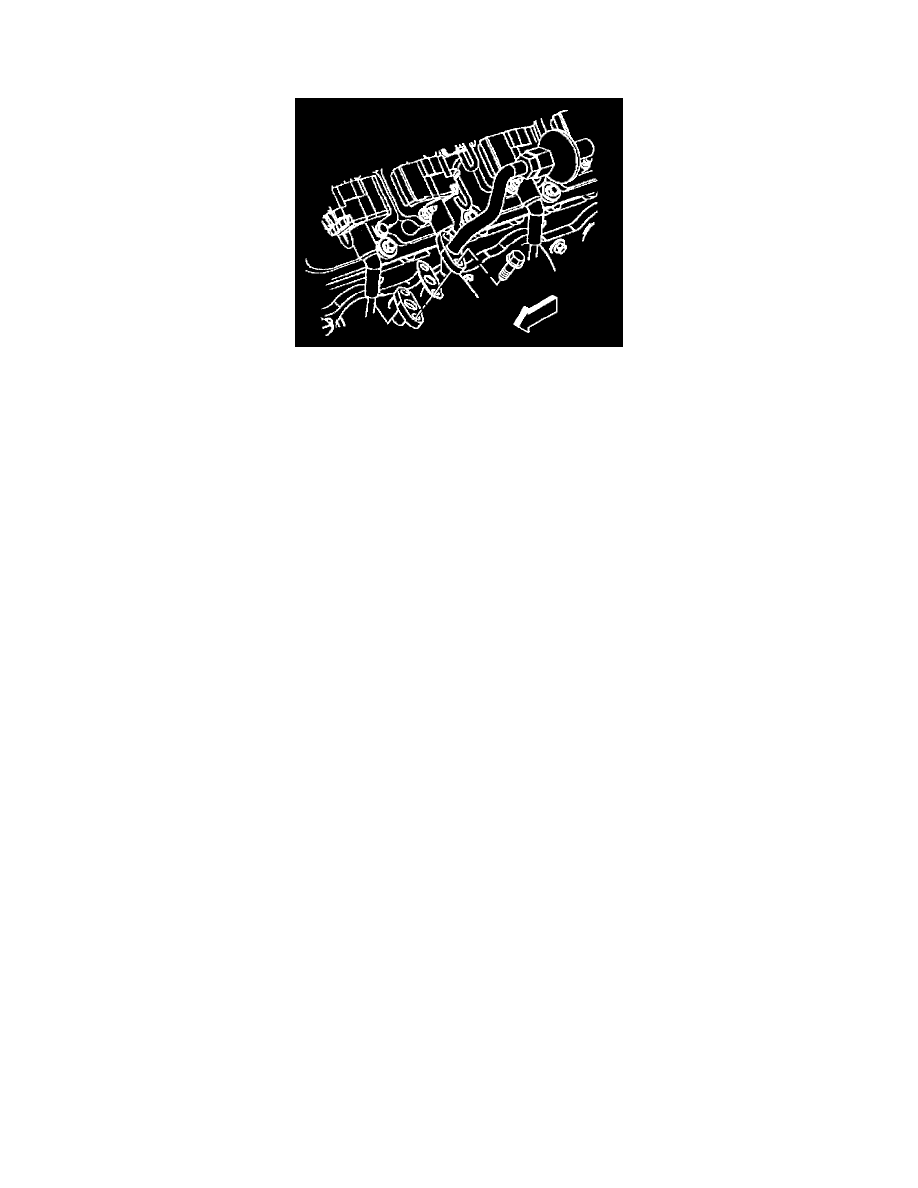
Camaro V8-5.7L VIN G (1998)

Air Injection Check Valve: Service and Repair
Bank 1
REMOVAL PROCEDURE
CAUTION: Allow the engine to cool before servicing the secondary air injection AIR system in order to reduce the chance of severe burns.
1. Remove the check valve clamp.
2. Disconnect the AIR hose from the check valve.
3. Unscrew the check valve from the AIR pipe.
4. Remove the left AIR pipe from the manifold.
5. Before replacing a check valve, test the valve for proper operation.
A. Install a vacuum pump to the nipple side of the check valve, AIR pump side.
B. Pump the vacuum pump to 10 inches Hg. and observe the gauge.
C. Replace the check valve if the vacuum bleeds down to zero within 5 seconds.
INSTALLATION PROCEDURE
1. Screw the check valve onto the AIR pipe.
Tighten
Check valve to the AIR pipe to 23 Nm (17 lb ft).
2. Connect the AIR pipe to the exhaust manifold.
Tighten
AIR pipe to the exhaust manifold to 20 Nm (15 lb ft).
3. Install the AIR hose to the check valve.
4. Install the check valve clamp.
