
Camaro V8-5.7L VIN G (1998)
Alignment: Service and Repair
Ride/Trim Height Measurement and Adjustment
Incorrect trim heights can produce symptoms similar to those produced tire and wheel misalignment. Check trim heights whenever you diagnose steering
and vibration complaints.
In order to measure the trim heights accurately, use the following check list:
^
Tires should be at their correct pressure as shown on the tire placard and up to vehicle capacity
^
The fuel tank should be full
^
The vehicle should have no additional weight or passengers
^
Seats should be in the full back position
^
The rear compartment should be empty, except for a spare tire and jack and a simulated fuel load if required
^
The vehicle should be on a known level floor
^
All doors, hood, and rear compartment lid should be closed
All dimensions are measured vertical to the ground. In order to be considered correct, trim heights should be within +/-10 mm (0.4 in).
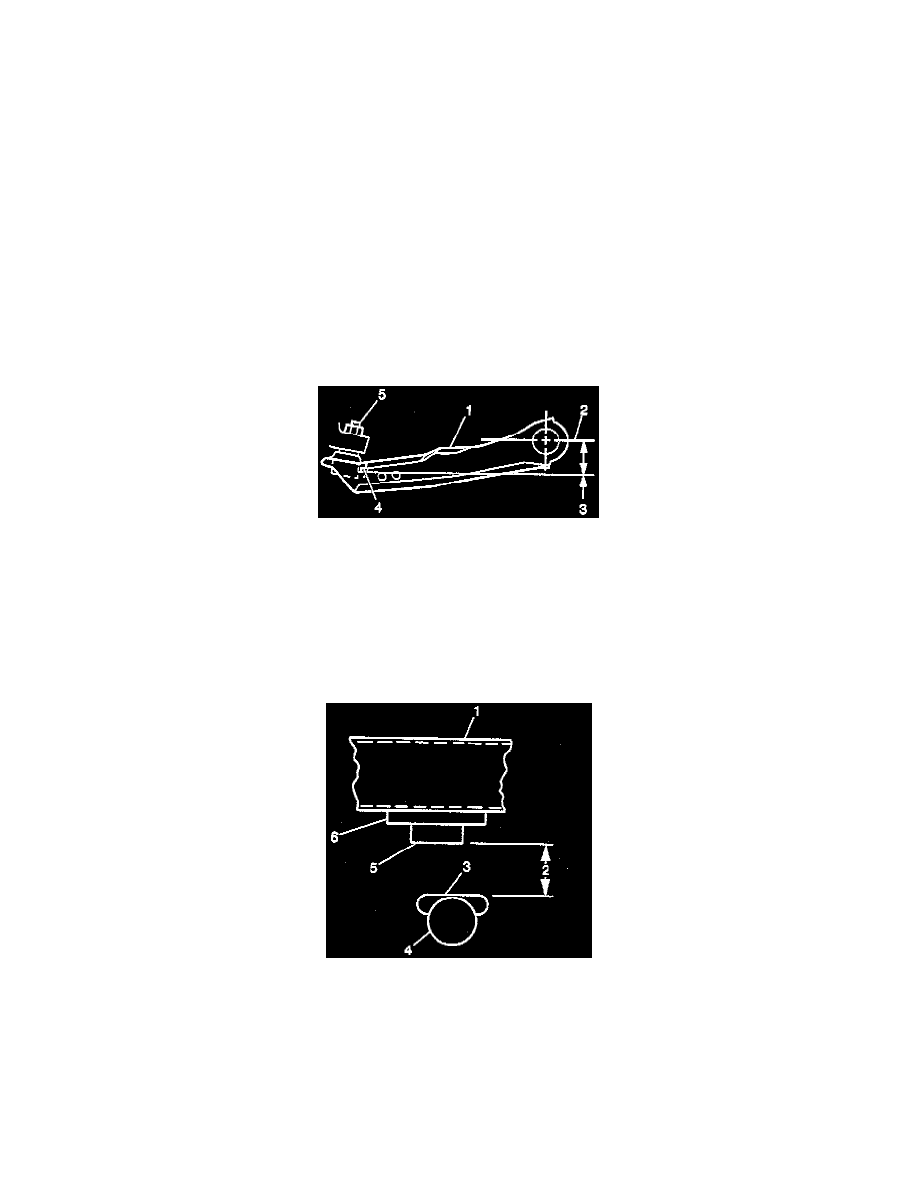
MEASURING "Z", "J", AND "A" DIMENSIONS
1. Lift the front bumper of the vehicle approximately 38 mm (1-1/2 in). Gently remove your hands and let the vehicle settle.
^
Repeat the operation for a total of 2 times.
^
After the second time, measure the "Z", "J", and "A" dimensions.
2. Push the front bumper down approximately 38 mm (1-1/2 in). Gently remove your hands and let the vehicle rise on its own.
^
Repeat the operation for a total of 2 times.
^
After the second time, measure the "Z", "J" and "A" dimensions.
3. Calculate the trim heights. Trim heights are the average of the high and the low measurements.
4. Verify the trim heights. Refer to ALIGNMENT.
5. Correct the trim heights as necessary.
MEASURING "D", "K", AND "B" DIMENSIONS
Repeat the preceding procedure using the rear bumper.