Camaro V8-5.7L VIN G (1998)

passenger-side shock absorber.
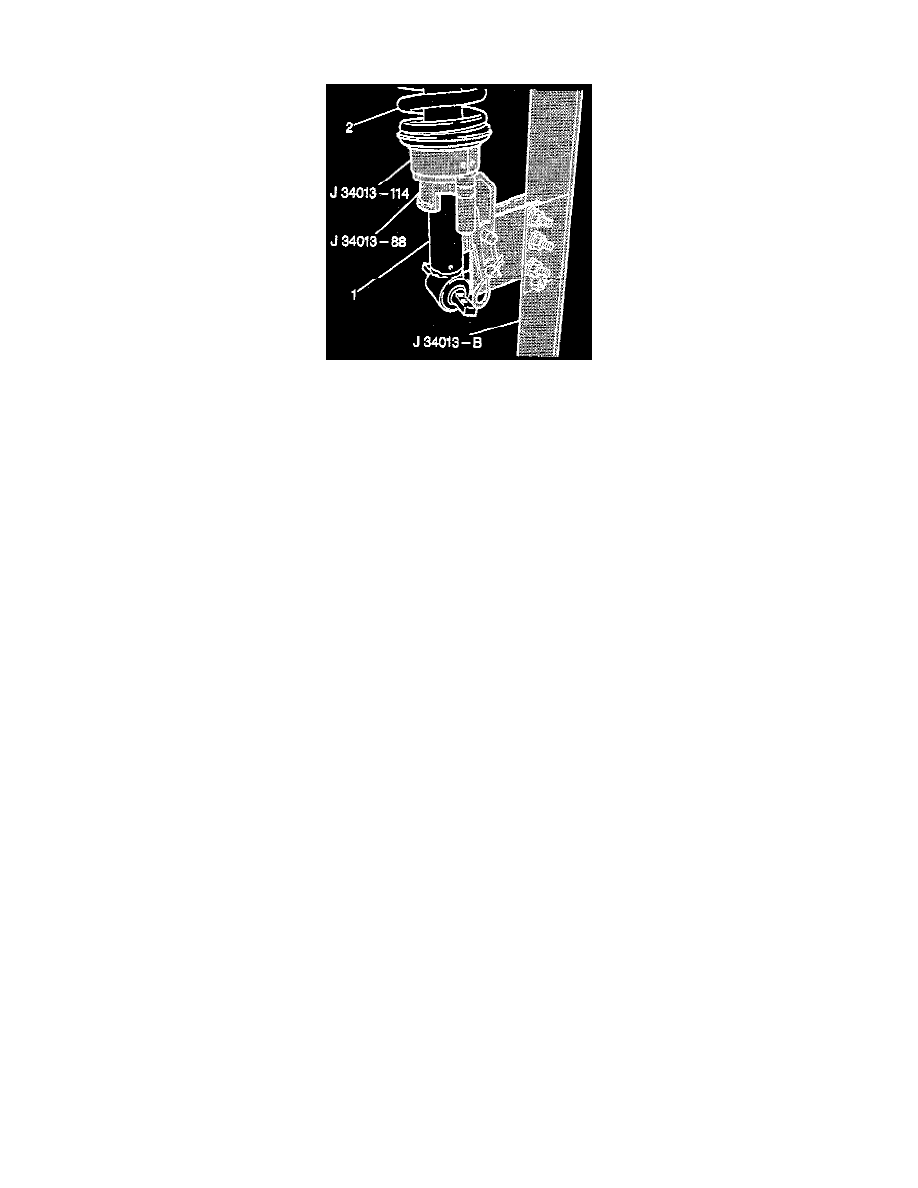
3. Install J 34013-114 and J 34013-88.
4. Install the shock absorber (1) to J 34013-114 and J 34013-88.
Important:
^
Ensure that the mounting ears of the shock absorber are facing downward, toward the rear of J 34013-B or the shock absorber will not align
properly.
^
Use chalk or paint in order to mark (do not scribe) the lower mount location relative to the upper mount location before removing the shock
absorber, or the shock absorber cannot be reinstalled.
5. Close J 34013-114 and J 34013-88 and engage the locking pin.
6. Ensure that the upper and lower spring seats are positioned correctly.
Important: Ensure that the top of the shock absorber is flat against J 34013-114. The shock absorber will not align properly if the shock absorber
does not lie flat against the tool.
7. Install the shock absorber to the top of J 34013-114.
Important: Only turn the screw until the shock absorber secures itself in J 34013-B. Do not load the spring.
8. Turn the screw on J 34013-B counterclockwise in order to raise the shock absorber up to J 34013-114 without compressing the spring.
Important: Ensure that J 34013-115 is straight with the shock absorber. If J 34013-115 is angled, repeat steps 1 through 5 until the tool is
straight.
9. Place J 34013-115 down through the top of J 34013-B through the top of the shock absorber and onto the top of the shock absorber rod.
CAUTION: Do not over compress the spring. Severe overloading may cause tool failure which could result in bodily injury.
10. Turn the operating screw clockwise in order to compress the spring until the threaded portion of the shock absorber rod is through the top of the
shock absorber.
11. Remove J 34013-115.
Important: When installing the front shock absorber nut, always replace with a new shock absorber nut. Never reinstall the original nut.
12. Insert the new shock absorber nut on the shock absorber rod.
13. Place J 39642-1 on the shock absorber nut.
NOTICE: Turning the shock absorber while tightening the nut may damage the shock absorber. In order to prevent damage, keep the shock
absorber in a stationary position while tightening the nut.
14. Insert J 39642-2 through J 39642-1 and tighten the shock absorber nut.
15. Tighten the shock absorber nut while holding onto J 39642 (J 39642-2).
16. Remove the shock absorber from J 34013-B.
INSTALLATION PROCEDURE
