
Camaro V8-6.2L (2010)
Tighten
Tighten the fastener to 7 Nm (62 lb in).
7. Repeat the procedure on the other side of the vehicle.
Correction - With Peeling Paint
Use the following steps to correct the condition if the rear bumper fascia paint is peeling.
1. Remove the rear bumper fascia. Refer to Rear Bumper Fascia Replacement in SI
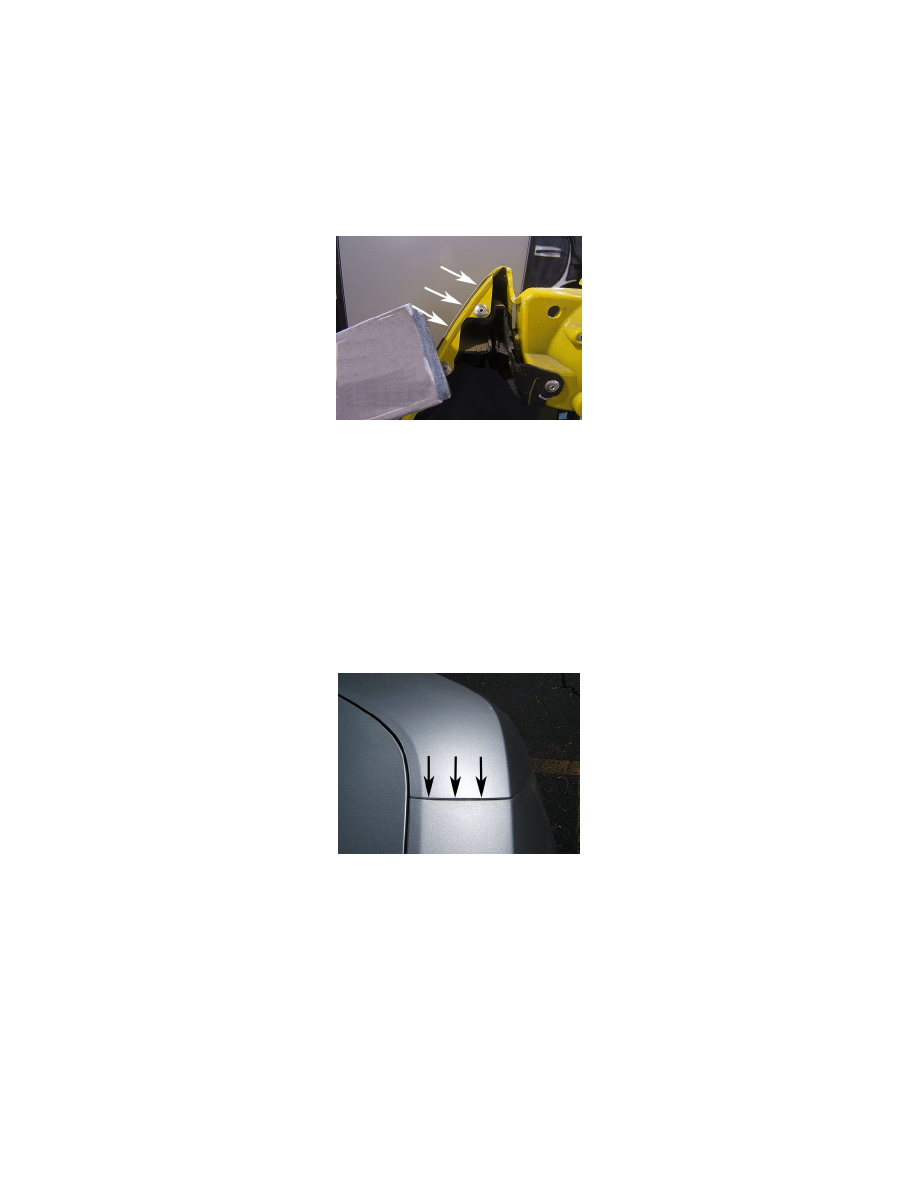
2. Sand down the ridge on the fascia, as shown, in order to remove the hard edge and allow clearance to the body.
3. Repair any peeling paint.
4. Color/clearcoat as required.
5. Install the rear bumper fascia. Refer to Rear Bumper Fascia Replacement in SI.
6. Install the J-clips on the left and right sides as described in Step 3 of the previous procedure.
7. Install the bolts but do not tighten them.
8. Pull the fascia rearward to create an even gap between the fascia and the body.
9. While holding the fascia in position, tighten the fasteners.
Tighten
Tighten the fasteners to 7 Nm (62 lb in).
Condition 2
Some customers may comment that the paint is peeling on the front bumper fascia. This condition appears along the edge on the top of the fascia where it
meets the fender, outboard of the hood opening area. It may also appear between the side marker lamp area and the wheel opening area.
Cause 2