
Camaro V8-6.2L (2010)
Evaporator Core: Service and Repair
Air Conditioning Evaporator Replacement
Removal Procedure
1. Remove the HVAC module assembly. Refer to Air Conditioning and Heater Module Assembly Removal and Installation (See: Housing
Assembly HVAC/Service and Repair/Air Conditioning and Heater Module Assembly).
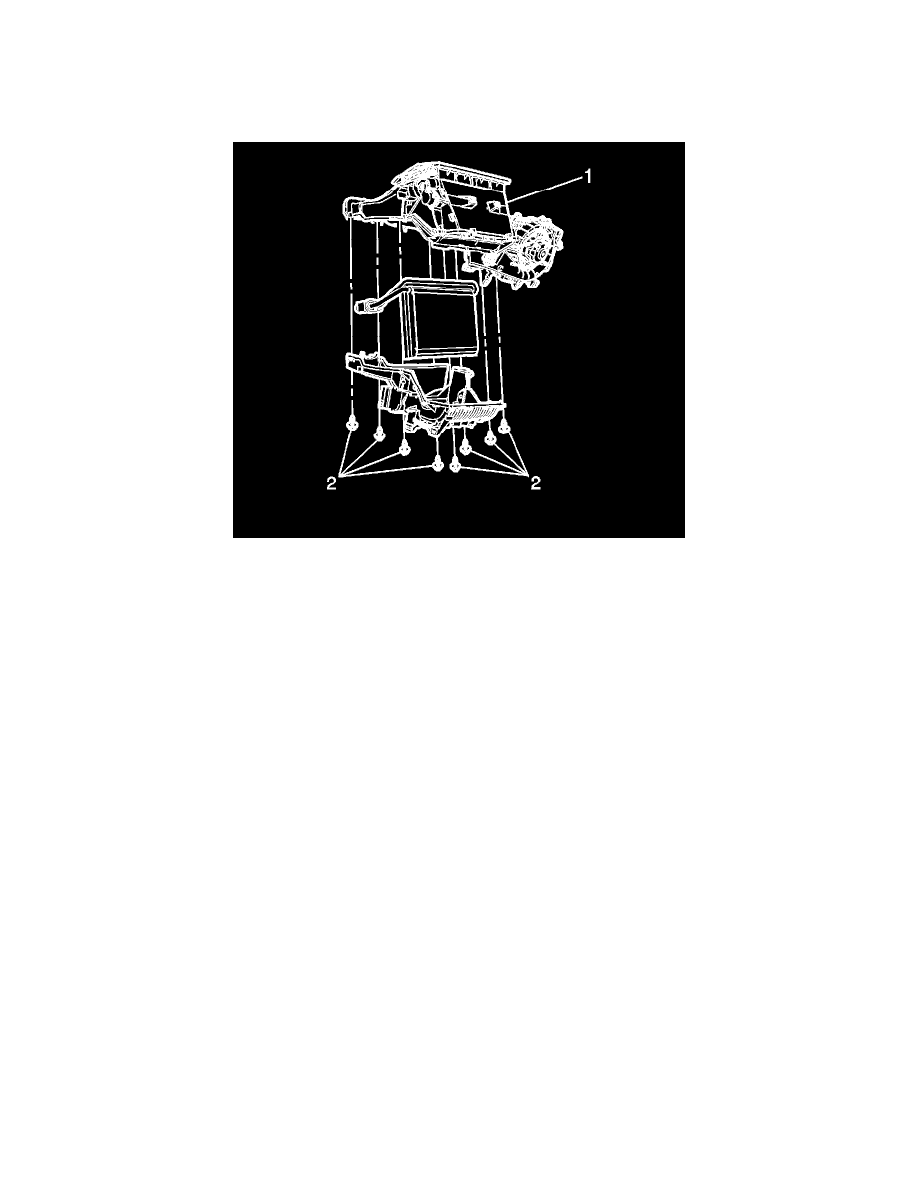
2. Remove the lower HVAC module case fasteners (2).
3. Remove the lower HVAC module case.
4. Remove the evaporator air temperature sensor Refer to Evaporator Air Temperature Sensor Replacement (See: Evaporator Temperature Sensor /
Switch/Service and Repair).
Remove the evaporator.
Installation Procedure
1. If replacing the evaporator, add the specific amount of PAG(R) oil directly to the evaporator. Refer to Refrigerant System Specifications (See:
Specifications).
2. Install the evaporator.
3. Install new sealing washers. Refer to Air Conditioning Compressor Hose Seal Replacement (See: Hose/Line HVAC/Service and Repair/Air
Conditioning Compressor Hose Seal Replacement).
4. Install the evaporator air temperature sensor Refer to Evaporator Air Temperature Sensor Replacement (See: Evaporator Temperature Sensor /
Switch/Service and Repair).
5. Install the lower HVAC module case.
Caution: Refer to Fastener Caution (See: Service Precautions/Vehicle Damage Warnings/Fastener Caution).
6. Install the lower HVAC module case screws and tighten to 1.5 Nm (13 lb in).
7. Install the HVAC module assembly. Refer to Air Conditioning and Heater Module Assembly Removal and Installation (See: Housing Assembly
HVAC/Service and Repair/Air Conditioning and Heater Module Assembly).