
Camaro V8-6.2L (2010)
Positive: Service and Repair
Battery Positive Cable Replacement
Battery Positive Cable Replacement
Removal Procedure
1. Disconnect the negative battery cable. Refer to Battery Negative Cable Disconnection and Connection (See: Negative/Service and Repair/Battery
Negative Cable Disconnection and Connection).
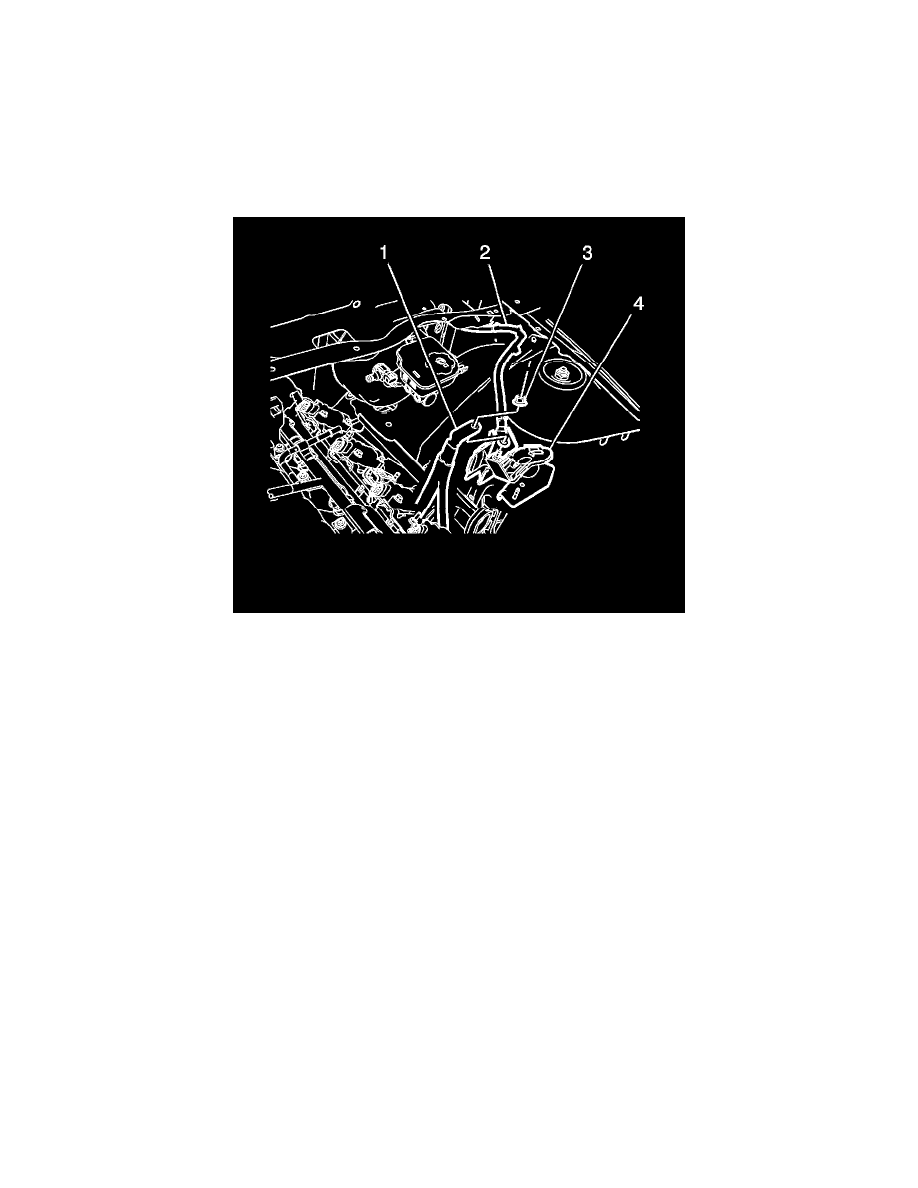
2. Remove the junction block cover (4).
3. Remove the junction block nut (3).
4. Remove the positive battery to starter cable from the junction block terminal (1).
5. Remove the positive battery cable (2).
6. Disengage all remaining cable retainers under the hood.
7. Remove the floor console. Refer to Front Floor Console Replacement (See: Body and Frame/Interior Moulding / Trim/Console/Service and
Repair/Front Floor Console Replacement).
8. Remove rear seat lower cushion. Refer to Rear Seat Cushion Replacement (See: Body and Frame/Seats/Seat Cushion/Service and Repair/Rear
Seat Cushion Replacement).
9. Remove left side quarter trim panel. Refer to Quarter Trim Panel Replacement (See: Body and Frame/Interior Moulding / Trim/Trim
Panel/Service and Repair/Quarter Trim Panel Replacement).
10. Reposition rear compartment side trim panel as required.