
Camaro V8-6.2L (2010)
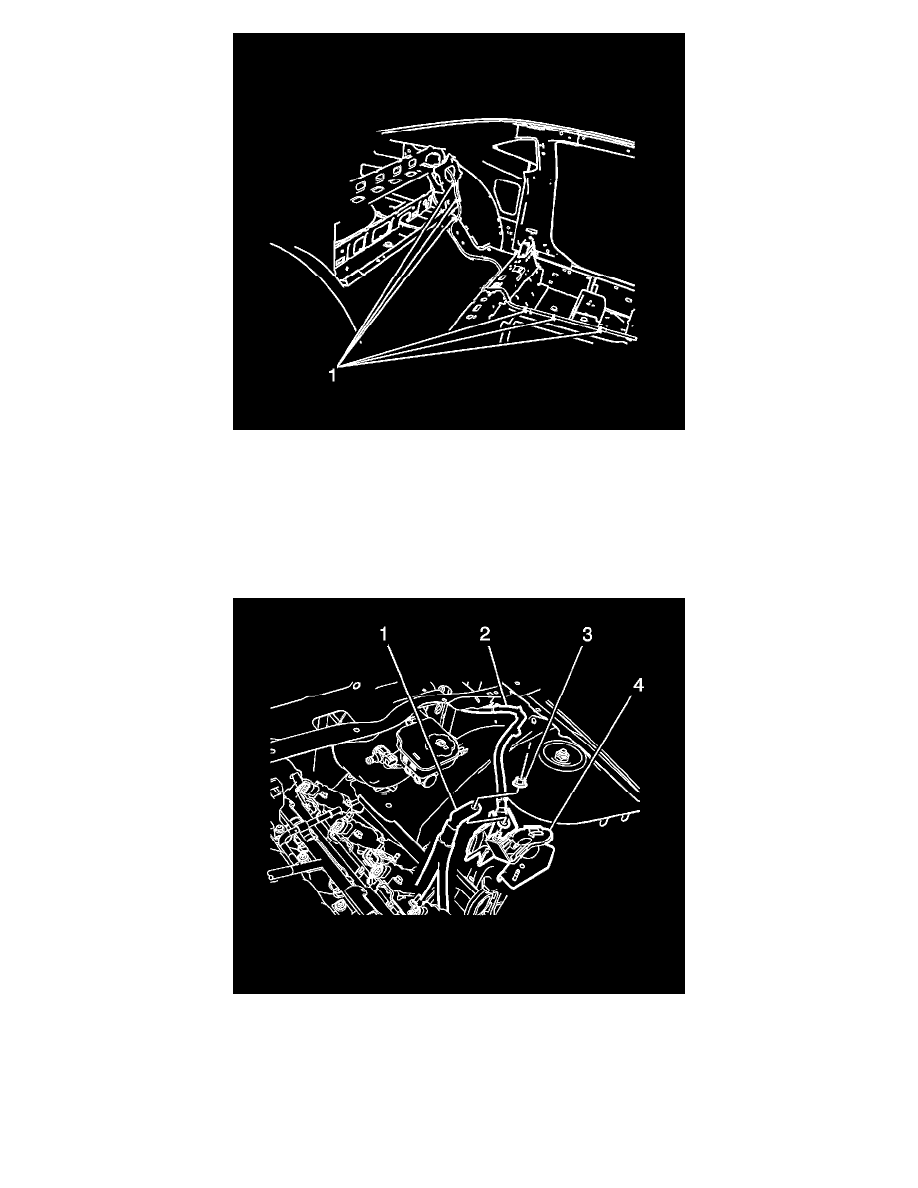
4. Route battery positive cable under floor carpet and attach retainers along the left side of floor console (1).
5. Install the pass-through grommet and fasten battery positive cable retainers to lower floor plenum.
6. Install left side quarter trim panel. Refer to Quarter Trim Panel Replacement (See: Body and Frame/Interior Moulding / Trim/Trim Panel/Service
and Repair/Quarter Trim Panel Replacement).
7. Install rear seat lower cushion. Refer to Rear Seat Cushion Replacement (See: Body and Frame/Seats/Seat Cushion/Service and Repair/Rear Seat
Cushion Replacement).
8. Install the floor console. Refer to Front Floor Console Replacement (See: Body and Frame/Interior Moulding / Trim/Console/Service and
Repair/Front Floor Console Replacement).
9. Route battery positive cable (2) along engine compartment and attach remaining fasteners.
10. Install battery positive cable to the junction block terminal.
11. Install the battery positive starter cable (1) to the junction block terminal and tighten nut (3) to 15 Nm (11 lb ft).
12. Attach the positive battery cable terminal cover (4).
13. Connect the negative battery cable. Refer to Battery Negative Cable Disconnection and Connection (See: Negative/Service and Repair/Battery
Negative Cable Disconnection and Connection).