
Camaro V8-6.2L (2010)
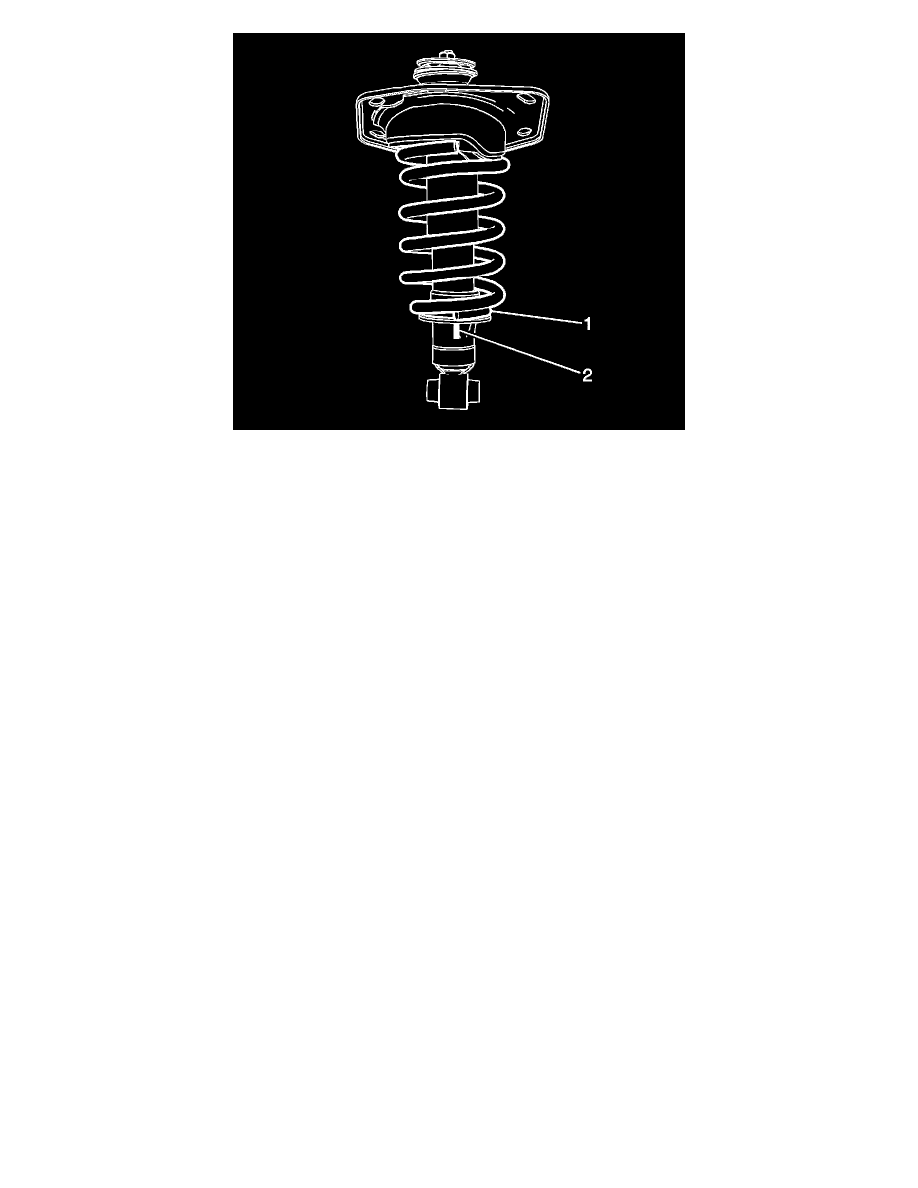
2. Align the spring (1) to the reference mark on the shock absorber (2).
Caution: Refer to Fastener Caution (See: Service Precautions/Vehicle Damage Warnings/Fastener Caution).
3. Using the appropriate tool to hold the shock absorber shaft, tighten the rear shock absorber nut to 45 Nm (33 lb ft).
4. Install the rear shock absorber in the vehicle. Refer to Shock Absorber Replacement (See: ).
Shock Absorber Replacement
Shock Absorber Replacement
Removal Procedure
1. Raise the vehicle. Refer to Lifting and Jacking the Vehicle (See: Wheels and Tires/Vehicle Lifting/Service and Repair).
2. Remove the tire and wheel assembly. Refer to Tire and Wheel Removal and Installation (See: Wheels and Tires/Service and Repair).
3. Support the rear knuckle with a suitable hydraulic jack.
4. Remove the stabilizer shaft link from the lower control arm, if needed. Refer to Stabilizer Shaft Link Replacement (See: Stabilizer Bar/Stabilizer
Link/Service and Repair/Rear Suspension).
5. Remove the lower control arm bolt from the knuckle. Refer to Lower Control Arm Replacement (See: Control Arm/Service and Repair/Rear
Suspension/Lower Control Arm Replacement).