
Caprice V6-229 3.8L VIN 9 2-bbl (1983)
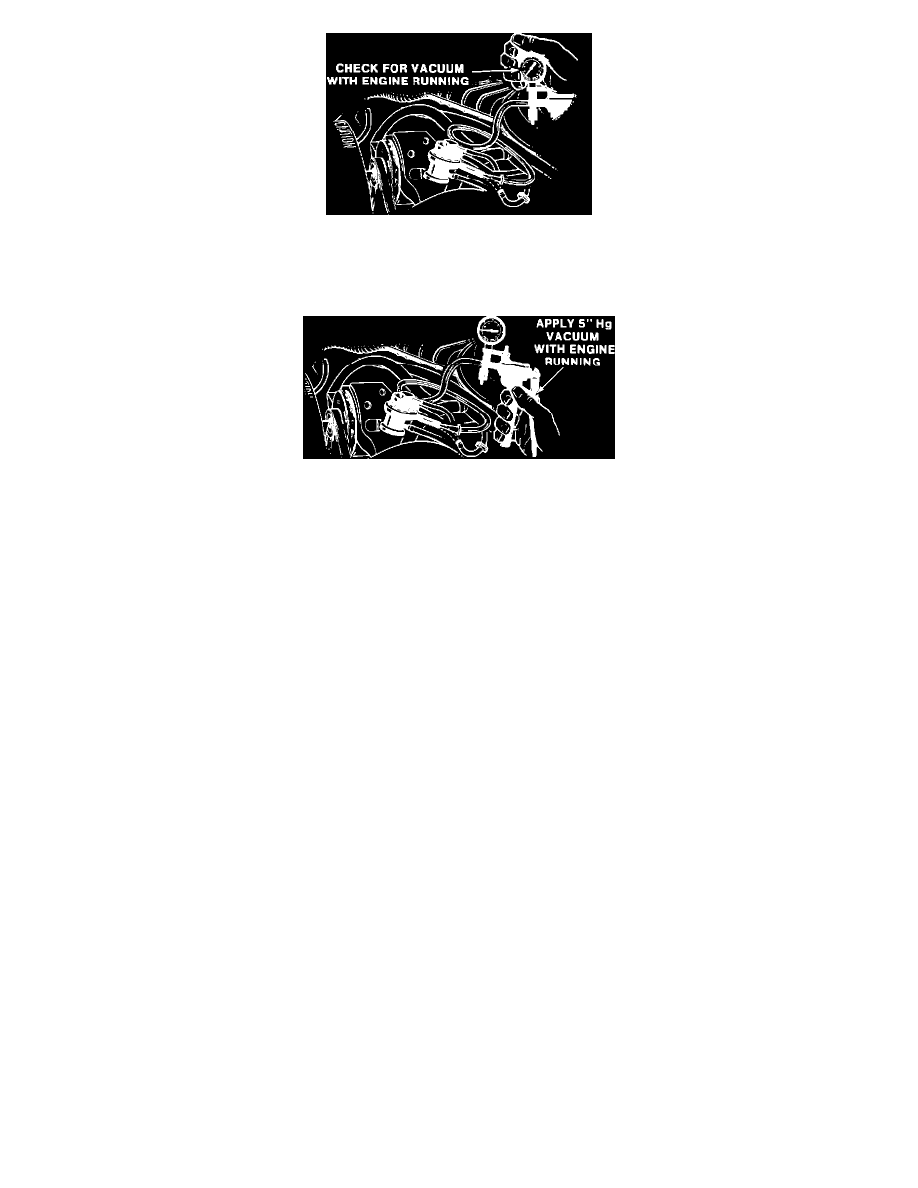
FIG 3
4.
Disconnect the carb bowl vent line at the canister control valve and connect a hand vacuum pump to the carb bowl line port (refer Figure 3) on the
valve. Allow the engine to continue to run for 30 seconds and observe if vacuum builds up on the gage. If so, replace the valve.
FIG 4
5.
With the engine still running and the vacuum pump still connected, apply 5" Hg. vacuum and observe the gage (refer Figure 4). If the valve does
not hold vacuum for at least 20 seconds, replace the valve. Otherwise, the valve is functional.
If driveability symptoms still exist, please refer to section 6E1-B of the appropriate service manual for additional diagnostic information.