
Caprice V8-305 5.0L (1986)
a. Disconnect the forward (blind end) brake pipe connection at the master cylinder.
b. Allow brake fluid to fill the master cylinder bore until it begins to flow from the forward pipe connector port.
c. Connect the forward brake pipe to the master cylinder and tighten.
d. Depress the brake pedal slowly one time and hold . Loosen the forward brake pipe connection at the master cylinder to purge air from the bore.
Tighten the connection and then release the brake pedal slowly. Wait 15 seconds. Repeat the sequence, including the 15 second wait, until all
air is removed from the bore. Care must be taken to prevent brake fluid from contacting any painted surface.
e. After all air has been removed at the forward connection, bleed the master cylinder at the rear (cowl) connection in the same manner as the
front in step "d" above.
f.
If it is known that the calipers do not contain any air, then it will not be necessary to bleed them.
3. Individual wheel cylinders or calipers are bled only after all air is removed from master cylinder.
Purging Air From Hydraulic System
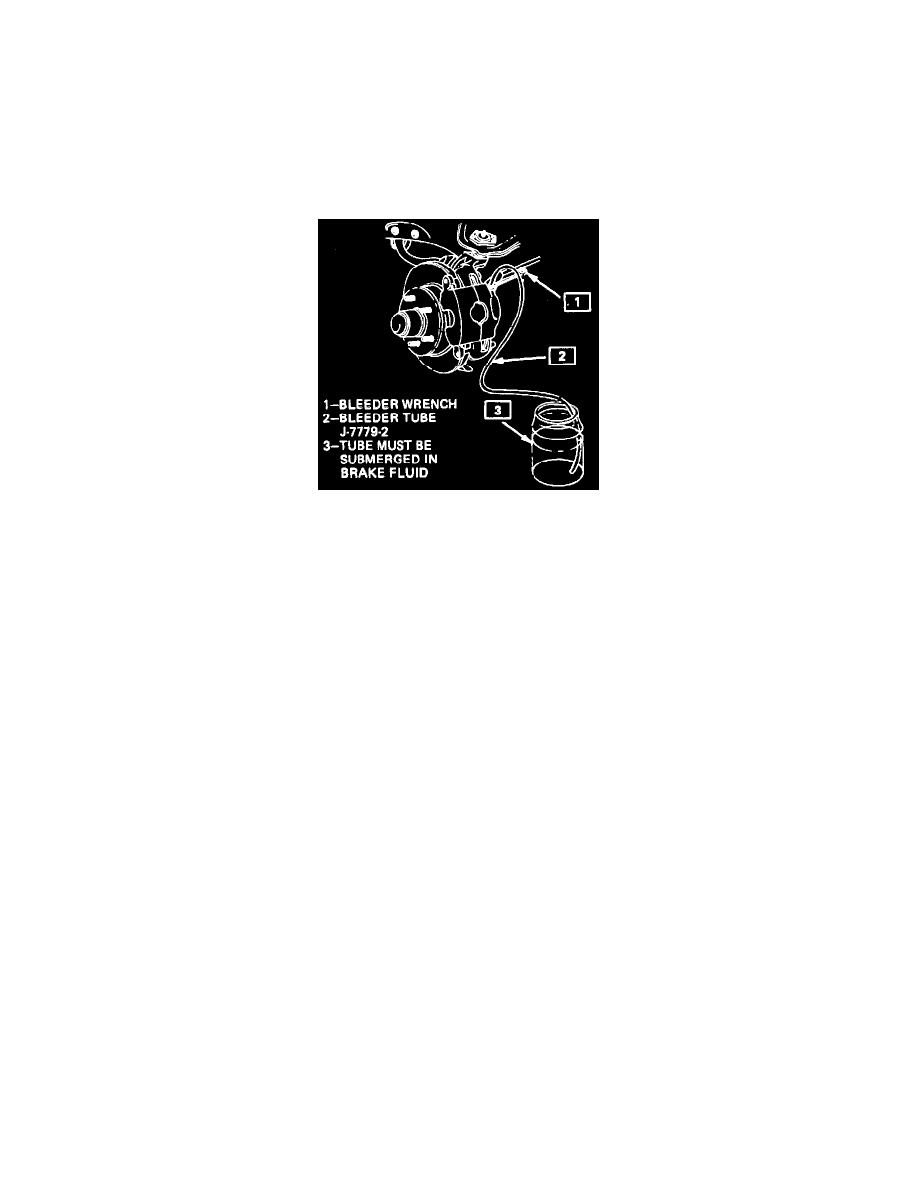
a. Place a proper size box end wrench over the bleeder valve. Attach a transparent tube over valve and allow tube to hang submerged in brake
fluid in a transparent container. Depress the brake pedal slowly one time and hold. Loosen the bleeder valve to purge the air from the cylinder.
Tighten bleeder screw and slowly release pedal. Wait 15 seconds. Repeat the sequence, including the 15 second wait until all air is removed. It
may be necessary to repeat the sequence 10 or more times to remove all the air. Rapid pumping of the brake pedal pushes the master cylinder
secondary piston down the bore in a manner that makes it difficult to bleed the rear side of the system.
4. If it is necessary to bleed all of the wheel cylinders or calipers, the following conventional sequence should be followed:
a. right rear
b. left rear
c. right front
d. left front
5. Check the brake pedal for "sponginess" and the brake warning light for indication of unbalanced pressure. Repeat entire bleeding procedure to
correct either of these two conditions.
Powermaster
1. Fill reservoir to indicated full marks inside reservoir with brake fluid as specified on cover. Properly install reservoir cover assembly.