
Caprice Classic V8-305 5.0L VIN E TBI (1991)
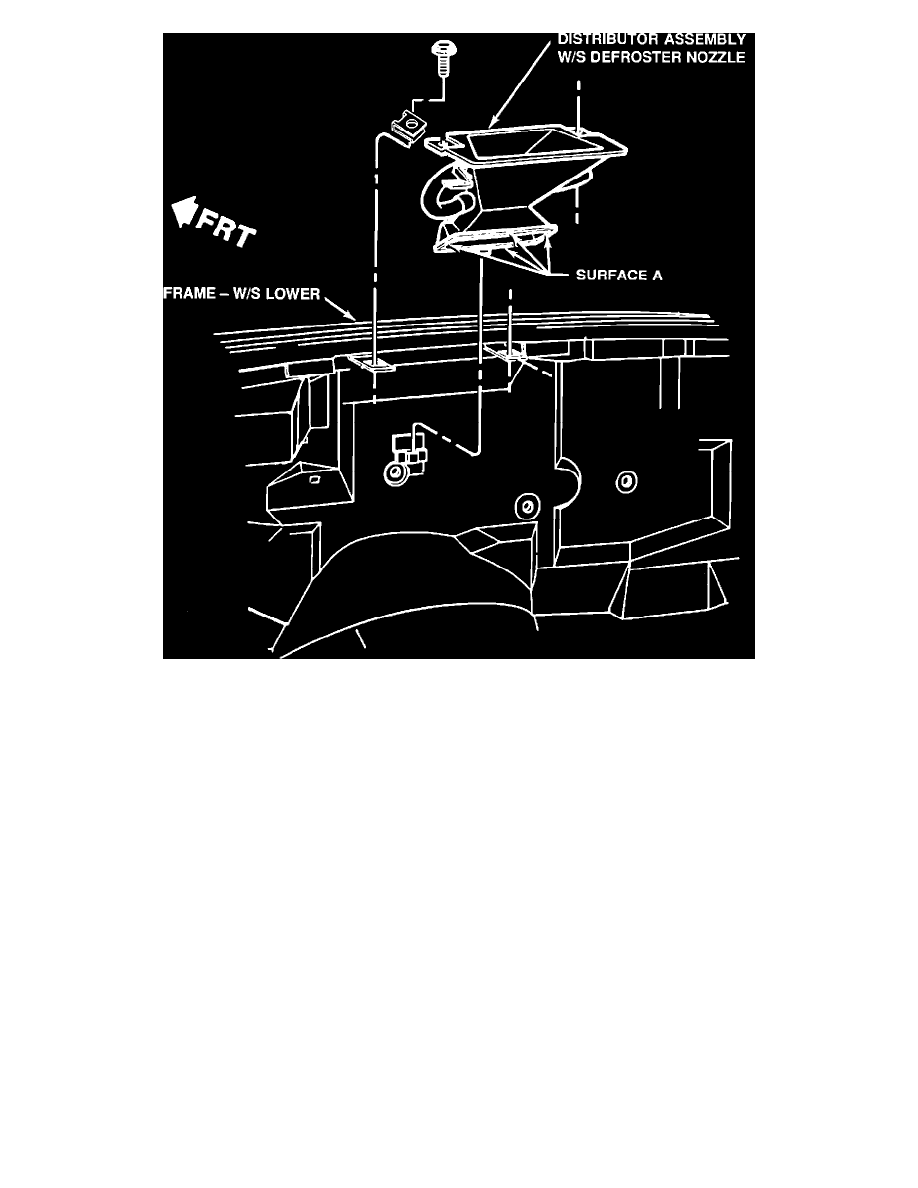
Figure 1
10.
Remove the defroster nozzle screws (2), as shown in Figure 1.
11.
Remove the defroster nozzle, shown in Figure 1 with an upward rearward motion.
12.
Install the foam seal around the perimeter on surface "A" of the defroster nozzle, as shown in Figure 1.
13.
Install the defroster nozzle.
IMPORTANT:
Make sure the mounting tab on the bottom front edge of the defroster nozzle is located in the mounting clip on the front of the dash
panel, as shown in Figure 1.
14.
Install the (2) defroster nozzle screws.
15.
Clip the I.P. wire harness to the air distributor.
16.
Position I.P. carrier and install screws (7).
17.
Connect temperature cable to the HVAC module.
18.
Install right hand sound insulator panel and screws.
19.
Install upper I.P. trim pad and screws.
20.
Install left hand I.P. trim plate and screws.
21.
Install right hand I.P. molding.