
Caprice RWD V8-305 5.0L (1992)
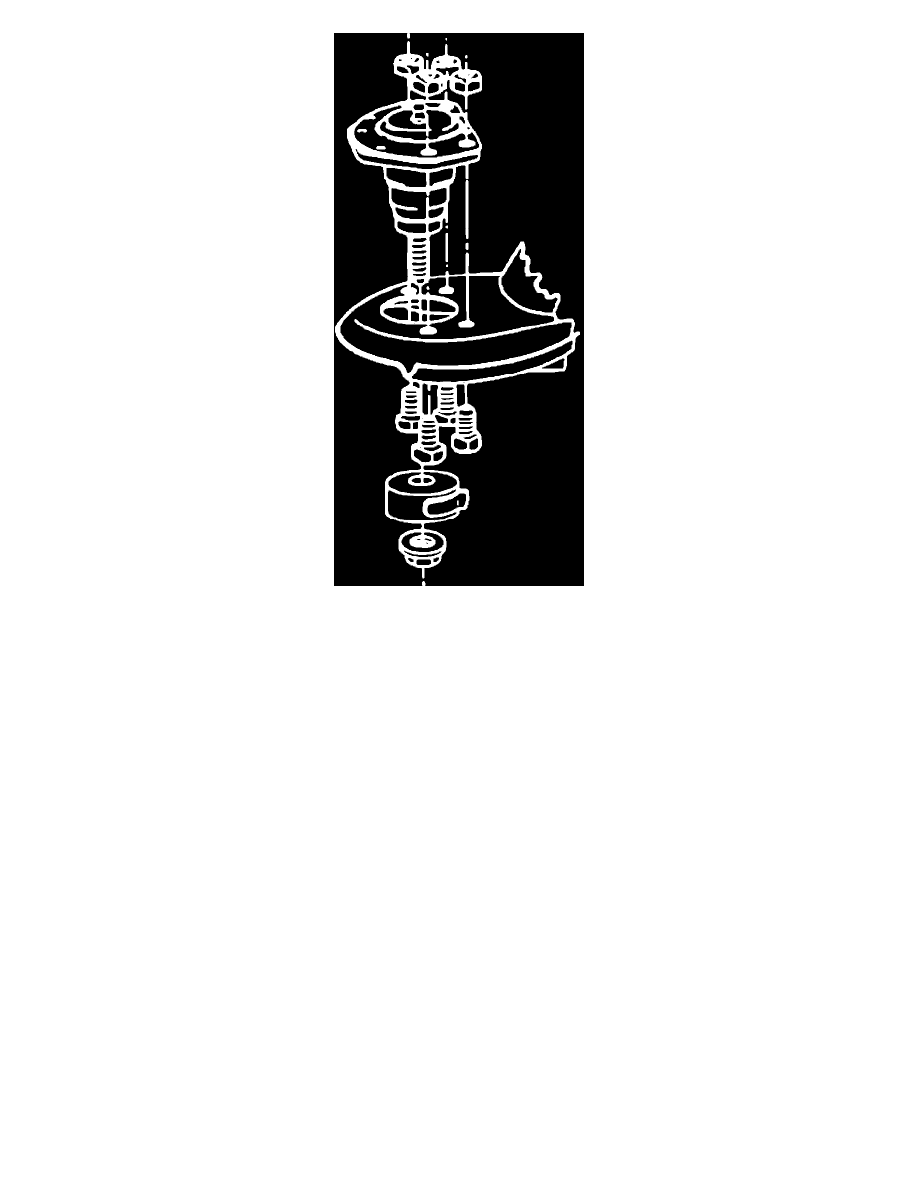
Fig. 8 Installing Service Upper Ball Joint
6.
Position replacement joint on top of control arm, insert retaining bolts supplied with joint from under arm, install nuts and torque to specifications,
Fig. 8.
7.
Remove upper control arm support, assemble ball joint to steering knuckle, install washer, if equipped, and retaining nut.
8.
Torque retaining nut to specifications.
9.
Tighten retaining nut up to an additional 1/16 turn, if necessary, to align hole in ball stud with nut, then install cotter pin.