
Caprice Wagon V8-350 5.7L (1994)
9.
Position template on outboard surface of axle control arm bracket as shown in Figure 3. Align hole in template with hole in bracket and insure
bottom edge of template is parallel to bottom edge of bracket.
10.
Repeat step 8.
11.
Using a die grinder or other suitable tool, elongate holes.
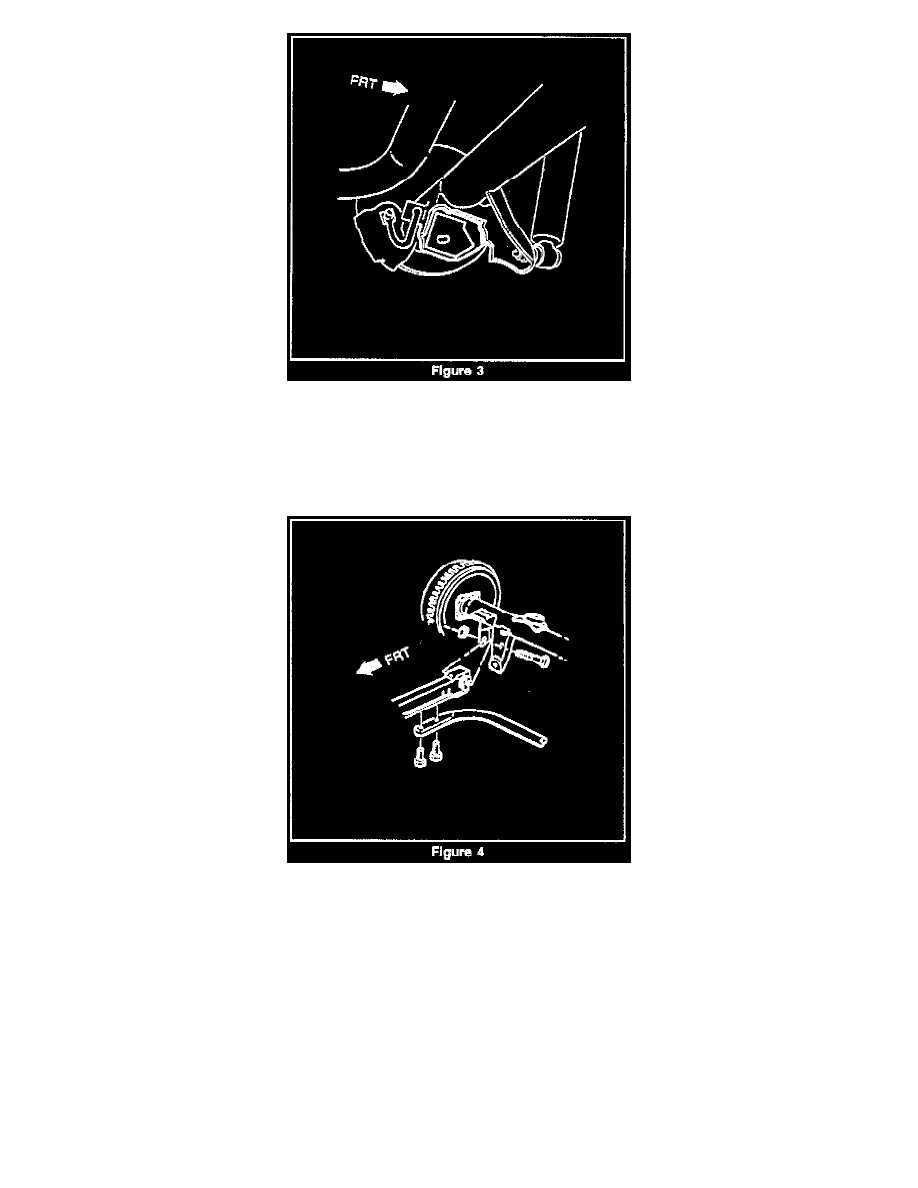
12.
Swing lower control arm into position and install attaching bolt and nut as shown in Figure 4. With axle assembly positioned as far rearward as
elongated holes will allow, torque attaching bolt to 190 Nm (140 lb.ft.) holding nut with a backup wrench.
13.
Position and connect stabilizer shaft and torque attaching bolts to 85 Nm (63 lb.ft.).
14.
Lower vehicle.
WARRANTY INFORMATION
For vehicles repaired under warranty, use:
Labor
Operation
Labor Time
E5610
Use Published Labor Operation Time.