
Cavalier L4-144 2.4L DOHC VIN T SFI (1997)
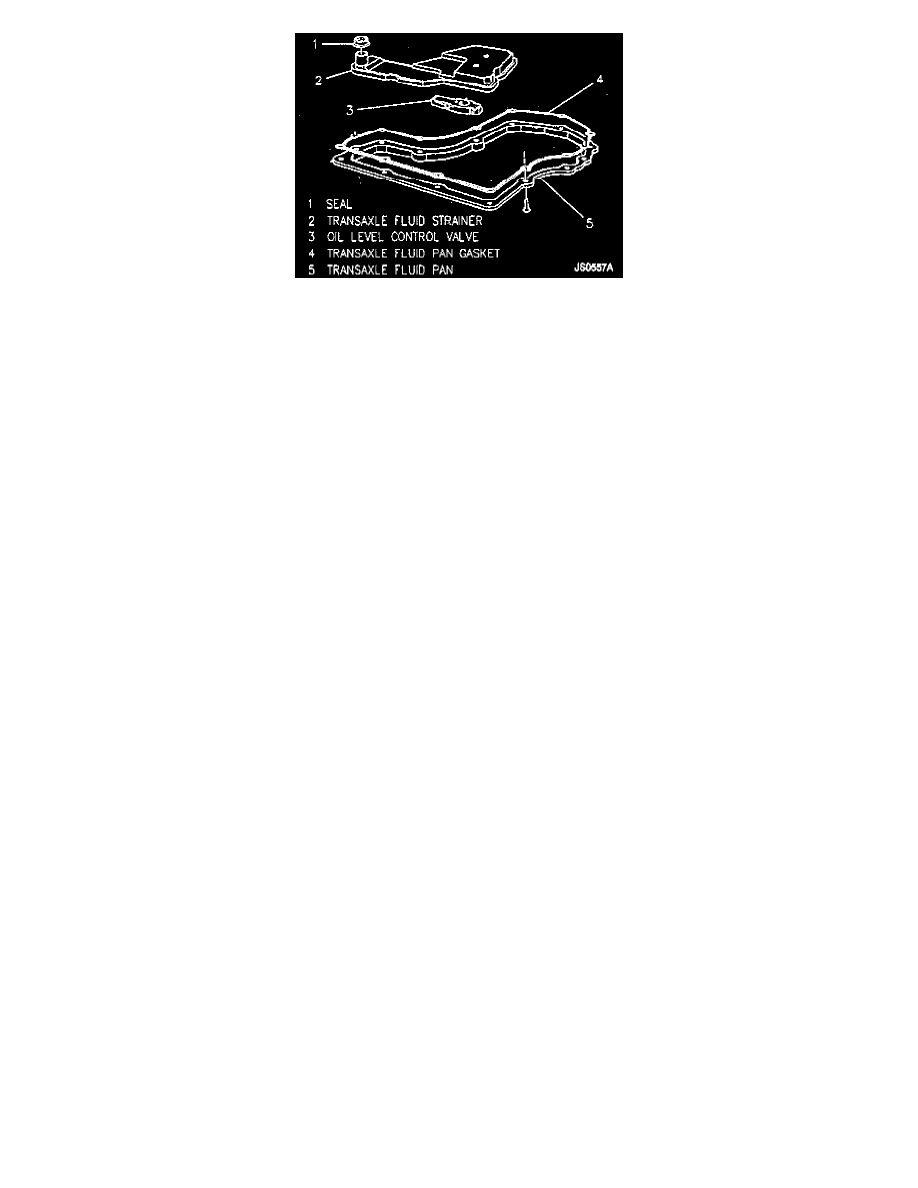
4T40E
REMOVE OR DISCONNECT
1. Raise and support the vehicle.
2. Place drain pan under transaxle oil pan.
3. Oil pan bolts from the front and sides only.
4. Loosen rear oil pan bolts approximately 4 turns.
NOTICE: Do not damage the transaxle case or oil pan sealing surfaces.
5. Lightly tap oil pan with rubber mallet or pry to allow oil to drain.
Inspect
-
Inspect oil color.
-
Refer to "Checking Oil Color, Level and Condition."
6. Remaining oil pan bolts, oil pan and gasket.
7. Oil filter and O-ring.
Inspect
-
O-ring may be stuck in the case.
Clean
-
Transaxle case and oil pan gasket surfaces with solvent and air dry. All traces of old gasket material must be removed.
INSTALL OR CONNECT
1. Coat seal with a small amount of TRANSJEL J 36850 or equivalent.
2. New seal into case.
3. New filter into case.
4. Oil pan and new gasket.
5. Oil pan bolts, refer to "Fastener Tightening Specifications. "
Inspect
-
Refer to "Valve Body Cover and Oil Pan Bolts" for inspection of bolts and washers.
-
Use adhesive/sealant compound GM P/N12345382 or equivalent to reduce the potential for oil leaks on indicated bolt, refer to the image.
6. Lower vehicle.
7. Fill transaxle to proper level with DEXRON III oil.
Adjust
-
"Cold" oil level reading for initial fill. Do not overfill.
8. Follow the "Transaxle Oil Level Checking Procedure."
Inspect
-
Check oil pan gasket for leaks.