
Cavalier L4-2.2L VIN 4 (1998)
Front Door Panel: Service and Repair
Door Trim Panel Replacement
DOOR TRIM PANEL REPLACEMENT
REMOVAL PROCEDURE
TOOLS REQUIRED
J 38778 Door Trim Pad Remover
1. Remove the inside handle bezel from the front door.
2. Remove the power door lock switch.
3. Remove the power window switch, if equipped.
4. Remove the window regulator handle, if equipped.
5. Remove the upper trim finish panel.
6. Remove the lower screws (3) from the front door trim panel.
7. Remove the screws (2) from the front door arm rest.
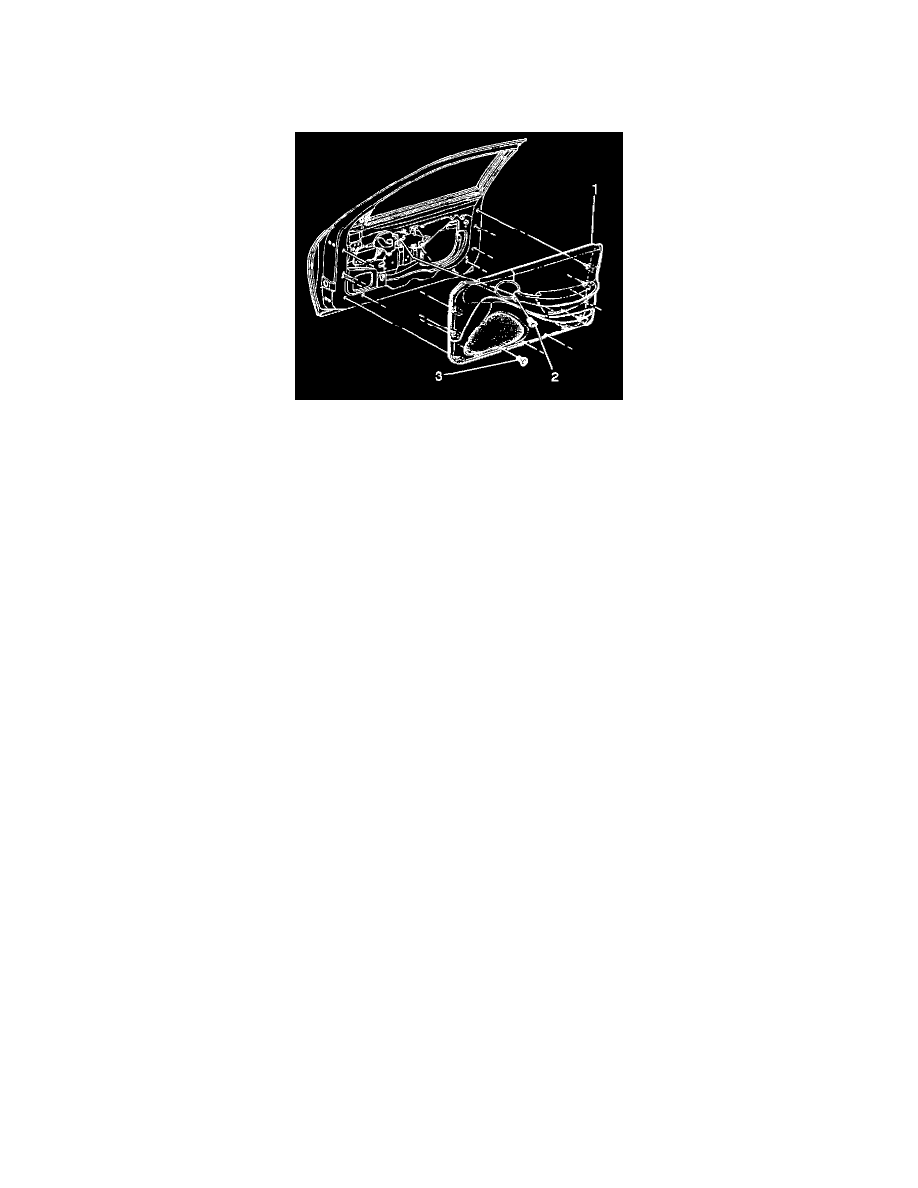
8. Using the J 38778, remove the front door trim panel fasteners from the front door inner panel (1).
9. Remove the front door trim panel (1).
INSTALLATION PROCEDURE
1. Push the front door trim panel (1) inward to engage the fasteners.
NOTE: Refer to Fastener Notice in Cautions and Notices.
2. Install the arm rest screws (2).
Tighten
Tighten the screws (2) to 1.5 Nm (13.3 lb in).
3. Install the lower screws (3) to the front door trim panel.
Tighten
Tighten the screws (3) to 1.5 Nm (13.3 lb in).
4. Install the upper trim finish panel.
5. Install the window regulator handle, if equipped.
6. Install the power window switch, if equipped.
7. Install the inside handle bezel.
8. Install the power door lock switch.