
Cavalier L4-2.2L VIN 4 (1998)
25. Fill the master cylinder to the proper level.
26. Check the brake pedal for sponginess or excessive travel.
Repeat the entire manual bleeding procedure in order to correct either of the two conditions.
PRESSURE BLEEDING
Tools Required
^
J 29532 Diaphragm Type Brake Bleeder
^
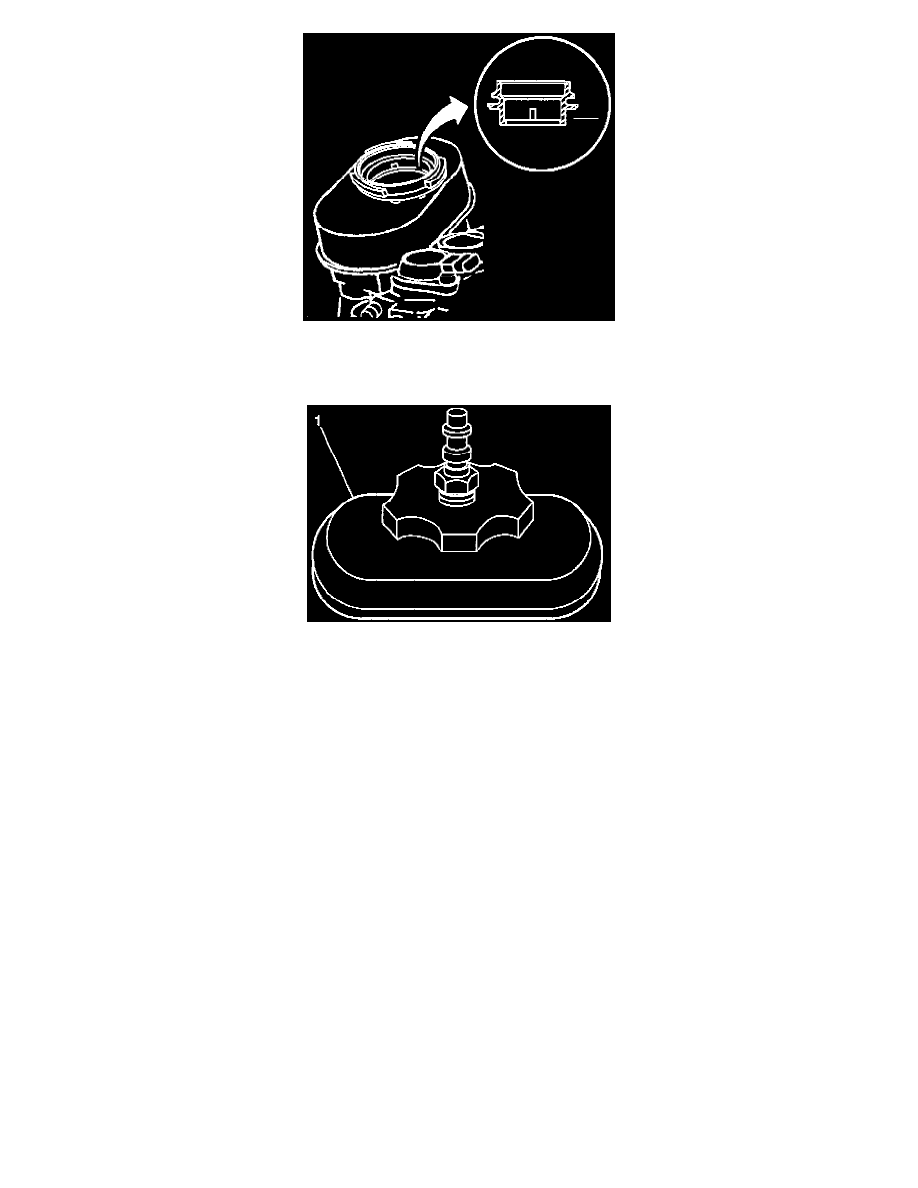
J 35589 pressure Bleeder Adapter Cap
^
J 21472 Brake Bleeder Wrench
NOTICE: Pressure bleeding equipment must be of the diaphragm type. It must have a rubber diaphragm between the air supply and the brake fluid to
prevent air, moisture, oil and other contaminants from entering the hydraulic system.
1. Install the J 35589 to the master cylinder
2. Charge the J 29532 to 140-172 kPa (20-25 psi).
3. Connect the line to the J 35589.
4. Open the line valve.
5. Raise the vehicle. Support the vehicle. Refer to Vehicle Lifting and Jacking.
6. Bleed the wheel cylinders/calipers in the following order, if necessary:
6.1. Right rear
6.2. Left rear
6.3. Right front
6.4. Left front
7. Place the J 21472 over the caliper/cylinder bleeder valve.
8. Attach a transparent tube over the bleeder screw.
Submerge the opposite hose end in a transparent container partially filled with clean brake fluid.
9. Open the bleeder screw at least 3/4 of a turn.
Allow the fluid to flow until no air is visible in the fluid.
10. Close the bleeder screw.
^
Tighten the rear bleeder screws to 7 Nm (6.2 inch lbs.).
^
Tighten the front bleeder screws to 13 Nm ( 115 inch lbs.).
11. Repeat the previous four steps until all of the calipers/cylinders have been bled.