
Cavalier L4-2.2L VIN 4 (1998)
Oil Pan: Service and Repair
REMOVAL PROCEDURE
CAUTION: Refer to Battery Disconnect Caution in Service Precautions.
1. Remove the negative battery cable.
2. Raise the vehicle. Refer to Lifting and Jacking the Vehicle.
3. Remove the right front tire and wheel assembly.
4. Remove the right engine splash shield.
5. Drain the crankcase.
6. Remove the starter bracket at the block.
7. Remove the starter and lay it aside. Refer to Starter Motor Replacement.
8. Remove the transmission converter cover or the flywheel housing cover.
9. Remove the engine mount strut bracket. Refer to Engine Mount Strut Bracket Replacement.
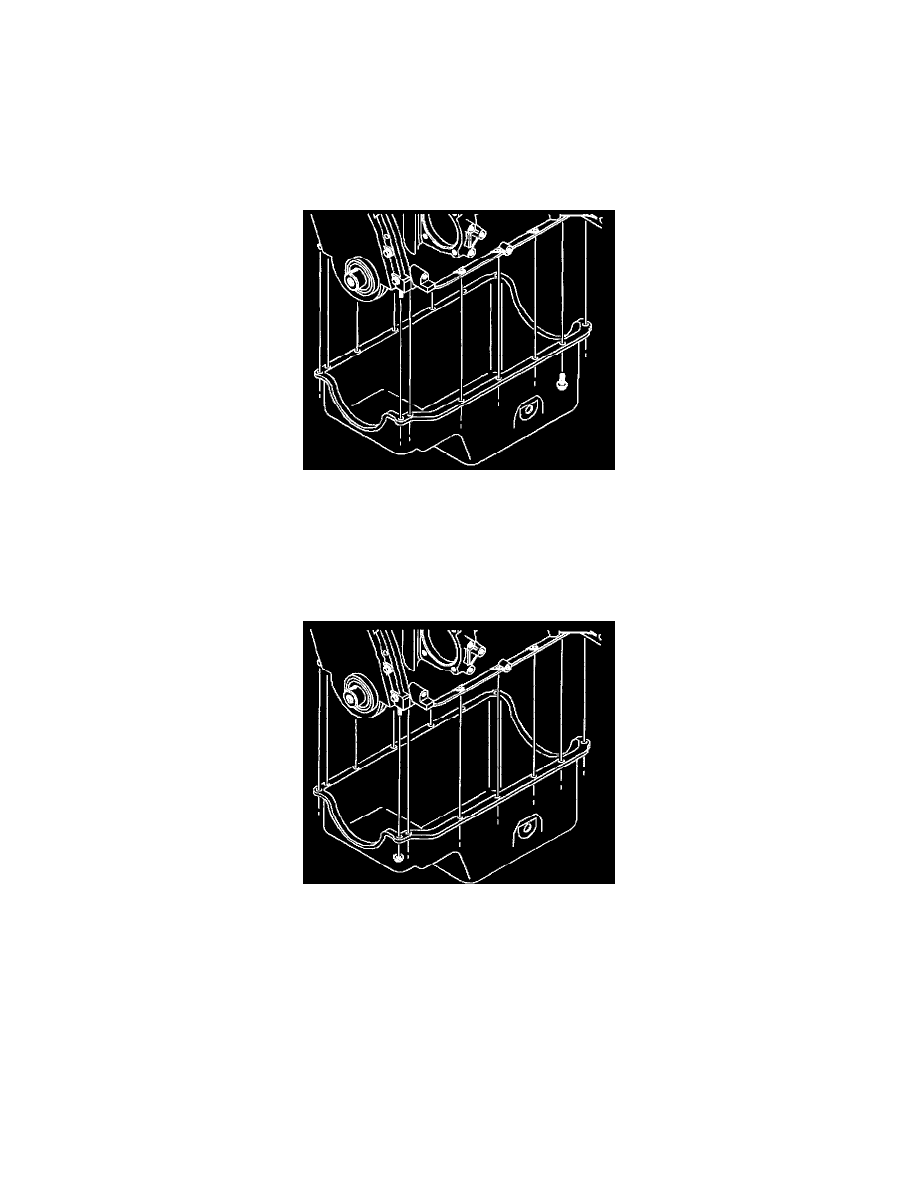
10. Remove the oil pan bolts.
11. Remove the oil pan nuts.
12. Remove the oil pan.
13. Clean the sealing surfaces on the pan, cylinder case and front cover. Make sure that the old RTV is removed from the blind attaching holes.
INSTALLATION PROCEDURE