Cavalier L4-2.2L VIN 4 (1998)

6.
Locate the round hole located in the small depressed area in the back side of the radiator support upper bar just to the right (passenger side) of the
air bag sensor mounting bracket and install the J-nut included in the harness kit.
7.
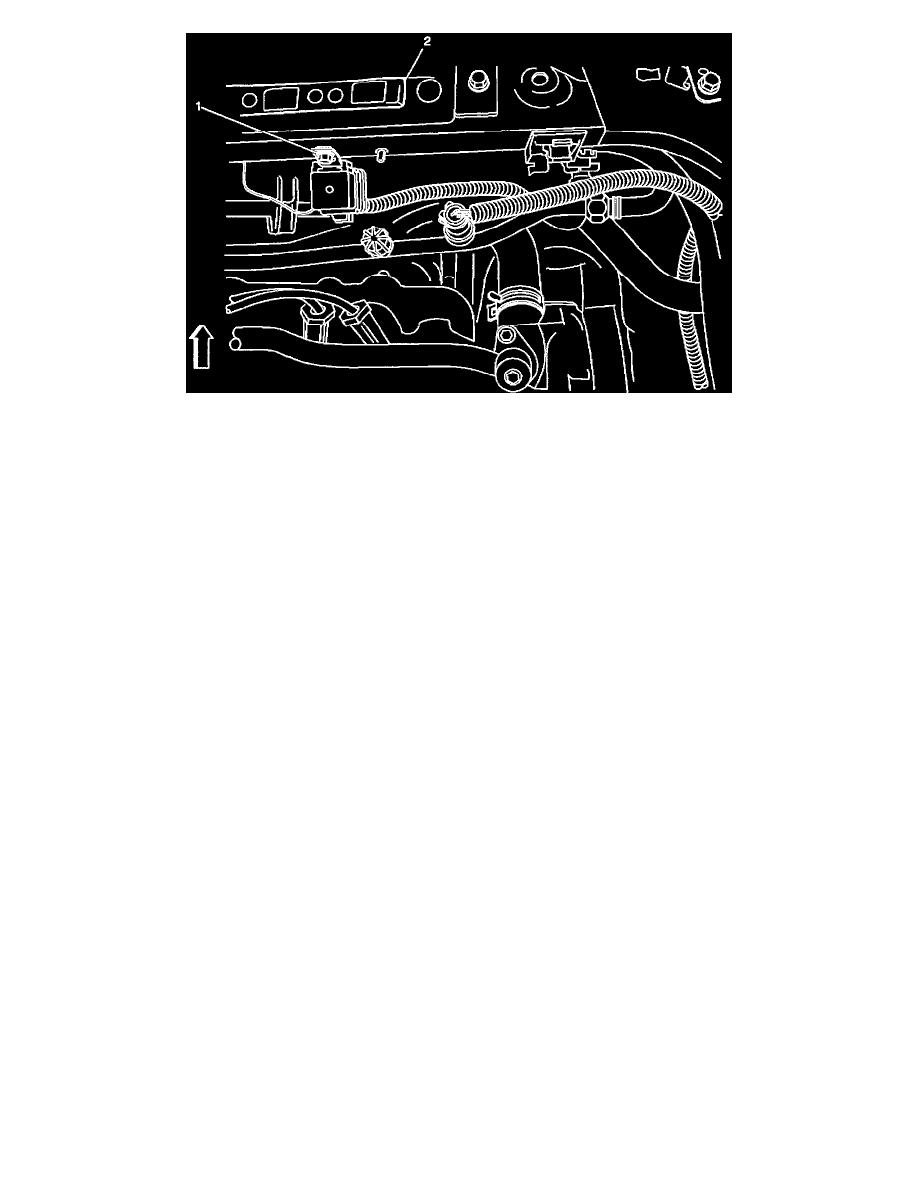
Attach the relay bracket (1) on the harness kit to the radiator tie bar (2) using the J-nut previously installed and hex head bolt included in the kit.
Tighten
Tighten the screw to 10 Nm (89 lb in).
8.
On the HARNESS KIT, strip the insulation back about 6.35 mm (1/4 in) on the purple wire. The purple wire is the only wire on the harness kit that
does not have a terminal on it.
9.
Using an appropriate crimping tool, install one end of the butt connector included in the harness kit on the purple wire.
10.
Route the new wiring harness down to the starter motor.
11.
Remove the top starter bolt.
12.
Raise the vehicle on a suitable hoist.
13.
Remove the oil filter.
14.
On 1996 models, remove the two bolts that attach the intake manifold brace to the engine block and the two bolts that attach it to the intake
manifold. Remove that brace.
15.
Remove the bottom starter bolt and remove the starter.
16.
Remove the nut from the "B" terminal of the starter and disconnect all wires and the positive battery cable from the terminal.
17.
Visually inspect the condition of the "S "terminal stud and nut on the starter solenoid.
^
If the nut and/or stud appear to be in good condition with little or no sign of corrosion, proceed to Step 25 and remove the nut. Do NOT
perform Steps 18-24 if the stud and nut are in good condition.
^
If the nut and/or stud appear to be corroded to the point where the stud may break off if removal of the nut is attempted, proceed to Step 18 of
this procedure. Steps 18-20 will require the use of one ADDITIONAL butt connector P/N 12089191. Obtain the additional butt connector
before proceeding.
18.
Using wire cutters, cut the purple wire off the "S" terminal of the starter solenoid leaving approximately 50 mm (2 in) of wire on the terminal.
19.
Strip the insulation back about 6.35 mm (1/4 in) on the short purple wire that remained on the starter solenoid.
20.
Using an appropriate crimping tool, install one end of butt connector P/N 12089191 on the short purple wire.
