
Cavalier L4-2.2L VIN 4 (1998)
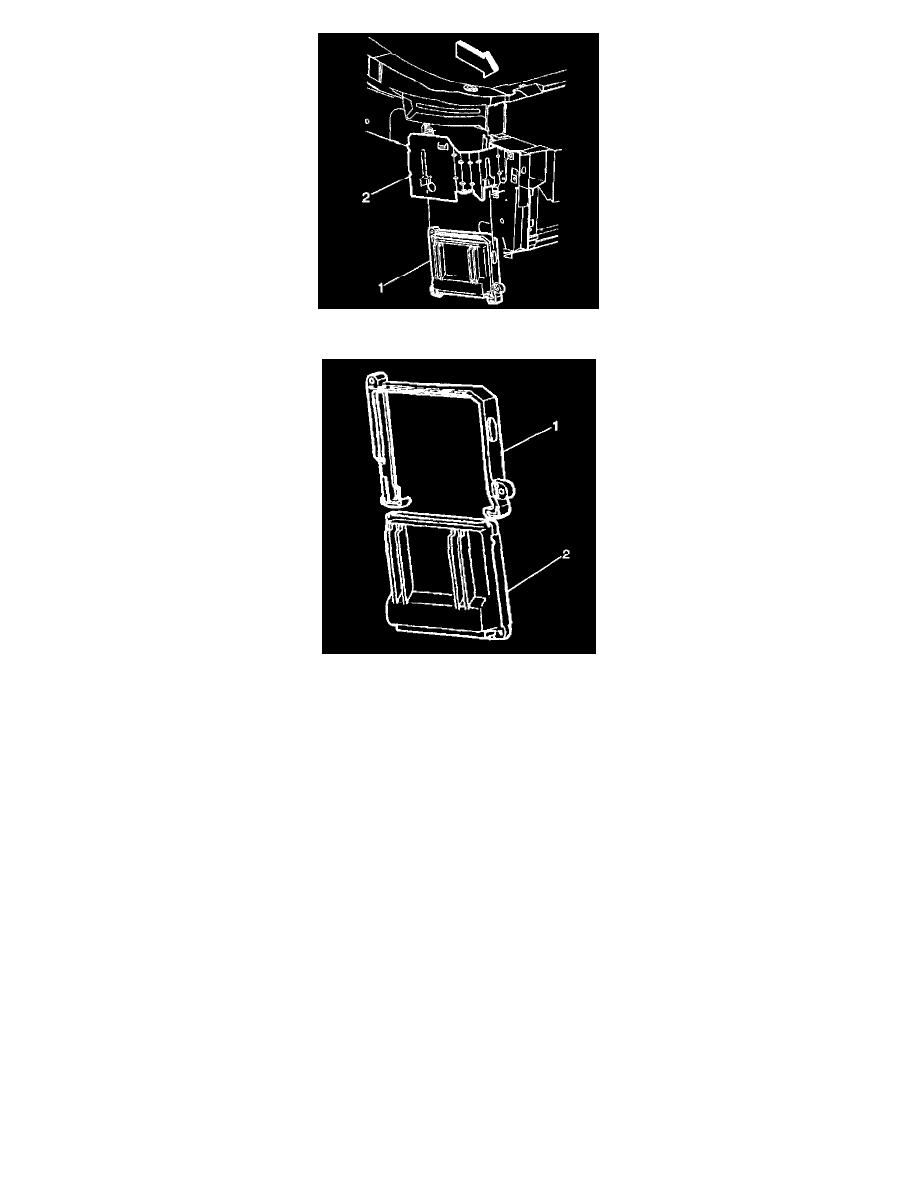
7. Slide the PCM and the retainer (1) from the PCM bracket (2).
8. Remove the retainer (1) from the PCM (2).
INSTALLATION PROCEDURE
Remove the new PCM from its packaging and check the service number to make sure it is the same number or updated number as the malfunctioning
PCM.
1. Slide the PCM (2) into the PCM retainer (1).
2. Slide the PCM and the retainer (1) into the PCM bracket (2) slots.
3. Install the PCM retainer attaching bolts (1). Tighten the PCM retainer attaching bolts to 8-12 Nm (6-9 lb ft).
NOTICE: Do not touch the PCM connector pins or soldered components on the circuit board in order to prevent possible Electrostatic Discharge
(ESD) damage. Do not remove the integrated circuit boards from the carrier.
4. Connect the PCM electrical connectors (1).
5. Install the horn and the horn attaching bolt.
6. Connect the horn electrical connector.
7. Install the RH engine splash shield.
8. Connect the negative battery cable.
9. Reprogram the PCM and perform the Crankshaft Position System Variation Learning Procedure.