Cavalier L4-2.2L VIN 4 (1998)

Throttle Body: Service and Repair
Description
REMOVAL PROCEDURE
1. Remove the negative battery cable.
2. Remove the air cleaner resonator from the throttle body.
3. Remove the electrical connectors from the IAC valve and the TP sensors.
4. Remove the vacuum hoses at the throttle body.
5. Remove the throttle, cruise, and transmission control cables.
6. Remove the accelerator cable bracket.
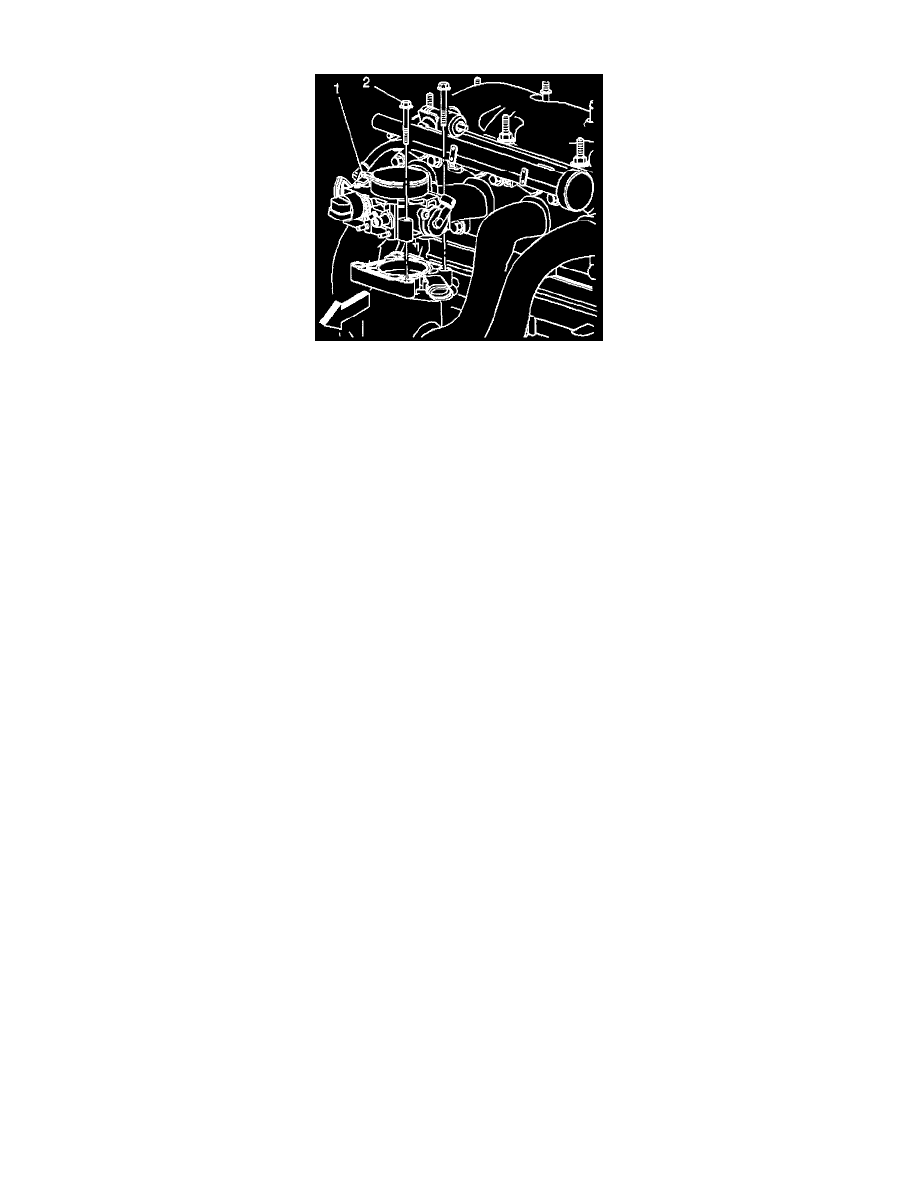
7. Remove the throttle body attaching bolts (2).
8. Loosen the throttle body (1) from the intake manifold.
INSTALLATION PROCEDURE
NOTICE: The EVAP canister may have released carbon particles which caused this part to fail. Check the EVAP canister for loose carbon before
returning the vehicle to service.
1. Install the throttle body (1).
2. Install the accelerator cable bracket.
3. Install the throttle body attaching bolts (2). Tighten the throttle body attaching bolts to 10 Nm (89 lb in).
4. Install the throttle, cruise, and transmission control cables to the throttle body.
5. Install the vacuum hoses to the throttle body.
6. Install the electrical connectors to the IAC valve and TP sensors.
7. Install the air cleaner resonator to the throttle body.
IMPORTANT: With the engine OFF, check to see that the accelerator pedal is free, by depressing the pedal to the floor and releasing.
8. Install the negative battery cable.
9. Reset IAC valve pintle position:
9.1. Turn the ignition switch to the ON position.
9.2. Turn the ignition switch to the OFF position for ten seconds.
9.3. Start the engine and check for proper idle operation.
