
Cavalier L4-2.2L VIN 4 (1998)
Important
The-push-in barbed feature on the plastic harness clips are NOT used when attaching the wiring harness together in the next step.
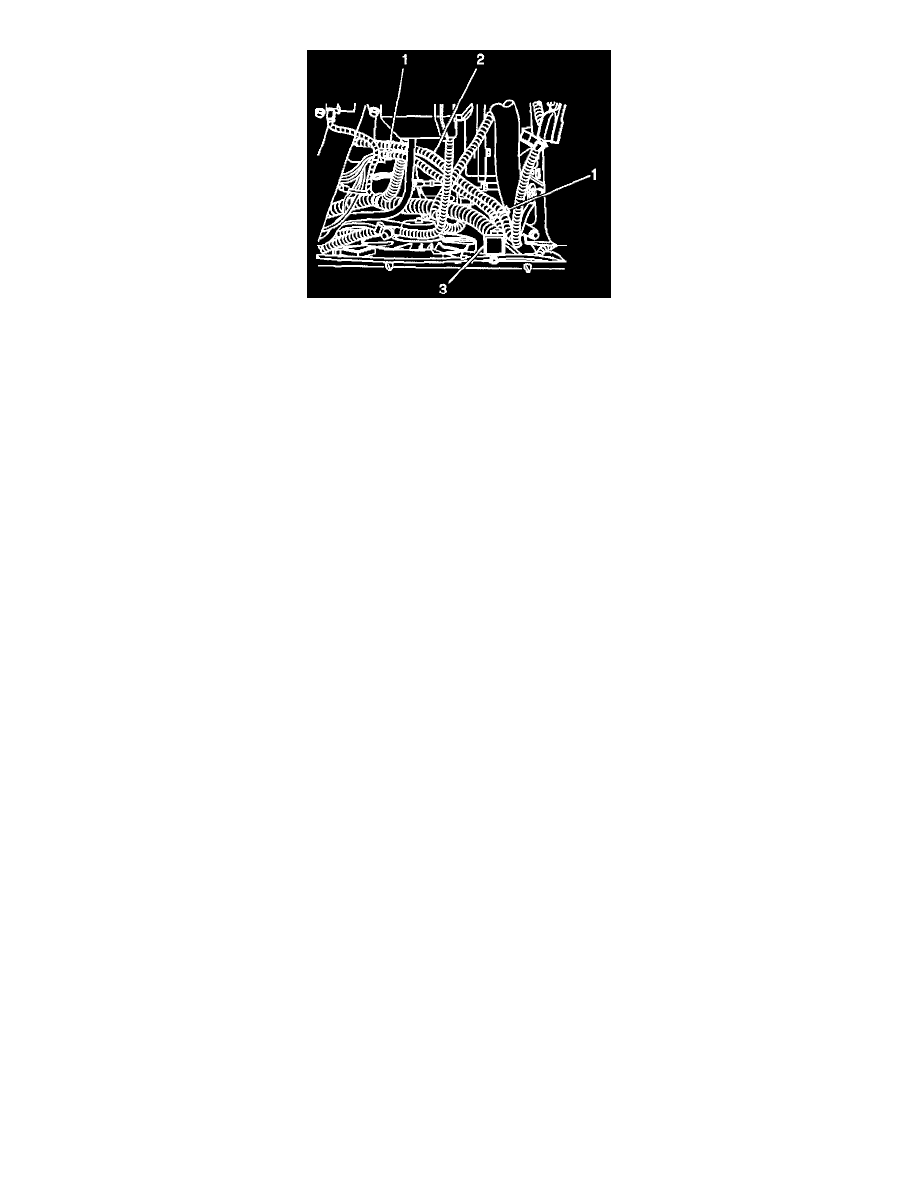
14.
Route and attach the service relay harness (3) to the vehicle wiring harness (2) using the two plastic clips (1) already attached to the relay harness.
Important
The terminals located on the starter motor solenoid can be accessed through the opening between the runners in the intake manifold. It is not
necessary to remove the starter motor to access the terminals on the 1999-2001 models.
15.
Remove the nut from the "B" terminal of the starter and disconnect all wires and the positive battery cable from the terminal.
16.
Visually inspect the condition of the "S" terminal stud and nut on the starter solenoid.
^
If the nut and/or stud appear to be in good condition with little or no sign of corrosion, proceed to Step 24 and remove the nut. Do NOT
perform Steps 17-23 if the stud and nut are in good condition.
^
If the nut and/or stud appear to be corroded to the point where the stud may break off if removal of the nut is attempted, proceed to Step 17 of
this procedure. Steps 17-23 will require the use of one ADDITIONAL butt connector, P/N 12089191. Obtain the additional butt connector
before proceeding.
17.
Using wire cutters, cut the purple wire off the "S" terminal of the starter solenoid leaving approximately 50 mm (1/4 in) of wire on the terminal.
18.
Strip the insulation back about 6.35 mm (1/4 in) on the short purple wire that remained on the starter solenoid.
19.
Using an appropriate crimping tool, install one end of butt connector, P/N 12089191 on the short purple wire.
20.
Using wire cutters, cut the small ring terminal off the end of the red wire on the service harness kit.
21.
Strip the insulation back about 6.35 mm (1/4 in) on the red wire.
22.
Using an appropriate crimping tool, install the red wire in the other end of the butt connector that is on the starter solenoid short purple wire.
23.
Using an appropriate tool, heat shrink the yellow tubing on the butt connector to shrink it into position to seal the connection.
Important:
If you have just completed Steps 17-23 proceed to Step 26. Do NOT perform Steps 24-25. If you did NOT perform Steps 17-23, proceed to
Step 24.
24.
Remove the nut from the starter solenoid "S" terminal, and remove all the wires from the terminal.
25.
Cut the ring terminal from the vehicle wiring harness purple wire, which was removed from the "S" terminal.
26.
Strip the insulation back about 6.35 mm (1/4 in) on the purple wires of the vehicle wiring harness arid the service harness kit.
27.
Using an appropriate crimping tool, install the other end of the butt connector, which is already installed on the harness kit, on the purple wire on
the vehicle's wiring harness. Crimp the wires together firmly.
28.
Using an appropriate tool, heat shrink the yellow tubing on the butt connector to shrink it into position to seal the connection.