
Cavalier L4-2.2L VIN 4 (1998)
4.2.
Tighten the right rear outboard bolt to 110 Nm (71 ft. lbs.).
4.3.
Tighten the rear inboard bolts to 110 Nm (71 ft. lbs.).
4.4.
Tighten the power steering gear mounting bolts to 0120 Nm (89 ft. lbs.).
5. Install the lower pinch bolt to the intermediate shaft. Refer to Intermediate Steering Shaft Replacement in Steering Column Standard.
6. Install the brake pipes to the retainers on the front suspension support.
7. Install the tie rod ends to the steering knuckle. Refer to Tie Rod End Replacement - Outer On Vehicle.
8. Install the power steering hoses to the power steering gear. Refer to the following procedures:
-
Power Steering Pressure Hose Replacement
-
Power Steering Return Hose Replacement
9. Install the tire and wheel assemblies. Refer to Tire and Wheel Removal and Installation in Wheels, Tires and Alignment.
10. Bleed the power steering system. Refer to Bleeding Power Steering System in Service and Repair of Steering.
11. Align the front wheels. Refer to Measuring Wheel Alignment (Front) in Alignment.
Automatic Transmission
REMOVAL PROCEDURE
1. Raise the vehicle on a hoist. Refer to Vehicle Lifting.
2. Remove the front suspension cross member. Refer to Front Suspension Crossmember Replacement in Suspension
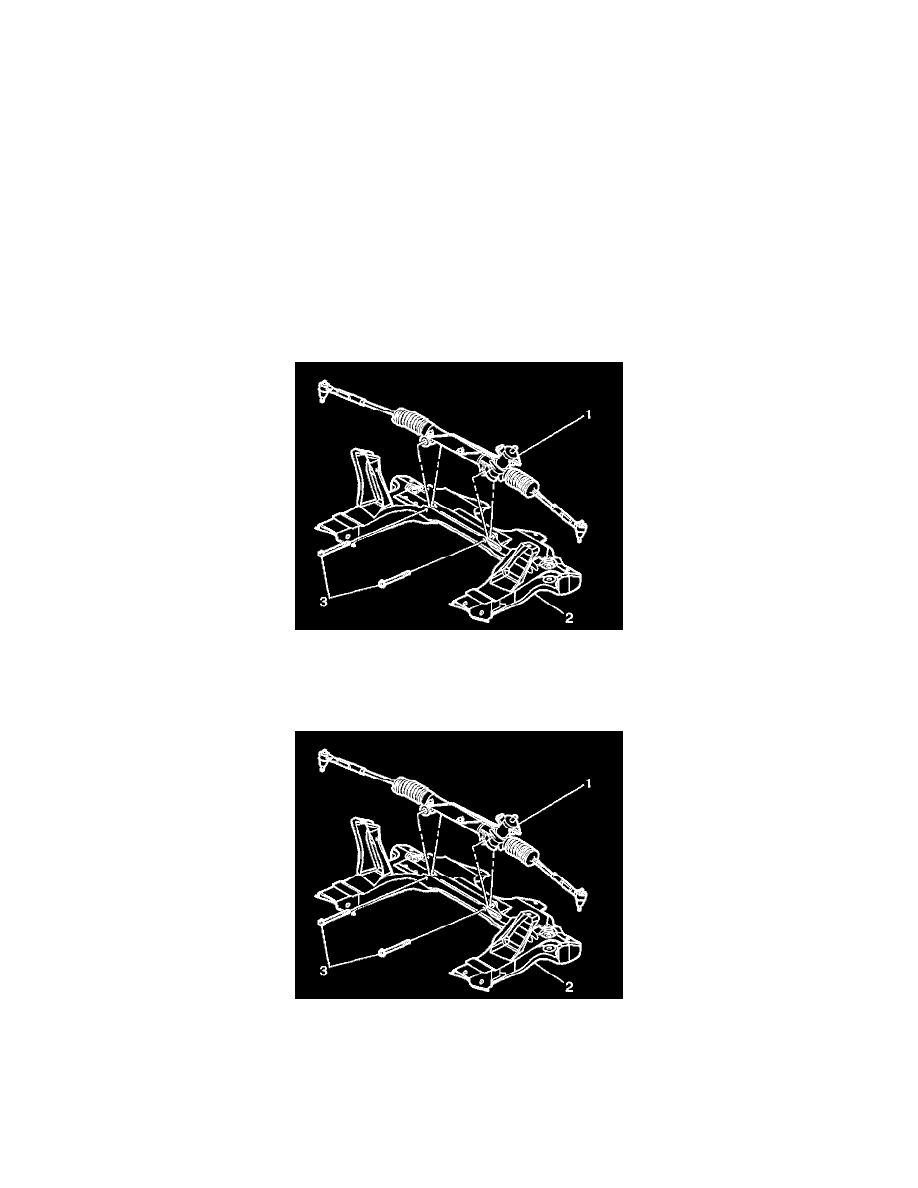
3. Remove the power steering gear mounting bolts (3).
4. Remove the power steering gear (1) from the front suspension support assembly (2).
INSTALLATION PROCEDURE
1. Install the power steering gear (1) to the front suspension cross member (2).
NOTICE: Refer to Fastener Notice in Service Precautions.
2. Install the power steering gear mounting bolts (3)
Tighten the bolts to 120 Nm (89 ft. lbs.).
3. Install the front suspension support assembly. Refer to Front Suspension Cross member Replacement in Suspension
4. Lower the vehicle.