
Cavalier L4-2.2L VIN 4 (1998)
5. Install the left splash shield.
6. Install the left front tire and wheel assembly. Refer to Wheel Installation in Tires and Wheels.
7. Remove the engine support fixture.
8. Lower the vehicle.
9. Connect the negative battery cable.
A/T Mount Replacement (Rear)
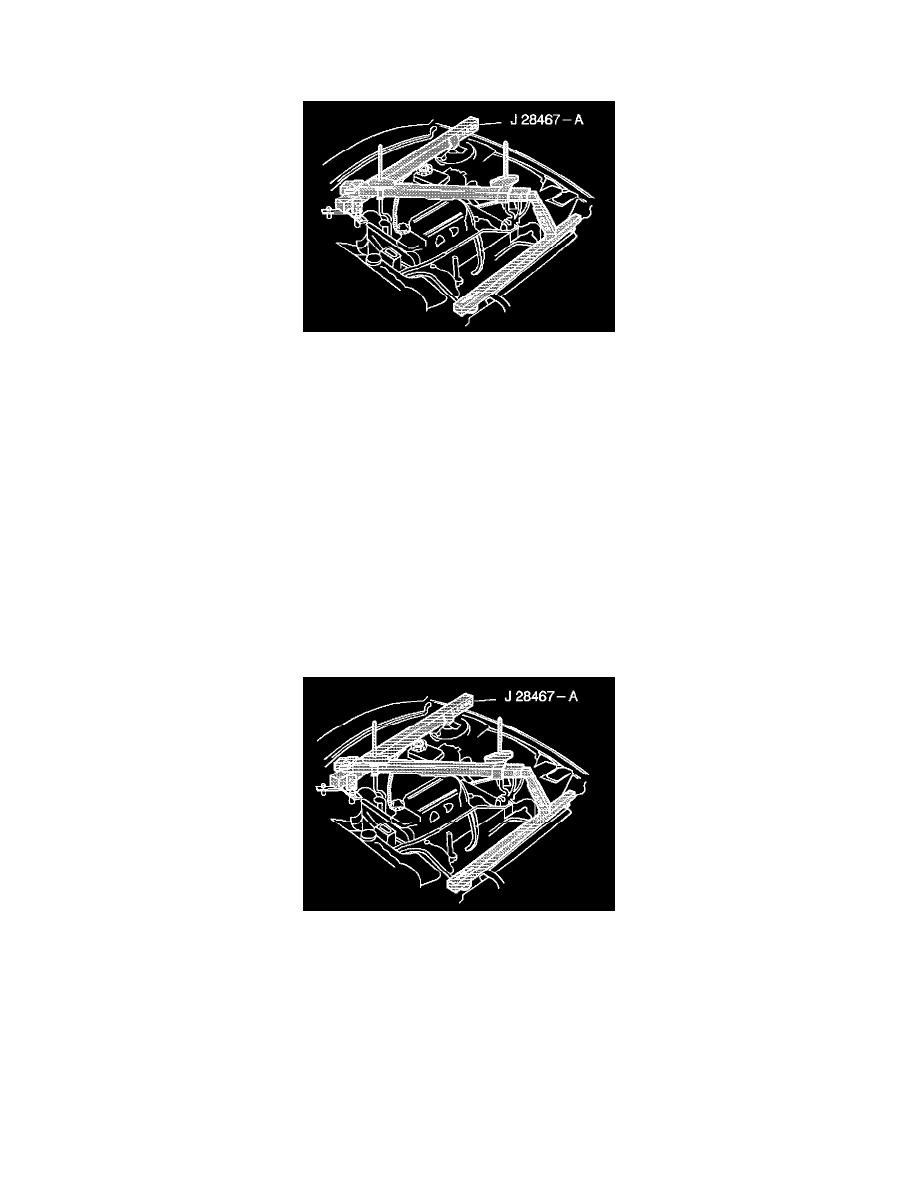
REMOVAL PROCEDURE
^
Tools Required
-
J 28467-360
1. Disconnect the negative battery cable.
CAUTION: Refer to Battery Disconnect Caution in Service Precautions.
2. Remove the air intake duct. Refer to Air Cleaner Intake Duct Replacement in Powertrain Management.
3. Remove the TV cable, if equipped. Refer to TV Cable Replacement.
4. Remove the power brake booster line.
5. Remove the hose.
6. Install the J 28467-360.
7. Raise and suitably support the vehicle. Refer to Vehicle Lifting.
8. Remove the engine mount strut.
9. Remove the left front tire and the wheel assembly. Refer to Wheel Removal in Tires and Wheels.
10. Remove the left splash shield.
11. Remove the crossmember.
12. Remove the left front ABS wheel speed sensor connector.
13. Remove the harness from the suspension support.
14. Remove the left front ball joint. Refer to Lower Ball Joint Replacement in Suspension.
15. Remove the left stabilizer bushing nuts. Refer to Stabilizer Shaft Replacement in Suspension.
16. Remove the stabilizer shaft from the left lower control arm. Refer to Stabilizer Shaft Replacement in Suspension.
17. Remove the left suspension support. Refer to Suspension Crossmember Replacement in Suspension.
18. Remove the left side drive axle from the transmission. Refer to Wheel Drive Shafts Replacement in Wheel Drive Shafts.