
Cavalier L4-2.2L VIN 4 (1998)
6. Install the transmission pipe expansion bolt to the transmission support assembly.
^
Tighten the bolt to 55 Nm (41 ft. lbs.).
7. Install the P/S lines to the P/S gear.
8. Install the transmission cooler lines. Refer to A/T Oil Cooler Pipes Replacement.
9. Install the left drive axle to the transmission. Refer to Wheel Drive Shafts Replacement in Wheel Drive Shafts.
10. Install the left suspension support. Refer to Suspension Crossmember Replacement in Suspension.
11. Install the stabilizer shaft to the left lower control arm. Refer to Stabilizer Shaft Replacement in Suspension.
12. Install the left stabilizer bushing nuts. Refer to Stabilizer Shaft Replacement in Suspension.
13. Install the left front ball joint. Refer to Lower Ball
Joint Replacement in Suspension.
14. Route and connect the left front ABS wheel speed sensor.
15. Install the crossmember.
16. Install the left splash shield.
17. Install the left front tire and the wheel assembly. Refer to Wheel Installation in Tires and Wheels.
18. Install the engine mount strut.
19. Lower the vehicle.
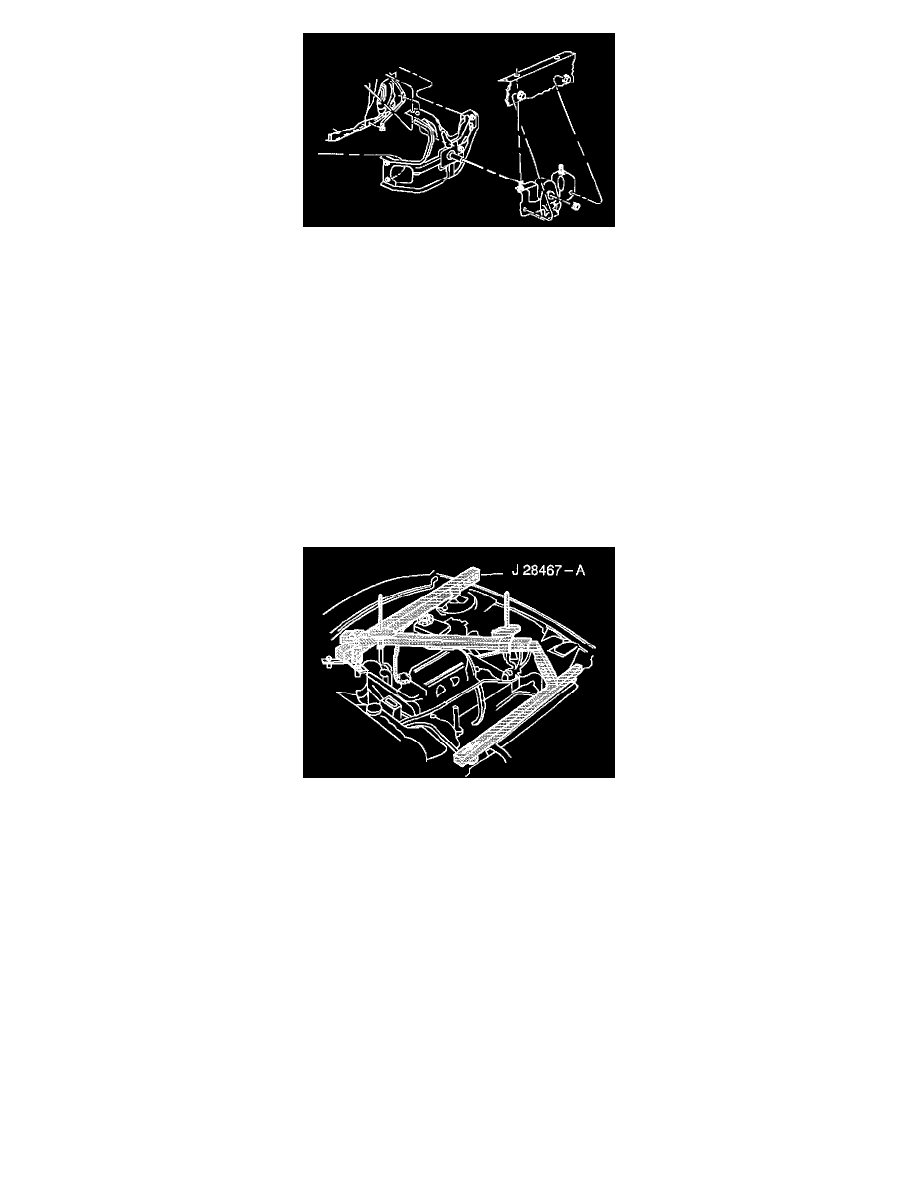
20. Remove the engine support fixture.
21. Install the power brake booster line.
22. Install the hose.
23. Install the TV cable, if equipped. Refer to TV Cable Replacement.
24. Install the air intake duct. Refer to Air Cleaner Assembly Replacement in Powertrain Management.
25. Connect the negative battery cable.
26. Adjust the P/S oil level. Refer to Checking and Adding Power Steering Fluid in Power Steering System.
27. Adjust the TV cable. Refer to TV Cable Adjustment
28. Inspect the oil level.
29. Inspect the suspension alignment. Refer to Wheel Alignment Specifications in Wheel Alignment.
30. Inspect the transmission for oil leaks.