
Cavalier L4-2.2L VIN 4 (1998)
IMPORTANT: Ensure that the retaining ring side of the inner race faces the outer race.
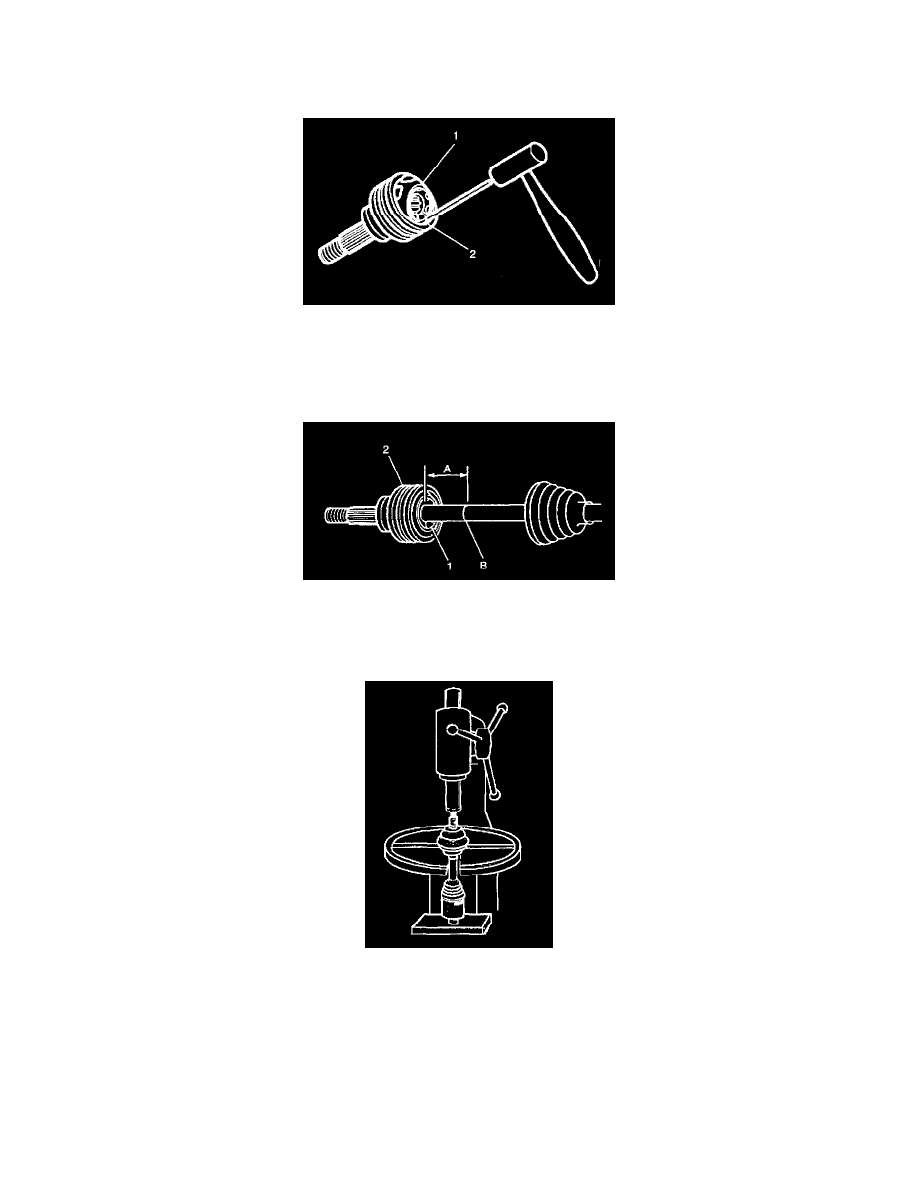
5. Install the cage and the inner race into outer race.
6. Place a brass drift against the CV joint cage (1).
7. Tap gently on the brass drift with a hammer in order to tilt the cage (1).
8. Install the first chrome alloy ball (2) when the CV joint cage (1) tilts.
9. Repeat this process to install all six of the balls.
10. Pack the CV joint with half of the grease supplied in the service kit.
11. Install the new small retaining clamp on the neck of the boot. Do not crimp.
12. Clean the halfshaft bar. Use a wire brush to remove any rust in the boot mounting area (grooves).
13. Slide the CV joint boot onto the halfshaft bar. Expose the reference mark (B) by sliding the CV joint boot up the halfshaft bar toward the tripot
end.
14. Position the large boot retaining clamp around the joint boot.
15. Place the new retaining ring onto the halfshaft bar.
16. While supporting the tripot assembly, place the halfshaft assembly onto the arbor press with the CV assembly under the press head.
17. Lower the arbor press head onto the CV joint assembly until the press cannot move any further. This ensures that the retaining ring engages in the
inner race. Do not exceed 4,000 lbs. press load during assembly.
18. Remove the halfshaft assembly from the arbor press.