
Cavalier L4-2.2L VIN 4 (1998)
Seals and Gaskets: Service and Repair
REMOVAL PROCEDURE
1. Disconnect the negative battery cable. Refer to Battery Disconnect Caution in Service Precautions.
2. Raise and suitably support the vehicle. Refer to Vehicle Lifting.
3. Support the vehicle with a safety stand.
4. Remove the tire and wheel assembly. Refer to Wheel Removal in Tires and Wheels.
5. Remove the stabilizer shaft from the shift control arm.
6. Remove the ball joint from the steering knuckle. Refer to Lower Ball Joint Replacement in Front Suspension.
7. Remove the drive axle from:
^
The left oil seal - the transaxle
^
The right oil seal - the intermediate shaft
8. Remove the intermediate shaft.
9. Remove the drive axle oil seal.
10. Fill between the oil seal lips with chassis grease GM P/N 1051344 or equivalent.
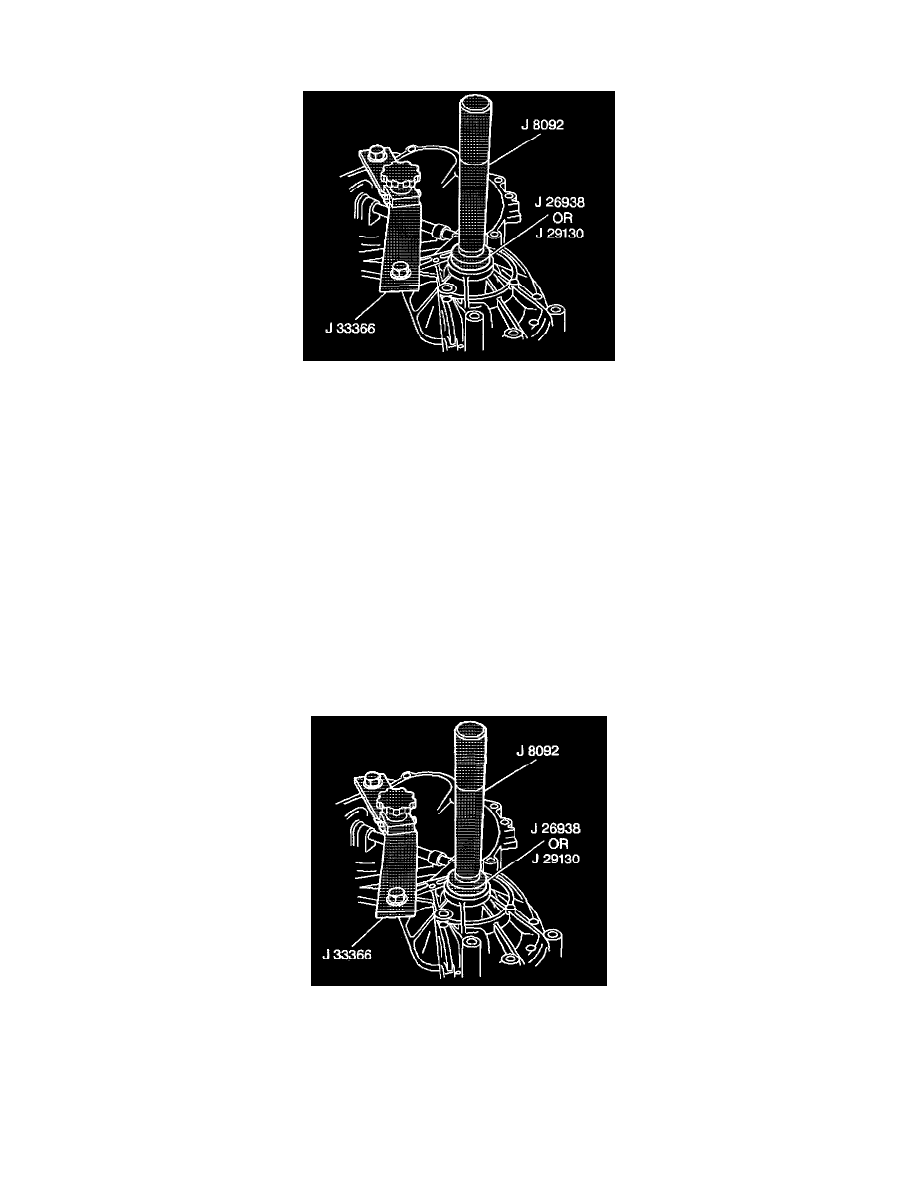
INSTALLATION PROCEDURE
^
Tools Required
-
J 26936 Seal Installer
-
J 8092 Drive Handle
1. Install the drive axle oil seal with J 26936 and J 8092.
2. Install the intermediate shaft.
3. Install the drive axle.
4. Install the ball joint. Refer to Lower Ball Joint Replacement in Suspension.
5. Install the stabilizer shaft. Refer to Stabilizer Shaft Replacement in Suspension.
6. Install the tire and wheel assembly.
7. Remove the safety stand.
8. Lower the vehicle.