
Cavalier L4-2.2L VIN F (2004)
Cross-Member: Service and Repair
Frame and Underbody
Crossmember Replacement
Removal Procedure
1. Raise and support the vehicle.Refer to Vehicle Lifting.
2. Remove the tire and wheel assemblies.
3. Remove the front fender liners.
4. Remove the engine strut from the lower engine mount and frame.
5. Remove the front exhaust pipe.
6. Disconnect the ABS harness from the lower control arms.
7. Disconnect the ball joints from the steering knuckles.
8. Disconnect the tie rods from the steering knuckles.
9. On vehicles with a brake pipe running along the crossmember, disconnect the brake pipe from the retainers.
10. Remove the power steering gear to crossmember mounting bolts.
11. Secure the power steering gear to the body, taking care not to over extend the intermediate shaft.
12. Remove the front suspension support brace.
13. Support the crossmember, using suitable jack stands.
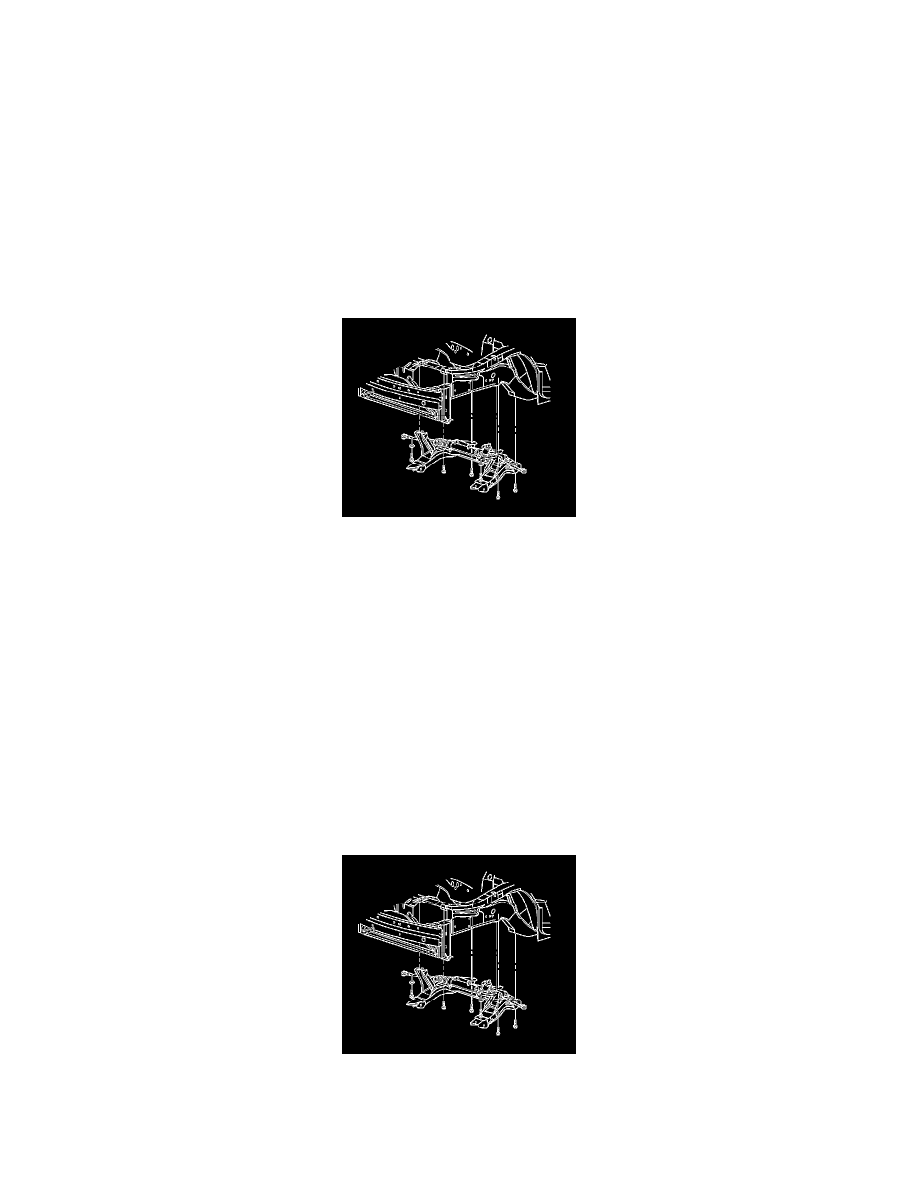
14. Remove the front suspension crossmember mounting bolts.
15. Lower the crossmember from the vehicle.
16. If replacing the crossmember, remove the following components:
*
The lower control arms. Refer to Lower Control Arm Replacement in Front Suspension.
*
The stabilizer shaft. Refer to Stabilizer Shaft Replacement.
Installation Procedure
1. If replacing the crossmember, Install the following components:
*
The stabilizer shaft. Refer to Stabilizer Shaft Replacement.
*
The lower control arms. Refer to Lower Control Arm Replacement in Front Suspension.
2. Using suitable jack stands, raise the crossmember to the vehicle.
Notice: Refer to Fastener Notice in Service Precautions.