
Cavalier L4-2.2L VIN F (2004)
9. Strip the nylon coating from the brake pipe ends to be flared, if necessary.
^
Select the appropriate blade on the coating stripping tool included in the J 45405, by unthreading the blade block from the stripping tool and
installing the block with the desired blade facing the tool rollers.
^
6.35 mm (0.250 inch) blade for 4.76 mm (3/16 inch) diameter pipe
^
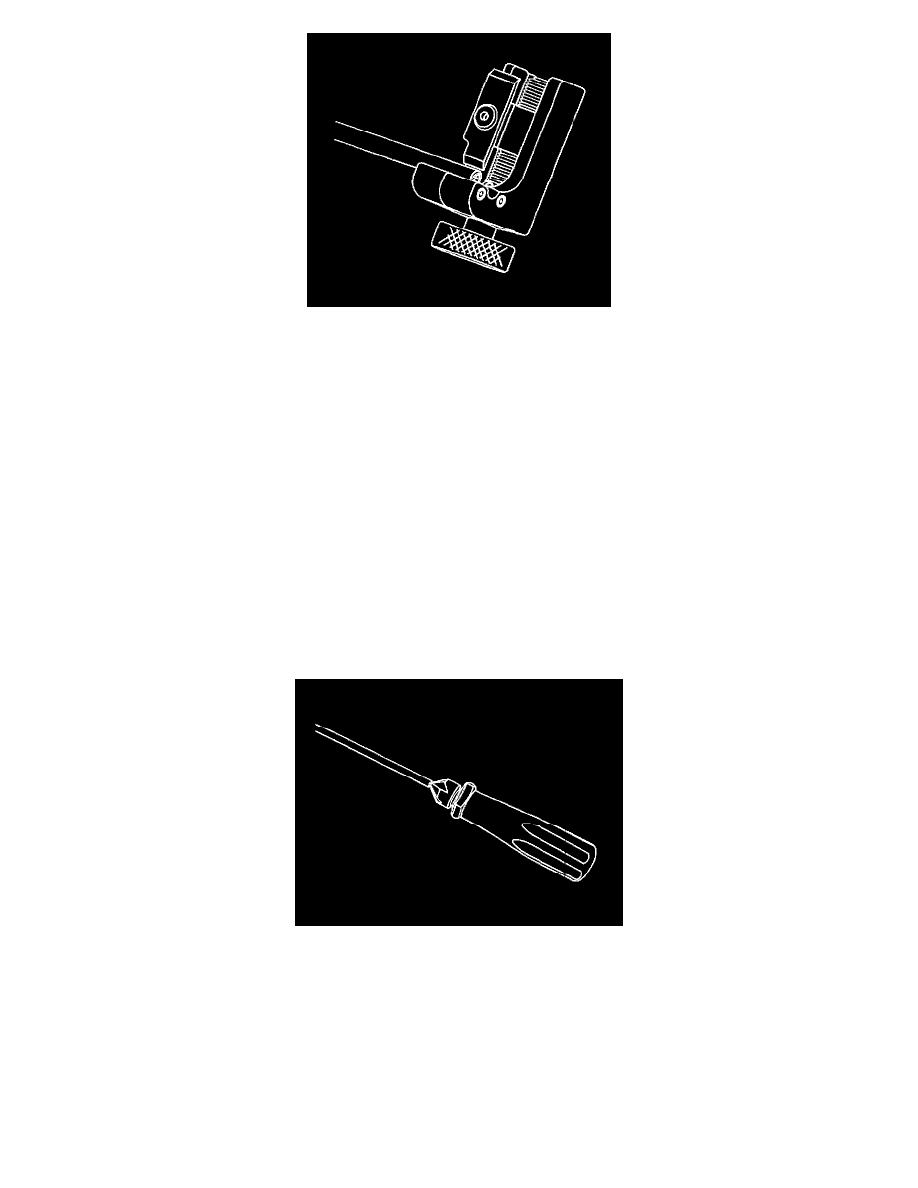
Insert the brake pipe end to be flared into the stripping tool to the depth of the ledge on the tool rollers.
^
While holding the brake pipe firmly against the stripping tool roller ledges, rotate the thumbwheel of the tool until the blade contacts the brake
pipe coated surface.
Important: Do not gouge the metal surface of the brake pipe.
^
Rotate the stripping tool in a clockwise direction, ensuring that the brake pipe end remains against the tool roller ledges.
^
After each successive revolution of the stripping tool, carefully rotate the thumbwheel of the tool clockwise, in order to continue stripping the
coating from the brake pipe until the metal pipe surface is exposed.
^
Loosen the thumbwheel of the tool and remove the brake pipe.
Important: Ensure that all loose remnants of the nylon coating have been removed from the brake pipe.
^
Inspect the stripped end of the brake pipe to ensure that the proper amount of coating has been removed.
^
6.35 mm (0.250 inch) for 4.76 mm (3/16 inch) diameter pipe
10. Chamfer the inside and outside diameter of the pipe with the de-burring tool included in the J 45405.
11. Install the tube nuts on the brake pipe, noting their orientation.
12. Clean the brake pipe and the J 45405 of lubricant, contaminants, and debris.