
Cavalier L4-2.2L VIN F (2004)
Tighten
Tighten the bolt to 2 N.m (18 lb in).
2. Install the HVAC module attaching bolts near the heater hoses and the A/C evaporator lines.
Tighten
Tighten the bolts to 2 N.m (18 lb in).
3. Connect the electrical connections at the following locations:
-
The blower motor
-
The blower resistors
4. Connect the wiring harness to the HVAC module assembly.
5. Install the floor air outlet.
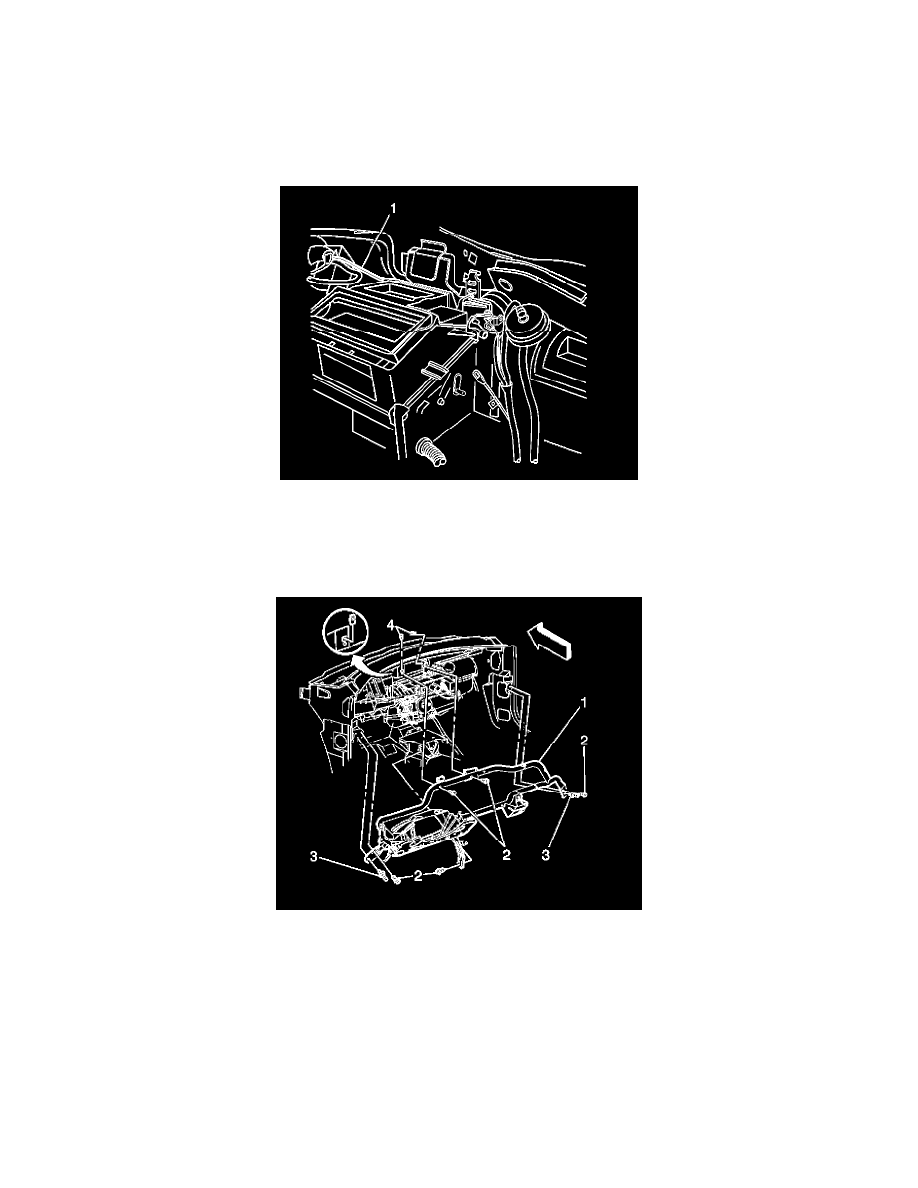
6. Install the cross vehicle beam (1) to the front of the dash.
7. Install the bolts (2) and the studs (3) to the cross vehicle beam (1).
Tighten
Tighten the bolts and the studs to 10 N.m (89 lb in).
8. Install the support bolts on the right and left side of the HVAC module.
Tighten
Tighten the fittings to 2 N.m (18 lb in).
9. Connect the wiring harness to the cross vehicle beam (1).
10. Install the I/P carrier.