Cavalier/Z24 L4-134 2.2L (1991)

4.
Strike loosened striker with hammer until stud is dislodged from door frame.
NOTICE:
The interlock striker stud is "press-fit" into the door frame, and several blows may be required to dislodge it. It is recommended that several moderate
blows be used, rather than trying to dislodge the stud with one or two very heavy blows. Use of excessive force may result in damage to door frame.
5.
Remove interlock striker. Do not discard striker as it will be re-installed on new interlock striker stud.
6.
With door open, position tip of drift in depression at end of striker stud and finish driving stud out of door frame by striking drift with hammer.
7.
Working from inside of door frame, carefully disengage run channel weatherstrip from door frame using a thin-blade putty knife to disengage
upper clip. Upper clip is located about 1 inch above top edge of shoulder belt anchor. See illustration.
8.
Carefully disengage enough of run channel weather strip from door frame to allow retrieval of interlock striker stud. It may be necessary to use a
"magnet-on-a-stick", or needle nose pliers to retrieve stud.
9.
Using needle-nose pliers, position replacement stud in hole in door frame, and install striker onto stud finger tight. Align base of stud so long
edges of stud are parallel to channel in door frame (see illustration). Using a 9 mm hex driver, torque striker to 35 N-m (26 lb.ft.). Make sure new
stud is pulled fully into hole, and that base of stud is flush against inside of door frame.
10.
Push run channel weatherstrip back into door frame, making sure it is properly positioned for sealing and appearance. Be sure to re-engage upper
run channel weatherstrip clip to door frame.
11.
Re-install plastic cover to shoulder belt upper guide loop anchor.
12.
Check window for proper up/down operation.
13.
Remove masking tape.
14.
Repeat above steps, 1-13 for opposite front door of vehicle.
15.
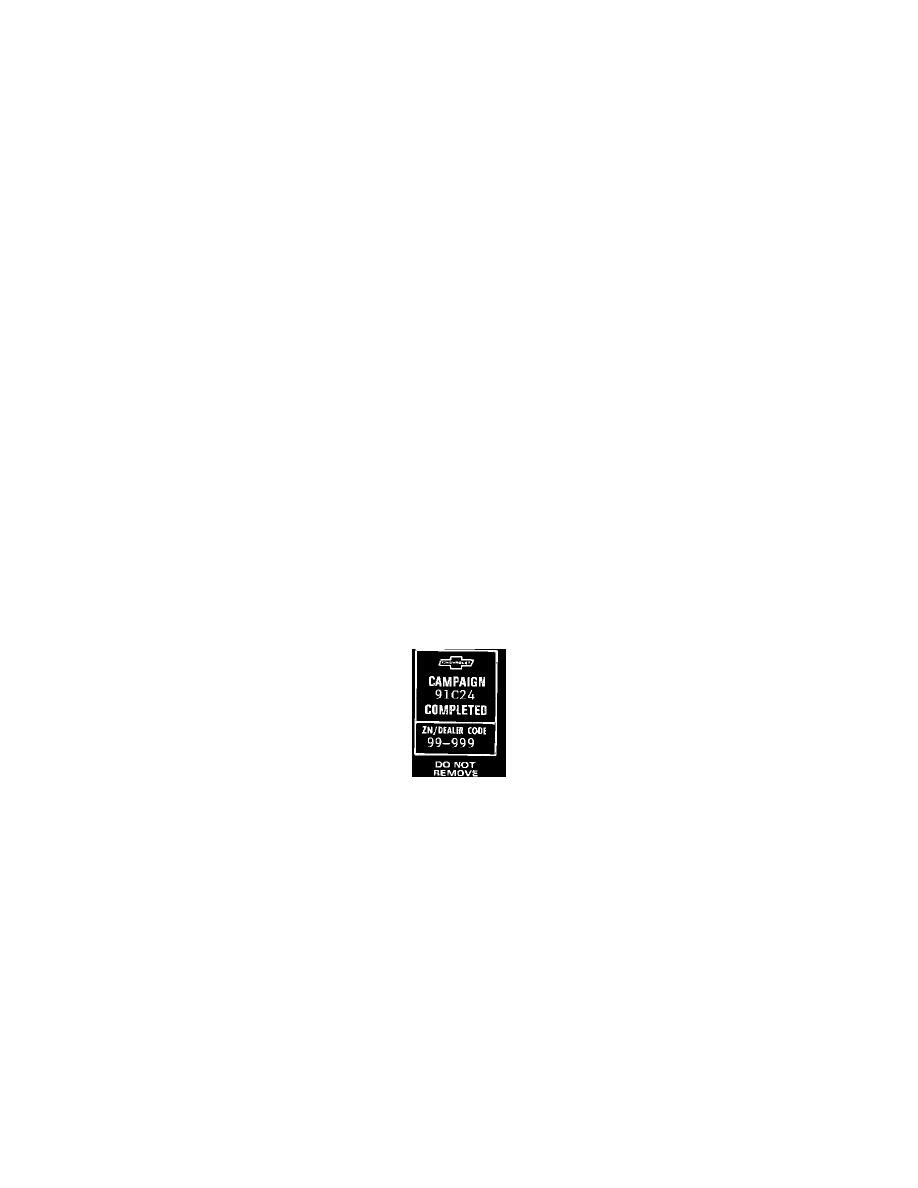
Install Campaign Identification Label.
Identification Label and Claim Information
CAMPAIGN IDENTIFICATION LABEL
Each vehicle corrected in accordance with the instructions outlined in this Product Campaign Bulletin will require a "Campaign identification Label."
Each label provides a space to include the five (5) digit dealer code of the dealer performing the campaign service. This information may be inserted
with a typewriter or a ball point pen.
Each "Campaign Identification Label" is to be located on the radiator core support in an area which will be visible when the vehicle is brought in for
periodic servicing by the owner. Additional "Campaign Identification Labels" can be obtained from DAC.
Apply "Campaign Identification Label" only on a clean, dry surface.
