
Cavalier/Z24 L4-134 2.2L (1991)
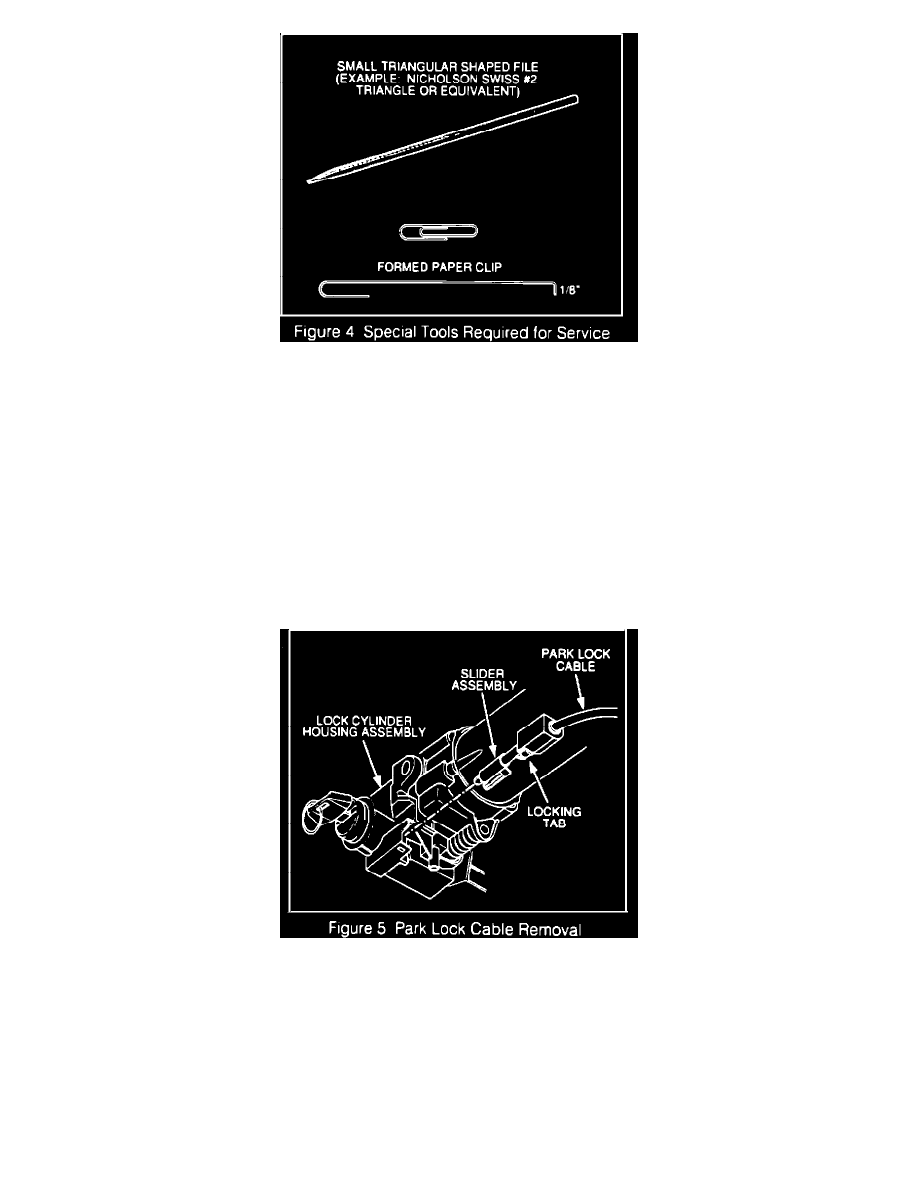
Figure 4
CORRECTION B:
Note:
Two special tools are required to correct slider interference: a formed paper clip and a small triangular shaped file. (See Figure 4).
Note:
Refer to the vehicle service manual (Sections 3F, 3F1, and 3F2) for detailed disassembly instructions.
1.
Disconnect the negative battery cable.
2.
Remove the pad and disconnect the horn lead.
3.
Remove the steering wheel retainer and nut.
4.
Remove the steering wheel using J 1859-03.
5.
Remove tilt lever from the column housing, if so equipped.
6.
Remove upper cover screws and upper steering column cover.
Note:
Make sure that spring clips remain attached to upper cover.
7.
Remove key from lock cylinder.
8.
Remove lower steering column cover screws and lower steering column cover.
9.
Install key in lock cylinder and turn to the "Run" position.
Figure 5
10.
Disconnect park lock cable from lock cylinder housing assembly by depressing locking tab with a small screwdriver (See Figure 5).