
Cavalier/Z24 L4-138 2.3L DOHC VIN D MFI (1995)
Fuel Rail And Fuel Injector
CAUTION: Use care in removing injectors to prevent damage to the electrical connector pins on the injector and the nozzle. The fuel injector is
serviced as a complete assembly only. Since it is an electrical component, it should not be immersed in any type of cleaner.
REMOVE OR DISCONNECT
1. Relieve fuel system pressure.
2. Negative battery cable.
3. Fuel rail assembly from cylinder head.
-
It is not necessary to separate rail from fuel pipes.
DISASSEMBLE
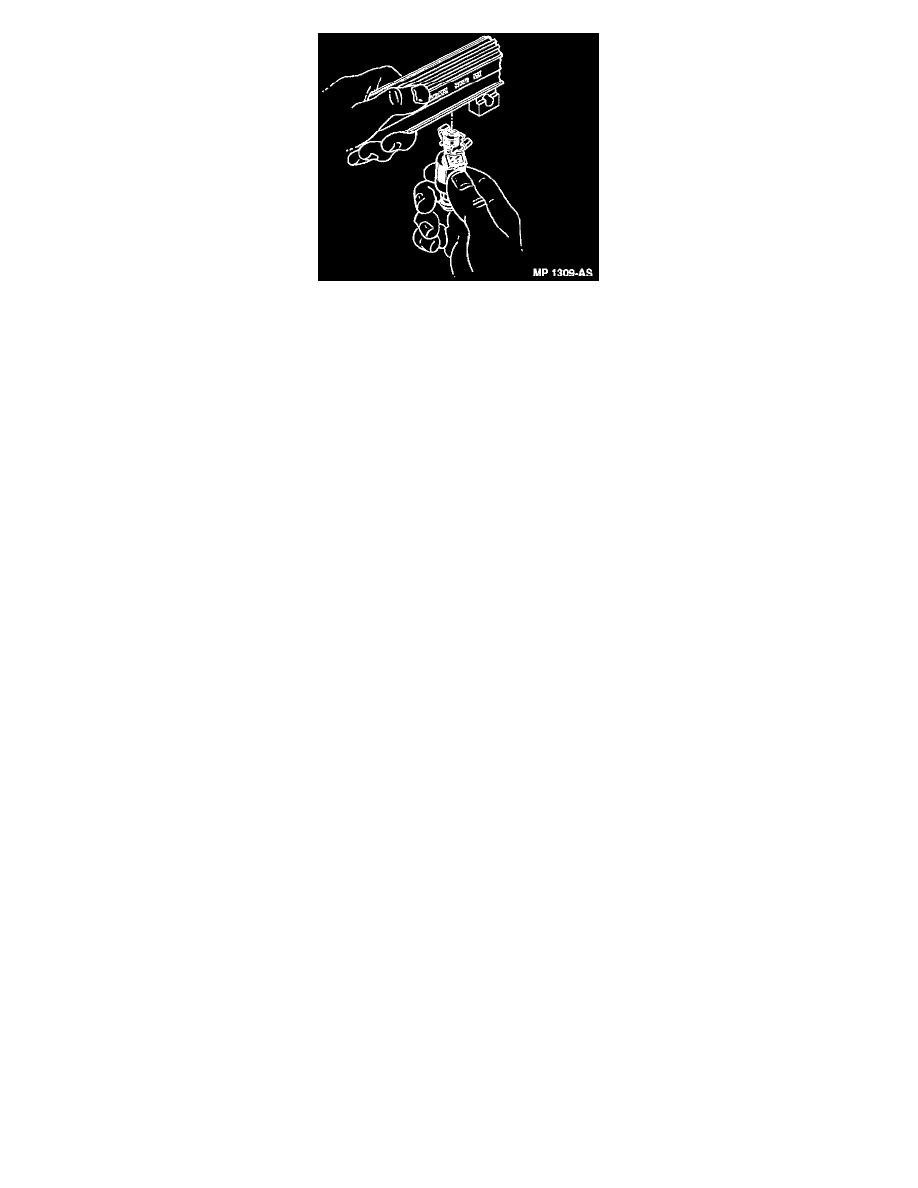
1. Spread injector retaining clip to release injector from rail extrusion flange.
2. Fuel injector assembly.
3. Discard injector retaining clip.
4. Injector O-ring seals from both ends of injector and discard.
NOTE: Different injectors are calibrated for different flow rates. When ordering new fuel injectors, be sure to order the identical part number that
is inscribed on the old injector.
ASSEMBLE
1. Lubricate new injector O-ring seals with clean engine oil and install on injector assembly.
2. New injector retainer clips on injector assembly.
-
Position open end of clip facing injector electrical connector.
3. Fuel injector assembly into fuel rail injector socket with electrical connectors facing outward.
-
Push in far enough to engage retainer clip with machined slots on rail socket.
INSTALL OR CONNECT
1. Fuel rail assembly.
2. Negative battery cable.