
Cavalier/Z24 L4-144 2.4L DOHC VIN T SFI (1996)
3. Raise and suitably support the vehicle.
4. Install the remaining front cover fasteners.
^
Tighten the fasteners to 12 Nm (106 inch lbs.).
5. Lubricate the front oil seal and the sealing surface of the crankshaft balancer with Chassis Grease GM P/N 1051344 or equivalent.
6. Install the crankshaft balancer.
7. Install the right splash shield.
8. Install the right front wheel and tire assembly.
9. Lower the vehicle.
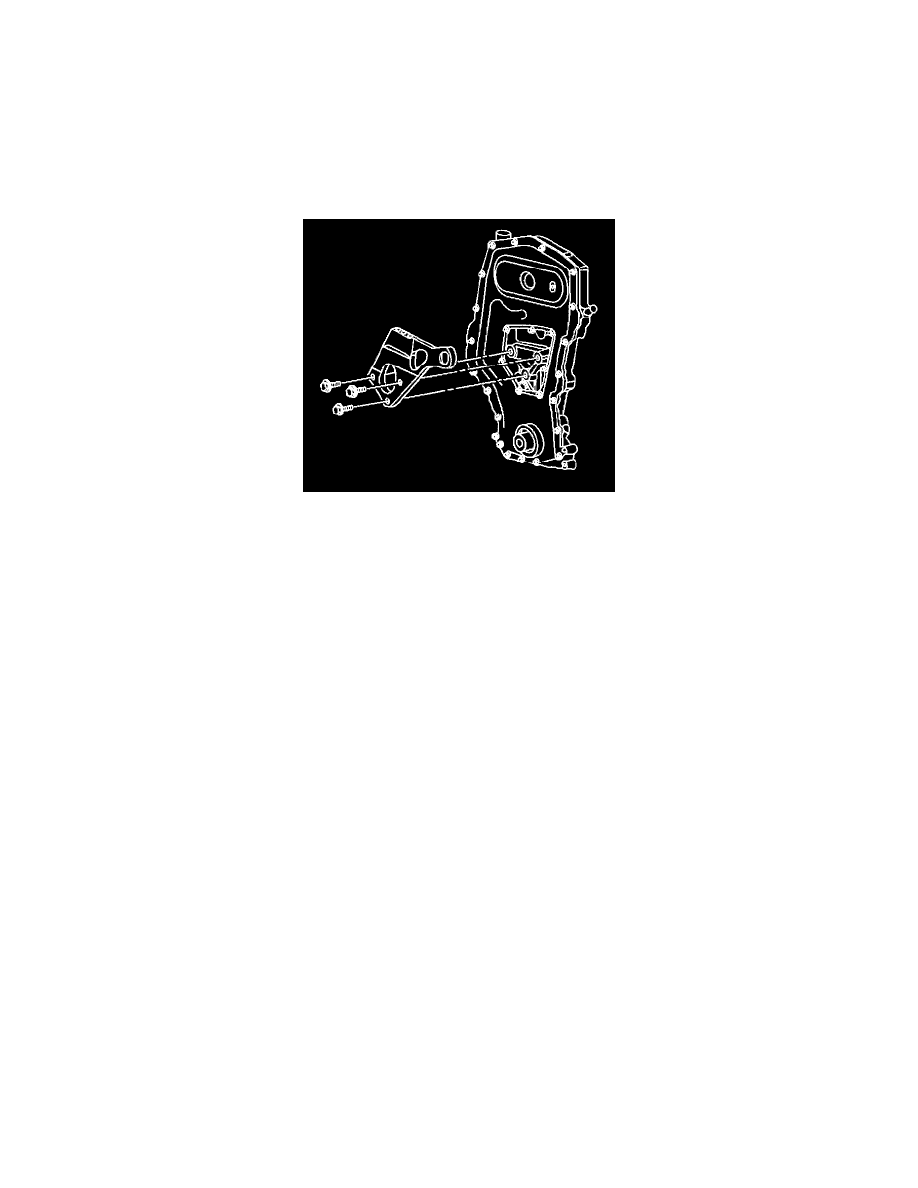
10. Install the engine mounting bracket adapter.
NOTICE: This bolt is designed to permanently stretch when tightened. The correct part number fastener must be used to replace this type of
fastener. Do not use a bolt that is stronger in this application. If the correct bolt is not used, the parts will not be tightened correctly. The system or
the components may be damaged.
IMPORTANT: These bolts must be replaced with new bolts anytime they are removed.
11. Install the engine mounting bracket adapter bolts.
^
Tighten the bolts to 60 Nm (44 ft. lbs.) + 90 degrees. Use the J 36660
12. Install the engine mount assembly.
13. Remove the J28467-400 and the J28467-A
14. Install the drive belt.
15. Install the coolant surge tank.
16. Add coolant.
17. Connect the negative battery cable.