
Citation V6-173 2.8L VIN Z 2-bbl HP (1983)
3.
Disconnect the wire assembly from the electrical connector.
4.
Remove the control valve assembly, spacer plate and gaskets. (Use care not to lose the check balls which are loose.)
5.
Disconnect the manual valve from the rod and retainer assembly.
6.
Remove the transmission case cover.
7.
Remove the drive link assembly. (Drive sprocket, driven sprocket, chain, thrust washers and bearings.)
8.
Remove the converter oil seal.
9.
Remove the drive sprocket support.
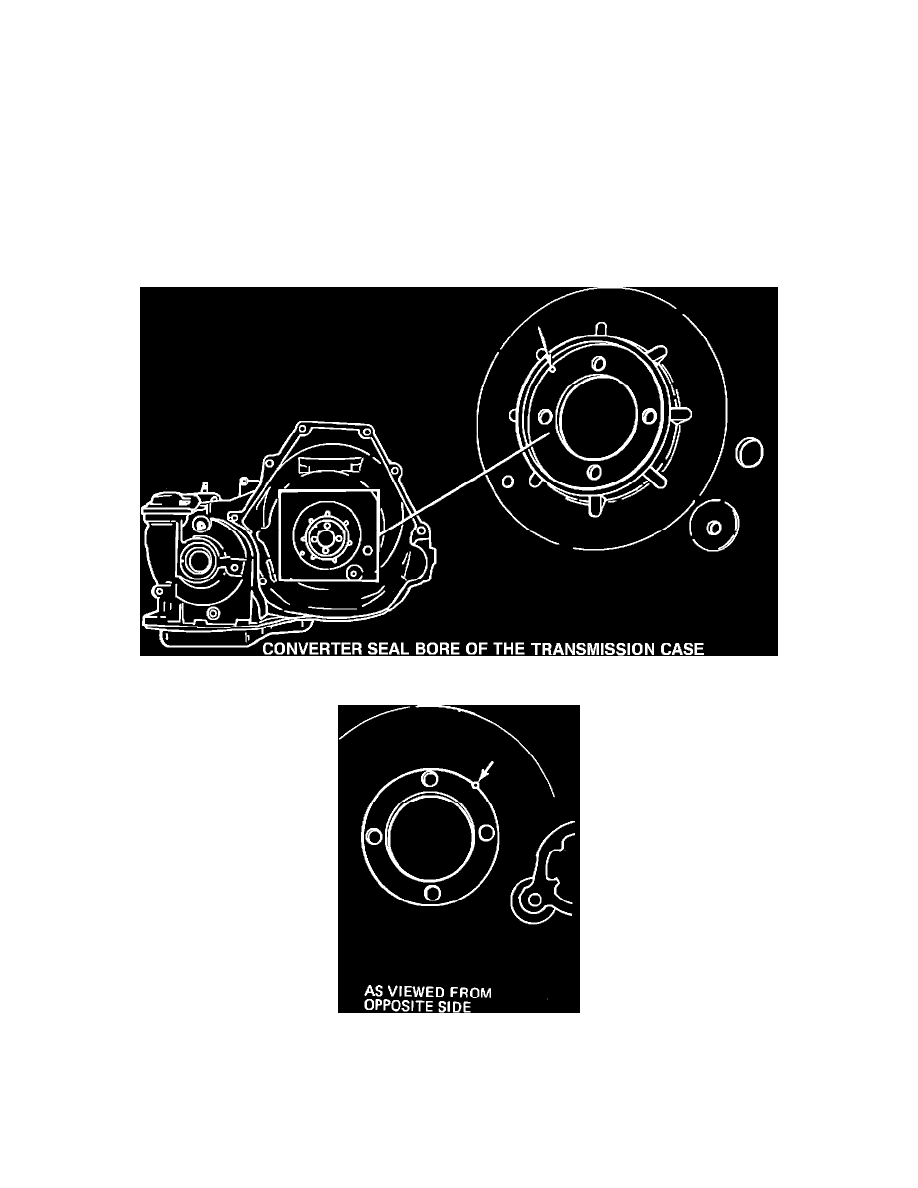
FIGURE 1
FIGURE 2 - SEAL BORE SIDE
10.
Drill, from the seal bore side, a 4.76 mm (3/16 in.) minimum diameter hole 2.03 mm (.080 in.) inside the radius of the converter seal bore (Figure
1). The hole must be drilled thru so that it exists the other side of the sprocket support mating face, partially outward from the machined surface as
shown (Figure 2).
USE CARE NOT TO TOUCH THE SEAL BORE DIAMETER WITH THE DRILL BIT.