
Cobalt L4-2.0L SC VIN P (2005)
Additional parts, if required, are to be obtained from General Motors Service Parts Operations (GMSPO). Please refer to your "involved vehicles listing"
before ordering parts. Normal orders should be placed on a DRO = Daily Replenishment Order. In an emergency situation, parts should be ordered on a
CSO = Customer Special Order.
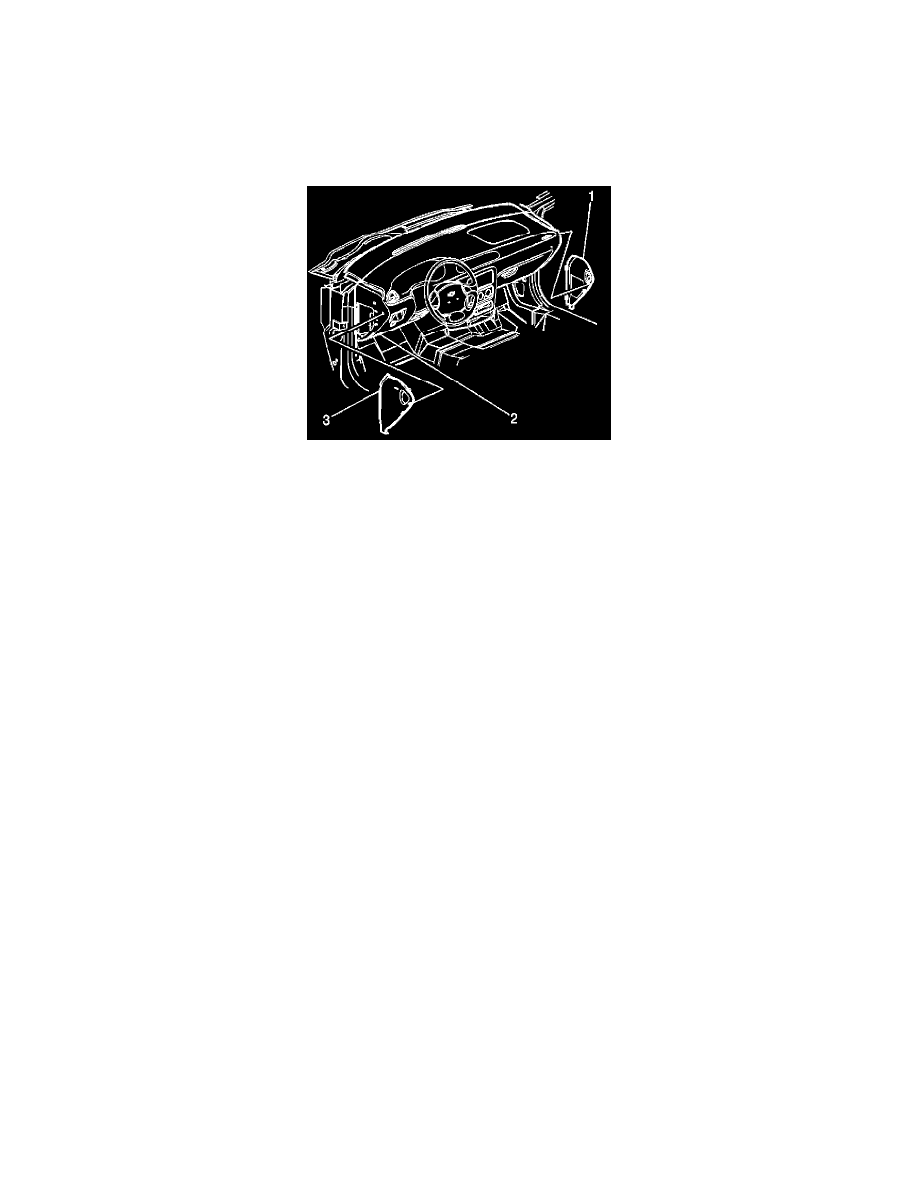
Service Procedure
Airbag Wiring Procedure
1.
Remove the SIR fuse from the BCM.
2.
With a flat-bladed tool, separate the outer trim cover from the I/P.
3.
Pull the outer trim cover rearward from the I/P to disengage the locating tabs.
4.
Remove the outer trim cover from the I/P.
5.
Disconnect the electrical connector from the trim cover.
6.
Remove the connector position assurance (CPA) clip from the connector.
7.
Disconnect the connector.
8.
Carefully peel back about 2 inches (50 mm) of tape from the male side of the connector.
9.
Remove the terminal position assurance (TPA) clip from the male side of the connector.
10.
Remove the TPA.
11.
Back out the BROWN and PINK wires and swap their positions. (BROWN goes into cavity B1, and PINK goes into cavity A1).
12.
Back out the TAN and WHITE wires and swap their positions. (TAN goes into cavity B2 and WHITE goes into cavity A2).
13.
Install the TPA clip to the male terminal.
14.
Rewrap the wiring.
15.
Connect the connector and insert the CPA clip.
16.
Connect the connector to the trim cover.
17.
Align the outer trim cover locating tabs to the opening in the I/P.
18.
Push the outer trim cover locating tabs into the I/P until fully engaged.
19.
Press the outer trim cover into the I/P until fully secured.
20.
Install the fuse for the airbag.
21.
Proceed to the A/C Wiring (Jumper) Procedure below.