
Cobalt L4-2.0L SC VIN P (2005)
knob is correctly oriented.
Note:
Use the correct fastener in the correct location. Replacement fasteners must be the correct part number for that application. Fasteners requiring
replacement or fasteners requiring the use of thread locking compound or sealant are identified in the service procedure. Do not use paints,
lubricants, or corrosion inhibitors on fasteners or fastener joint surfaces unless specified. These coatings affect fastener torque and joint
clamping force and may damage the fastener. Use the correct tightening sequence and specifications when installing fasteners in order to avoid
damage to parts and systems.
10.
Place a M5x12 self-tapping screw into the hole and tighten the screw until the fastener head is flush.
Tighten
Tighten the fastener to 5.68 N.m (50 lb in).
Important:
Do not operate the lever until the adhesive has dried (at least 30 minutes).
11.
Position and fit the emblem over the shift control knob.
12.
Vacuum and clean any debris.
*We believe this source and their products to be reliable. There may be additional manufacturers of such products. General Motors does not
endorse, indicate any preference for or assume any responsibility for the products from this firm or for any such items which may be available
from other sources.
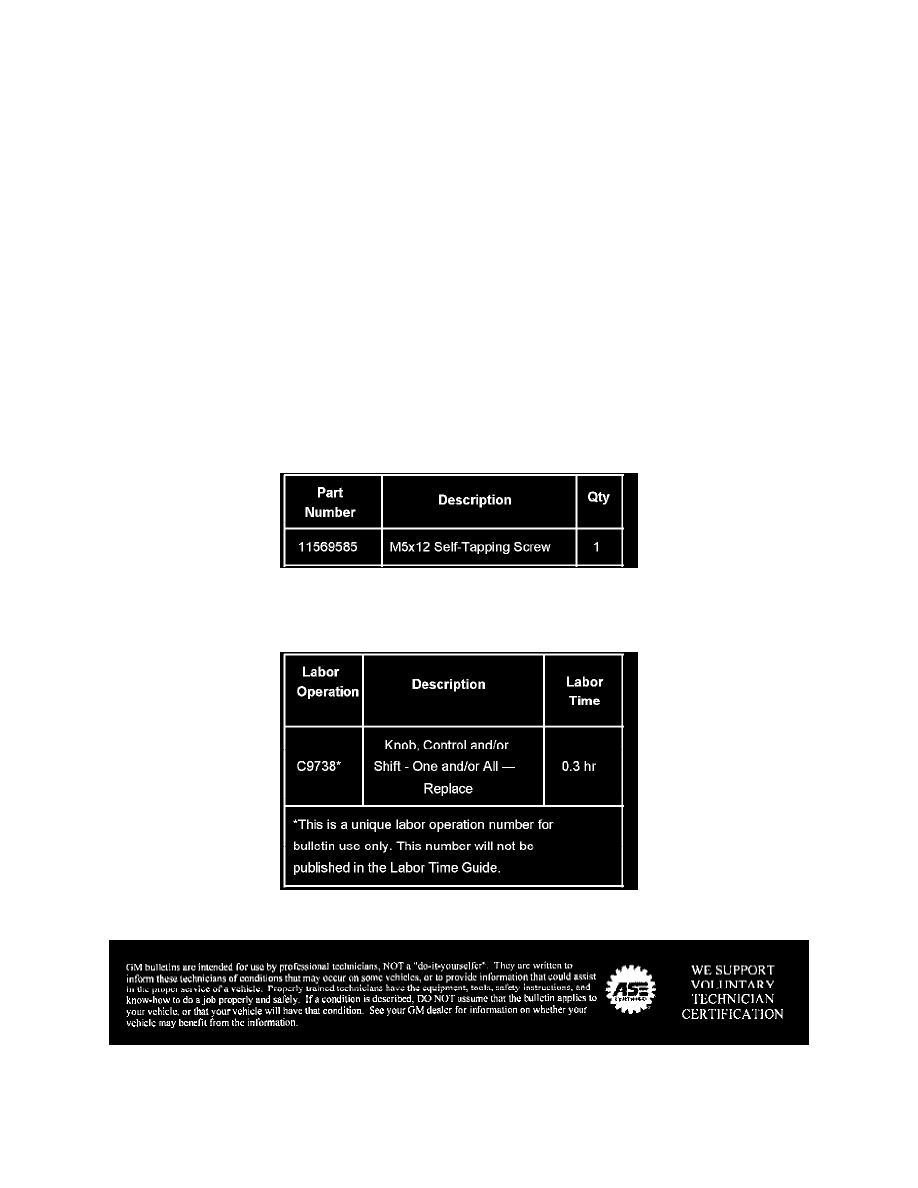
Parts Information
Warranty Information
For vehicles repaired under warranty, use the table.
Disclaimer