
Cobalt L4-2.2L (2008)
5. Release the tension from the park brake cables.
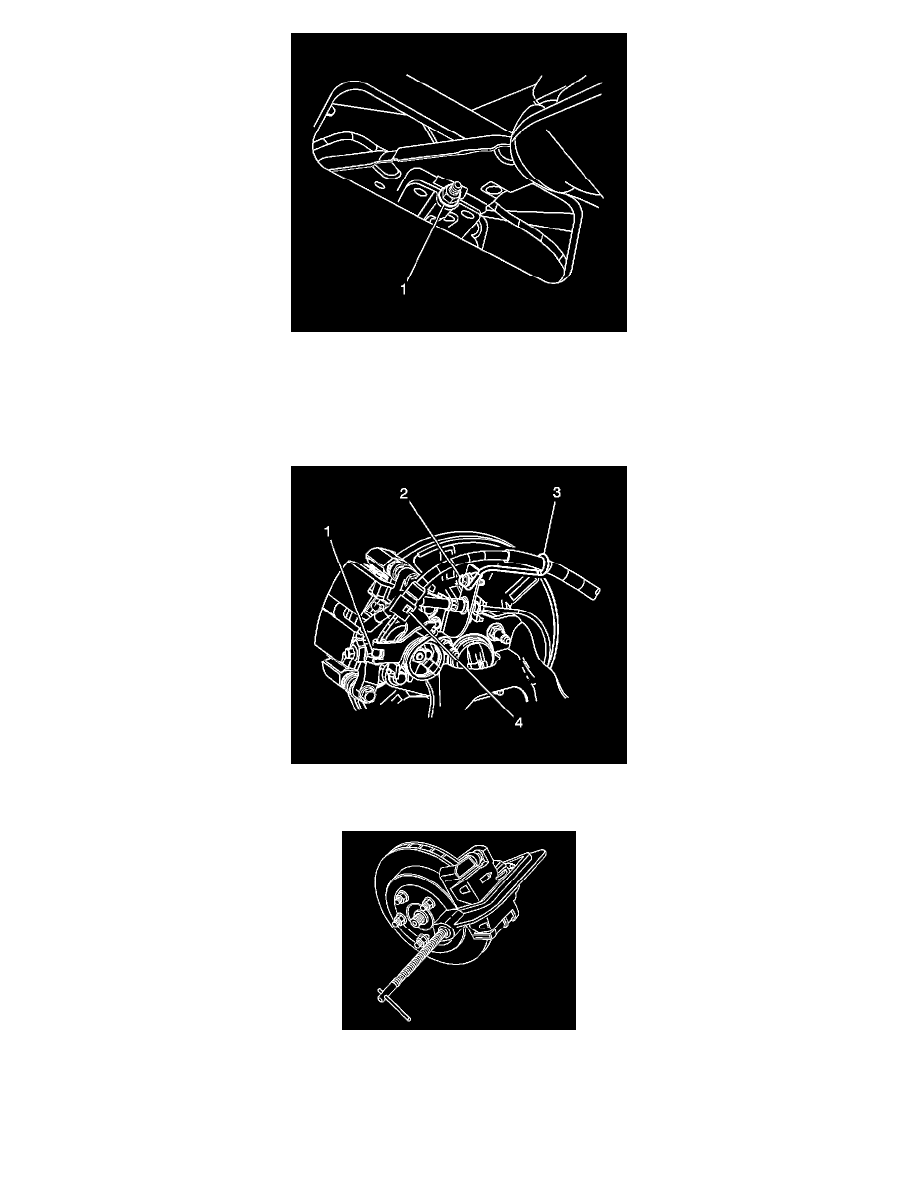
With the park brake lever in the released position, using ONLY HAND TOOLS, loosen the adjusting nut (1) completely to the end of the front
cable threaded rod.
6. Raise and support the vehicle. Refer to Lifting and Jacking the Vehicle .
7. Remove the tire and wheel assembly. Refer to Tire and Wheel Removal and Installation .
8. Install and firmly hand tighten 2 wheel nuts to opposite wheel studs in order to retain the rotor to the hub.
9. Release the park brake cable end (1) from the lever on the caliper.
10. Release the retaining tabs (4) securing the park brake cable to the bracket on the caliper.
11. Install a large C-clamp, over the body of the brake caliper with the C-clamp ends against the rear of the caliper body and against the outer brake
pad.
Notice: When using a large C-clamp to compress a caliper piston into a caliper bore of a caliper equipped with an integral park brake mechanism,
do not exceed more than 1 mm (0.039 in) of piston travel. Exceeding this amount of piston travel will cause damage to the internal adjusting
mechanism and/or the integral park brake mechanism.