
Cobalt L4-2.2L (2008)
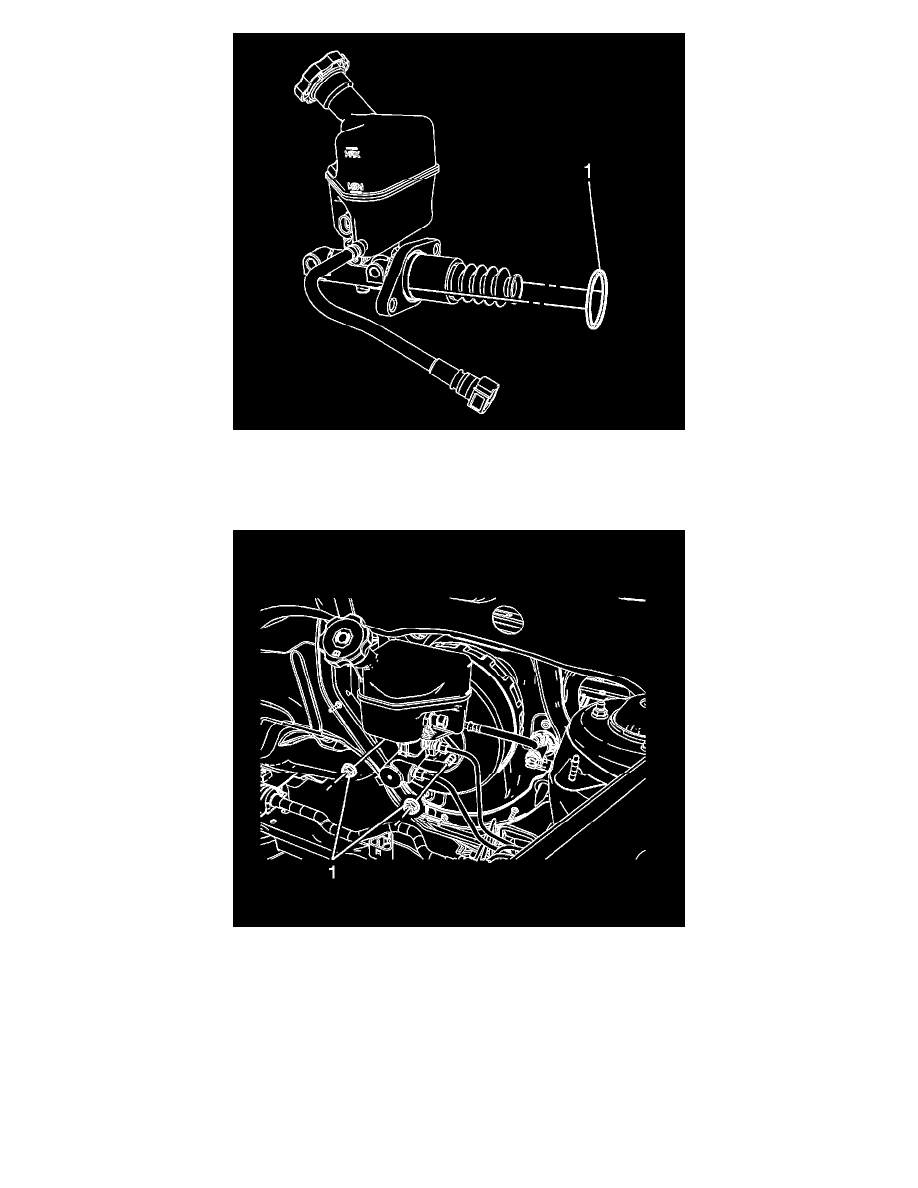
9. Inspect the master cylinder seal (1) for damage and replace if necessary.
Ensure the master cylinder seal is properly seated in the groove in the master cylinder body.
10. Position the master cylinder to the power vacuum brake booster.
11. Connect the master cylinder clutch hose quick connect to the clutch master cylinder, if equipped.
12. Install the master cylinder nuts (1).
Tighten the nuts to 25 N.m (18 lb ft).
13. Install the vacuum power brake booster check valve and hose assembly to the brake booster grommet.
If necessary, a small amount of denatured alcohol can be used as an assembly aid for installing the check valve and hose assembly to the vacuum
booster grommet. Do not use soap.
14. Connect the vacuum power brake vacuum sensor electrical connector, if equipped.
15. Connect the brake fluid level indicator switch electrical connector.
16. Position the electrical center and the powertrain control modules to the underhood electrical center bracket and install the bracket. Refer to
Underhood Electrical Center or Junction Block Bracket Replacement .
17. Connect the battery negative cable. Refer to Battery Negative Cable Disconnection and Connection .