
Cobalt L4-2.2L (2008)
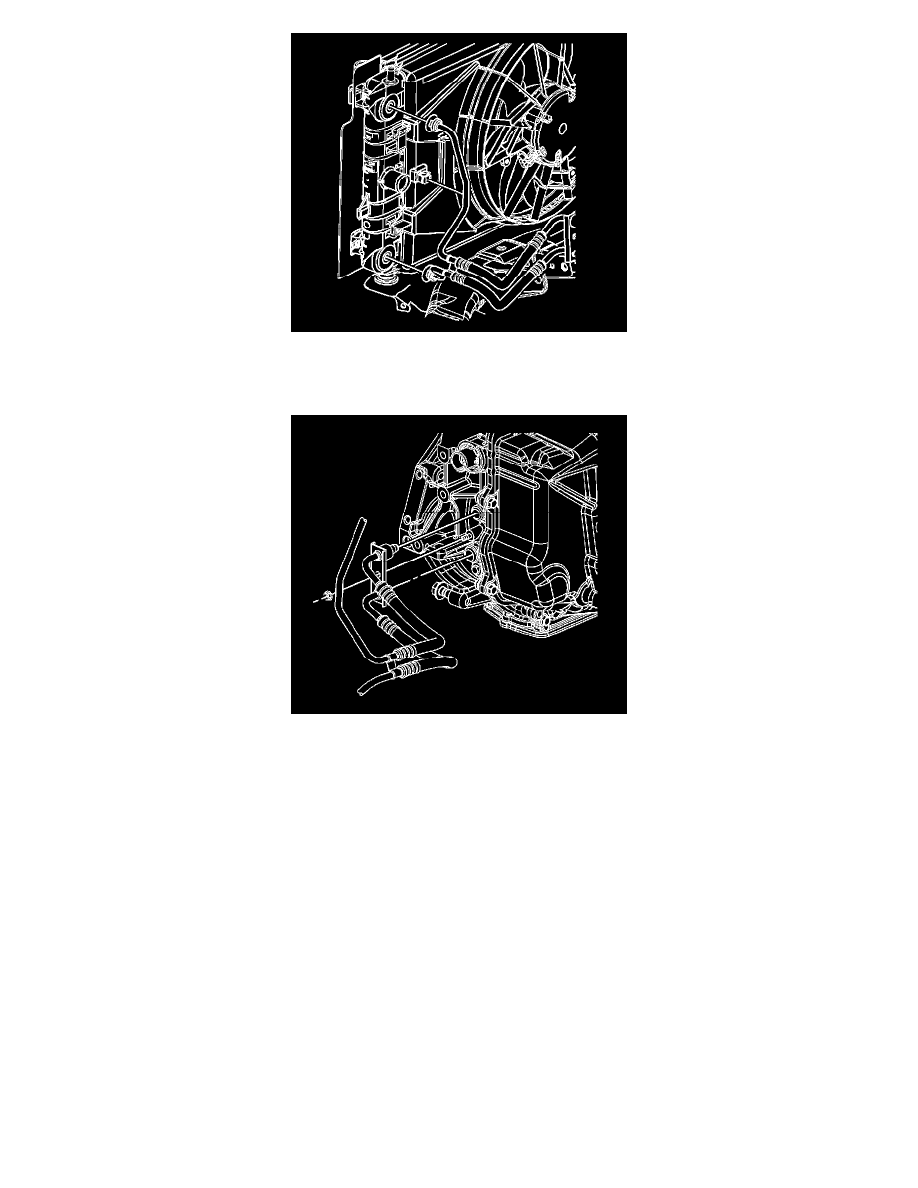
1. Install the transaxle oil cooler pipes to the vehicle.
2. Install the transaxle oil cooler pipes to the fittings at the radiator.
3. Install the transaxle oil cooler pipe to the retaining clip at the radiator.
4. Install the transaxle oil cooler pipes to the transaxle.
Notice: Refer to Fastener Notice .
5. Install the transaxle oil cooler pipe retaining nut.
Tighten the nut to 7 N.m (62 lb in).
6. Remove the drain pan.
7. Lower the vehicle.
Notice: Do NOT overfill the transaxle. The overfilling of the transaxle causes foaming, loss of fluid, shift complaints, and possible damage to the
transaxle.
8. Adjust the transmission fluid level. Refer to Transmission Fluid Check (See: Testing and Inspection/Component Tests and General
Diagnostics/Transmission Fluid Check) .
9. Inspect for fluid leaks.