Cobalt L4-2.2L (2008)

If the window reveal molding will not release, use a utility knife in order to cut around the window in order to remove the window reveal molding.
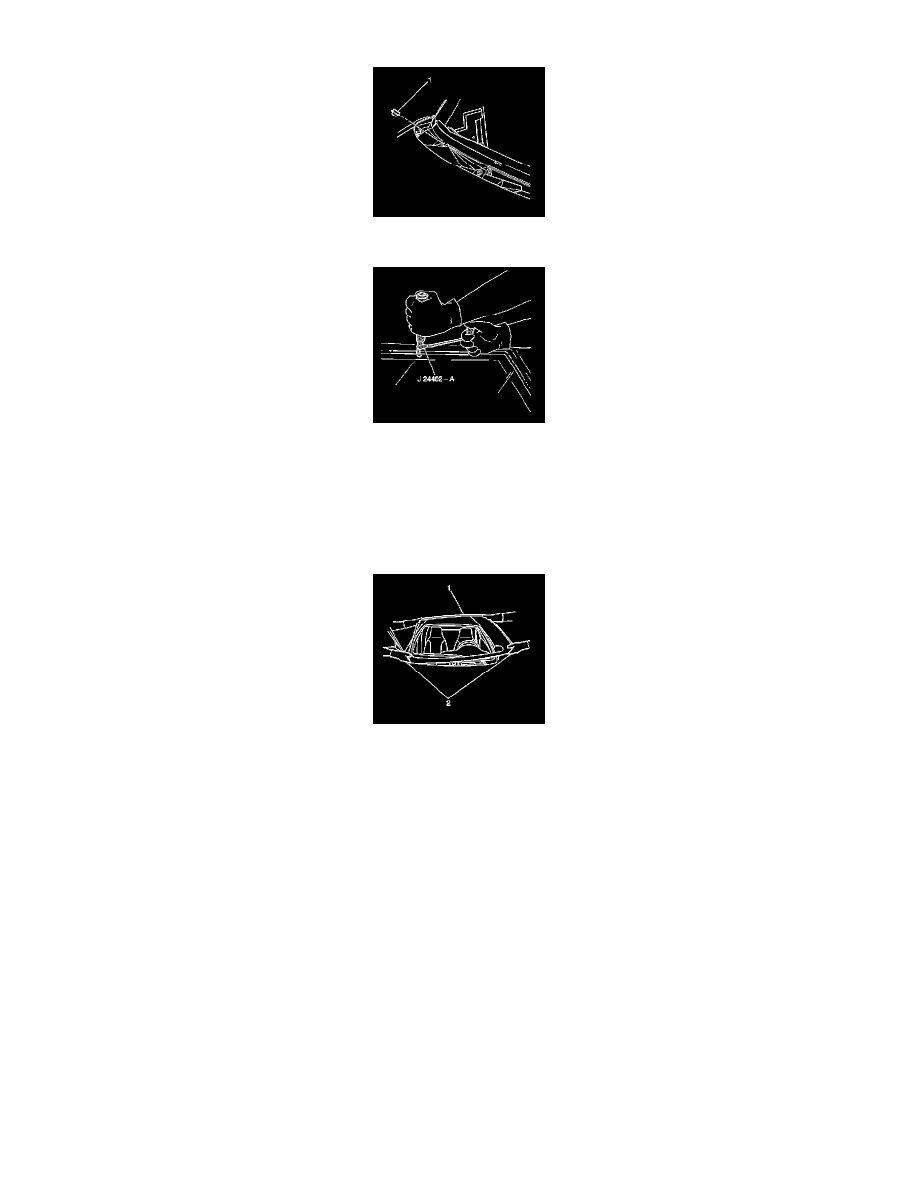
9. Remove the lower windshield supports (1) from the cowl panel, if equipped.
Important: Keep the cutting edge of the tool against the windshield.
10. This will allow the urethane adhesive to be separated from the windshield.
*
Leave a base of urethane on the pinchweld flange.
*
The only suitable lubrication is clear water.
*
Use J 24402-A, J 39032 or equivalent in order to remove the window.
11. Remove the windshield (1) from the vehicle with the aid of an assistant.
Installation Procedure
1. Install a stationary window into the opening.
2. Install the inside rearview mirror.
3. Install the air inlet grille.
4. Install the windshield wiper arms.
5. Install the antenna, if equipped.
7. Remove the double layer of masking tape from around the perimeter of the painted surfaces and the interior trim.
Windshield Reveal Molding Replacement
Windshield Reveal Molding Replacement
Removal Procedure
Important: The window reveal molding is an applied molding design that is separate from the window. The reveal molding may be replaced
with the window as an assembly, or the reveal molding may be available as a separate part. The window molding can only be replaced by
removing the window. The old molding can not be reused.
