
Cobalt L4-2.4L (2007)
Fuel Pressure Release: Service and Repair
Fuel Pressure Relief
Fuel Pressure Relief
Tools Required
SA9127E Gage Bar Set, or J 34730-1A Fuel Pressure Gage
Caution: Refer to Gasoline/Gasoline Vapors Caution.
Caution: Remove the fuel tank cap and relieve the fuel system pressure before servicing the fuel system in order to reduce the risk of
personal injury. After you relieve the fuel system pressure, a small amount of fuel may be released when servicing the fuel lines, the fuel
injection pump, or the connections. In order to reduce the risk of personal injury, cover the fuel system components with a shop towel before
disconnection. This will catch any fuel that may leak out. Place the towel in an approved container when the disconnection is complete.
1. Turn the ignition OFF.
2. Disconnect the negative battery cable.
3. Loosen the fuel fill cap to relieve the fuel tank vapor pressure.
4. Remove the intake manifold cover.
5. Remove the cap from the fuel pressure service port.
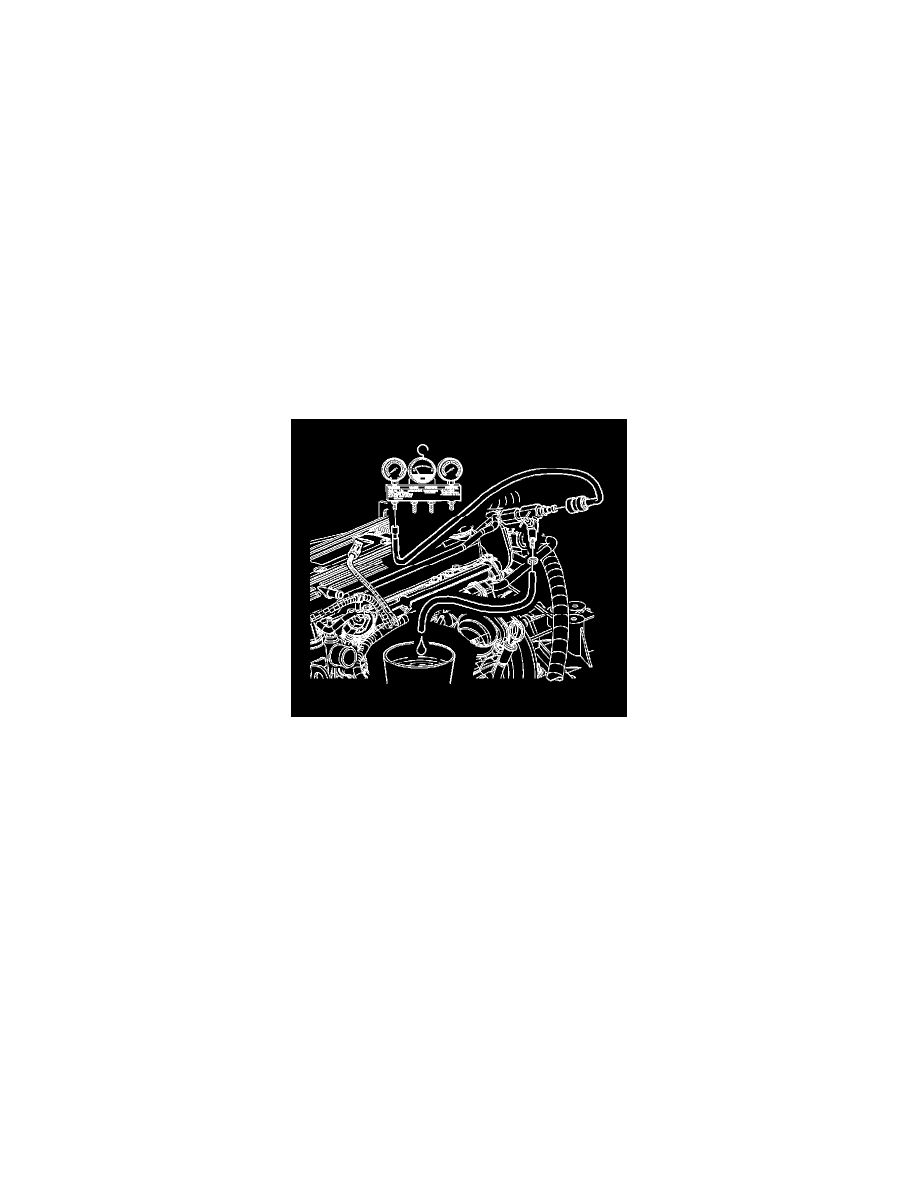
6. Connect the SA9127E, or the J 34730-1A to the fuel pressure service port connection. Wrap a shop towel around the port while connecting the
gauge in order to avoid spillage. Refer to Fuel Pressure Gage Installation and Removal.
Caution: Do not drain the fuel into an open container. Never store the fuel in an open container due to the possibility of a fire or an
explosion.
7. Install the bleed hose of the SA9127E, or the J 34730-1A into an approved fuel container.
8. Open the bleed valve on the SA9127E, or the J 34730-1A in order to bleed the fuel system pressure. The fuel connections are now safe for
servicing.
9. Place a shop towel under the fuel pressure service port to catch any remaining fuel spillage.
10. Disconnect the SA9127E, or the J 34730-1A from the fuel pressure service port connection.
11. Drain any fuel remaining in the gauge into an approved fuel container.
12. Install the cap to the fuel pressure service port.