
Cobalt L4-2.4L (2007)
13. Remove both lower control arm ball stud to steering knuckle pinch bolts.
Notice: Do not free the ball stud by using a pickle fork or a wedge-type tool. Damage to the seal or bushing may result.
14. Lower the lower control arms in order to disengage the steering knuckle. If necessary, use the J 43631.
15. Mark the frame to body position with a paint pen or permanent marker.
16. Lower the vehicle to about 3 feet off the ground in order to place a hydraulic lift table under the frame.
17. Use two 2 x 4's between the lift table and the frame and lift the table to the frame.
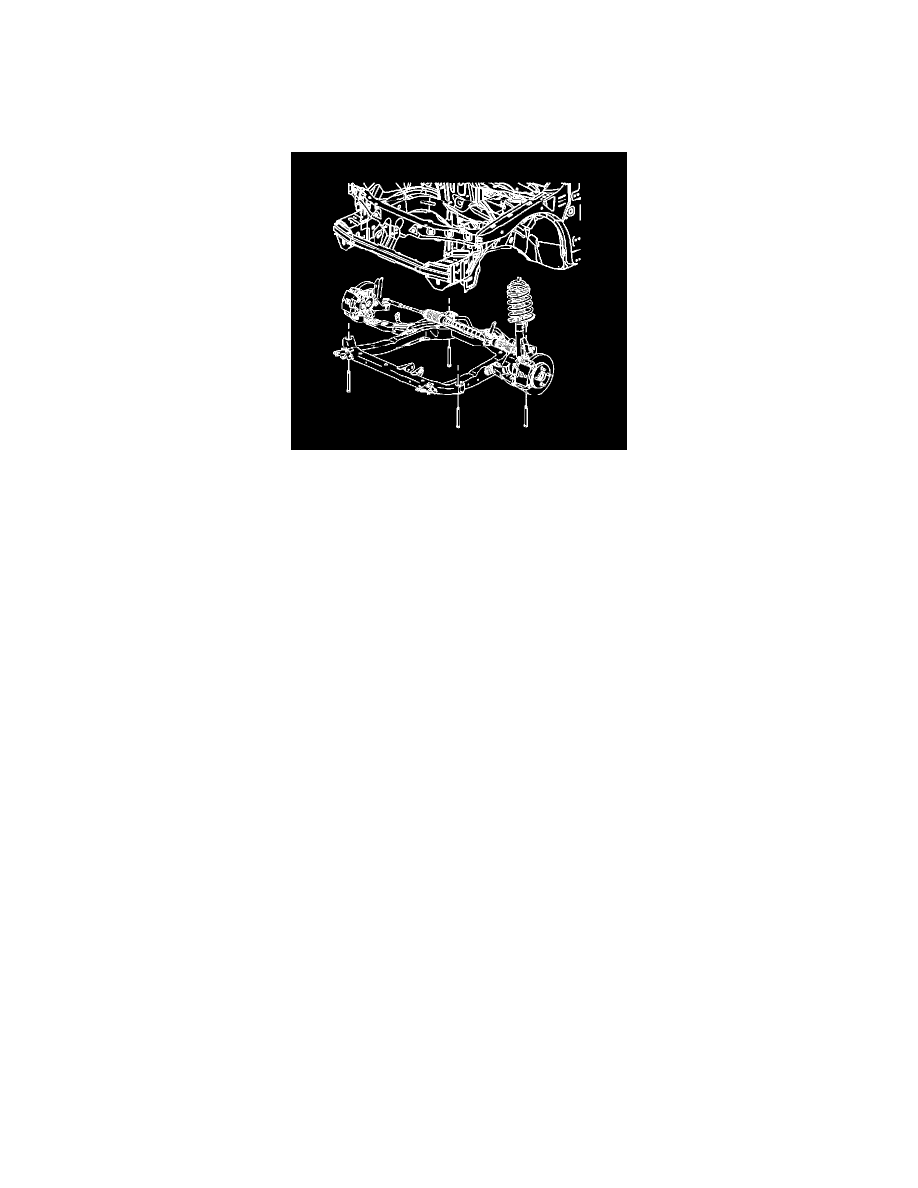
18. Slowly remove the frame bolts using the following sequence:
1. Remove the front frame bolts.
2. Partially unscrew the rear frame bolts exposing 25.4 mm (1.5 in) of bolt shank.
19. Slowly lower the lift table to the floor.
20. Continue with the following steps when replacing the frame:
1. Remove the steering gear from the frame.
2. Remove the stabilizer bar from the frame.
3. Remove the lower control arms from the frame.
4. Remove the radiator brackets from the frame.
Installation Procedure
1. If replacing the frame, perform the following steps:
1. Install the radiator brackets to the frame.
2. Install the lower control arms to the frame.
3. Install the stabilizer bar to the frame.
4. Install the steering gear to the frame.
2. With the frame on the lift table, raise the frame to the vehicle.