
Cobalt L4-2.4L (2007)
Band Apply Servo: Service and Repair
Low/Reverse Servo Assembly Replacement
Low/Reverse Servo Assembly Replacement
Removal Procedure
Caution: Refer to Vehicle Lifting Caution.
1. Raise the vehicle. Support the vehicle.
2. Remove the oil pan and filter. Refer to Automatic Transmission Fluid Filter and Seal Replacement.
3. Remove the oil feed pipes. Refer to Oil Feed Pipes Replacement.
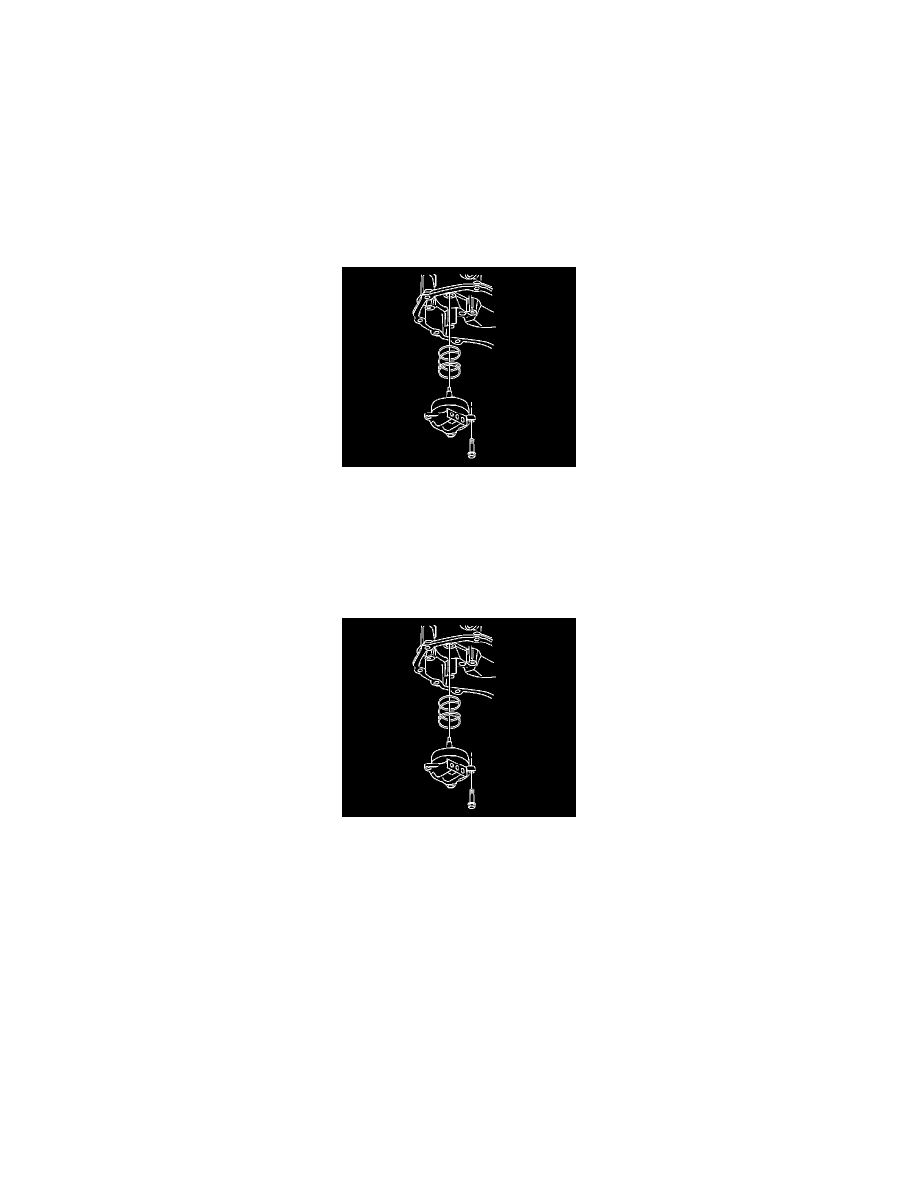
4. Remove the three low/reverse band servo cover bolts, the servo and the spring.
5. Disassemble, clean and inspect the low/reverse servo assembly. Refer to Low and Reverse Servo Disassemble in Automatic Transmission
Transaxle Unit Repair Manual.
Installation Procedure
1. Assemble the low/reverse servo. Refer to Low and Reverse Servo Assemble and Installation.
Notice: Refer to Fastener Notice.
2. Install the low/reverse band servo cover bolts.
Tighten the bolts to 12 N.m (106 lb in).
3. Install the oil feed pipe. Refer to Oil Feed Pipes Replacement.
4. Install the oil filter and pan. Refer to Automatic Transmission Fluid Filter and Seal Replacement.
5. Lower the vehicle.
6. Connect the negative battery cable.
7. Fill the transmission. Refer to Fluid Capacity Specifications.
8. Inspect the transmission fluid level. Refer to Transmission Fluid Checking.
Important: It is recommended that transmission adaptive pressure (TAP) information be reset.
Resetting the TAP values using a scan tool will erase all learned values in all cells. As a result, The ECM, PCM or TCM will need to
relearn TAP values. Transmission performance may be affected as new TAP values are learned.