
Cobalt L4-2.4L VIN B (2006)
Brake Rotor/Disc: Service and Repair
Brake Rotor Replacement - Rear
Brake Rotor Replacement - Rear
^
Tools Required
-
J 41013 Rotor Resurfacing Kit
-
J 42450-A Wheel Hub Resurfacing Kit
Caution: Refer to Brake Dust Caution in Service Precautions.
Removal Procedure
1. Raise and support the vehicle. Refer to Vehicle Lifting.
2. Remove the tire and wheel assembly.
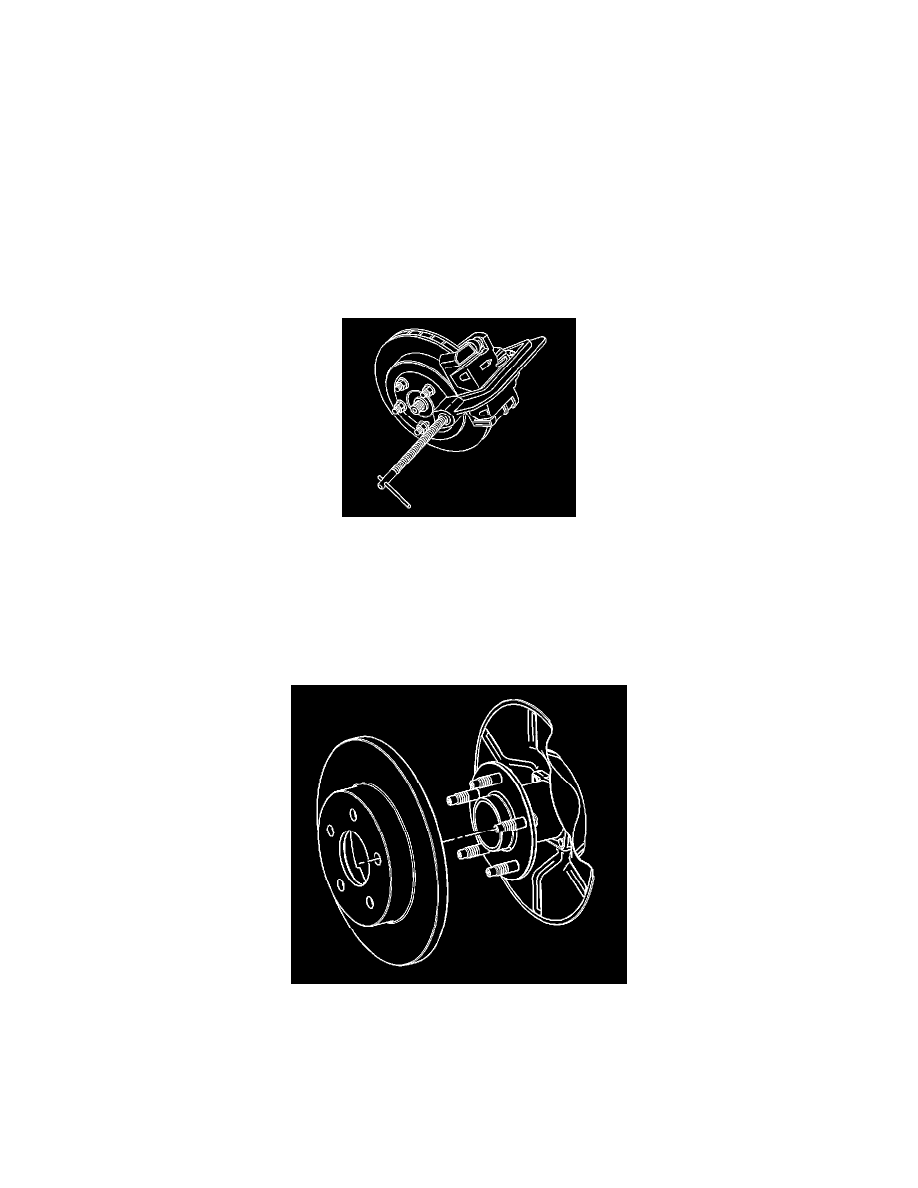
3. Install a large C-clamp, over the body of the brake caliper with the C-clamp ends against the rear of the caliper body and against the outer brake
pad.
Notice: When using a large C-clamp to compress a caliper piston into a caliper bore of a caliper equipped with an integral park brake mechanism,
do not exceed more than 1 mm (0.039 inch) of piston travel. Exceeding this amount of piston travel will cause damage to the internal adjusting
mechanism and/or the integral park brake mechanism.
4. Tighten the C-clamp just enough to compress the caliper piston 1 mm (0.039 inch) of travel only.
5. Remove the C-clamp from the caliper.
Notice: Support the brake caliper with heavy mechanic's wire, or equivalent, whenever it is separated from its mount and the hydraulic flexible
brake hose is still connected. Failure to support the caliper in this manner will cause the flexible brake hose to bear the weight of the caliper, which
may cause damage to the brake hose and in turn may cause a brake fluid leak.
Important: Do NOT disconnect the hydraulic brake flexible hose from the caliper.
6. Remove the brake caliper and the caliper mounting bracket as an assembly from the steering knuckle and support the assembly with heavy
mechanic's wire, or equivalent. Ensure that there is no tension on the hydraulic brake flexible hose.